I'm a neat freak tackling messy projects to help you turn your honey-do list into honey-DONE! I'm an average mom, with an average home, and an average budget with a goal of making things that feel ABOVE average! I'm a self-taught DIYer learning as I go, and I share all of my projects in real time so that, when I make a mistake, we can grow together! Join me daily on Instagram stories where I share home DIY projects, life with my family, and a little bit of everything in between - I can't wait to meet you! :)
Categories
projects & tutorials
home decor
Tips & Tricks
lifestyle
I'm Kayla
Hi, there!
The Top 5 Tools Every DIYer Needs for Home Projects
May 30, 2023
Are you ready to tackle DIY home improvement projects like a pro? Whether you’ve been DIYing your home for a while now or you’re a DIY beginner, having all of the essential tools at your hands can make all the difference. In this post, I’m unveiling the top 5 tools every DIYer needs to take any type of projects to the next level.
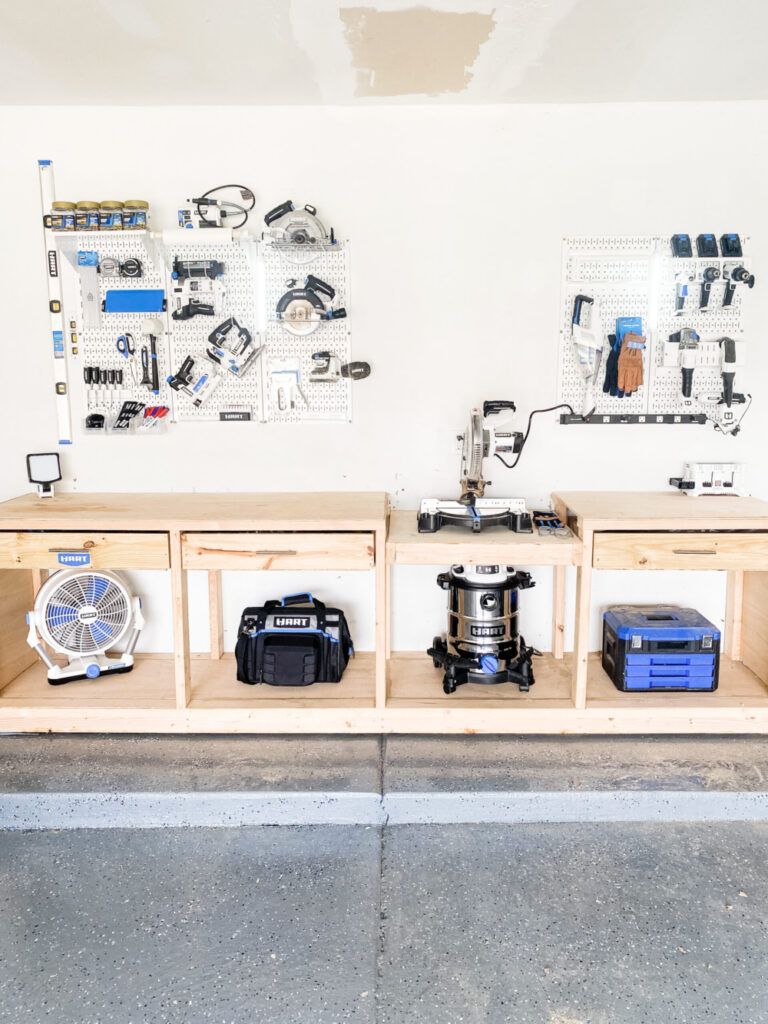
The Top 5 Tools Every DIYer Needs
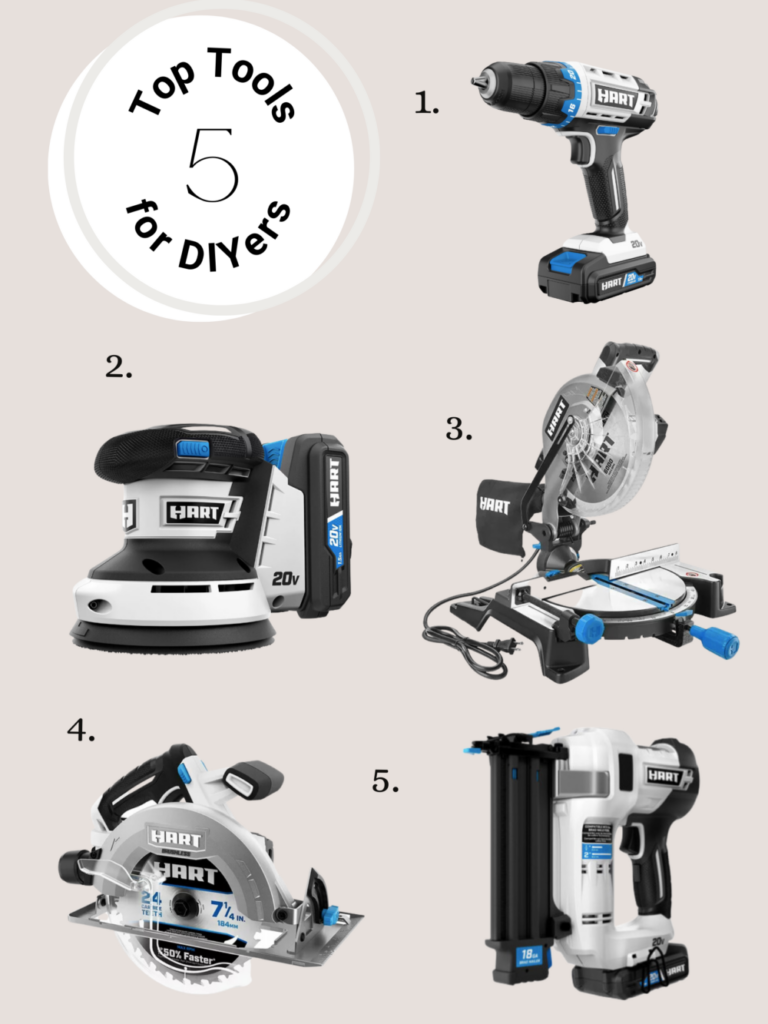
1. Drill
I think it’s safe to say that everyone’s first power tool is typically a cordless power drill. It’s a must-have, basic tool!
Whether it’s for hanging picture frames, assembling an IKEA nightstand in your first apartment, or building your first DIY project, a power drill is a practical tool found in pretty much any household! And it’s perfect for home repair projects. If you don’t yet have one, definitely add it to your wish list!
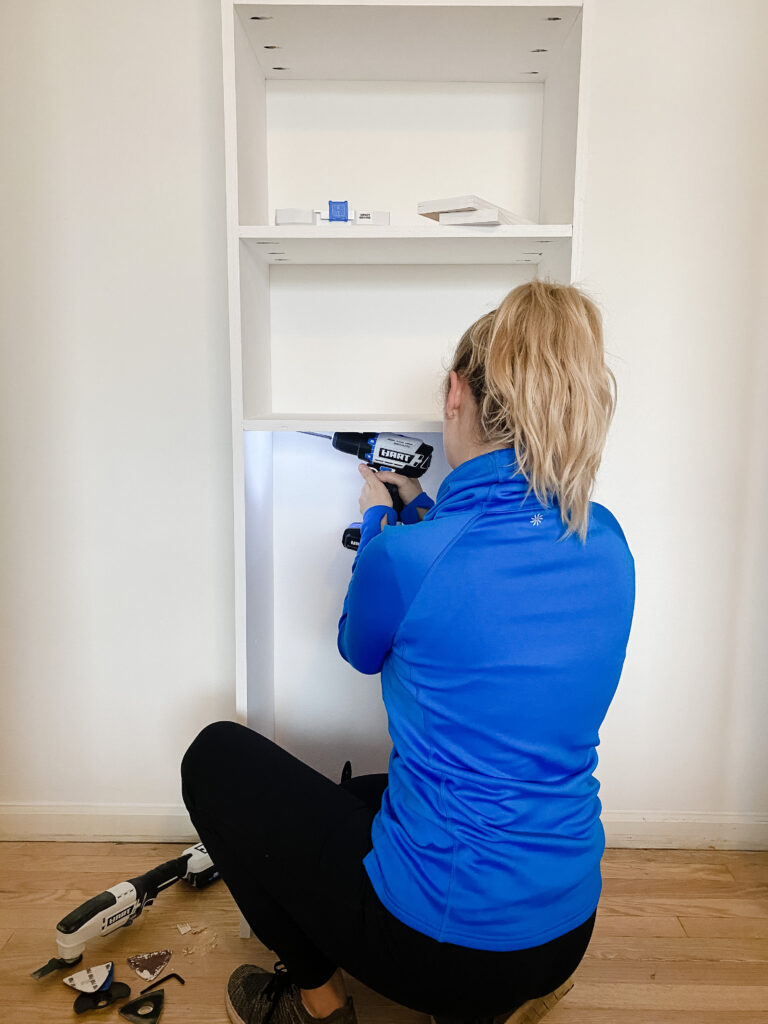
Chances are you’ll use a power drill in almost all of your projects, so it’s a good one to invest in from the get go. I also think it’s comforting to know that, at the end of the day, a drill is just a drill. That being said, when you’re first building up your tool collection, you can feel confident buying a budget-friendly option knowing that any drill will likely get the job done and you don’t need to overthink comparing any one drill to another model the way you might want to with other power tools.
THIS and THIS are the first power drills I’ve ever owned, and I still use and love them to this day!
2. Orbital sander
An orbital sander is another budget-friendly power tool that will really take your DIY projects to the next level. Depending on what your first project is you might not need an electric sander right away. This is a perfect example of growing your tool collection over time as the needs of a project demands it!
A sander can be used when prepping a surface for stain or paint, for buffing out wood filler, or perfecting the finish on any project.
There are several different kinds of sanders out there, but I personally prefer an orbital sander. You can find my go-to sander HERE.
Whenever you are sanding it is important to not apply too much pressure and to just trust the process while letting the sandpaper/tool do its thing. That said, I have found when using other types of sanders that I’m tempted to apply more pressure and can mess the project up, whereas an orbital sander is round and I’m less likely to do that. For example, a mouse sander has a pointed tip, which is great for getting into corners that an orbital sander could not reach, but then I catch myself applying too much pressure to just that portion of the sand pad and can then get an uneven finish.
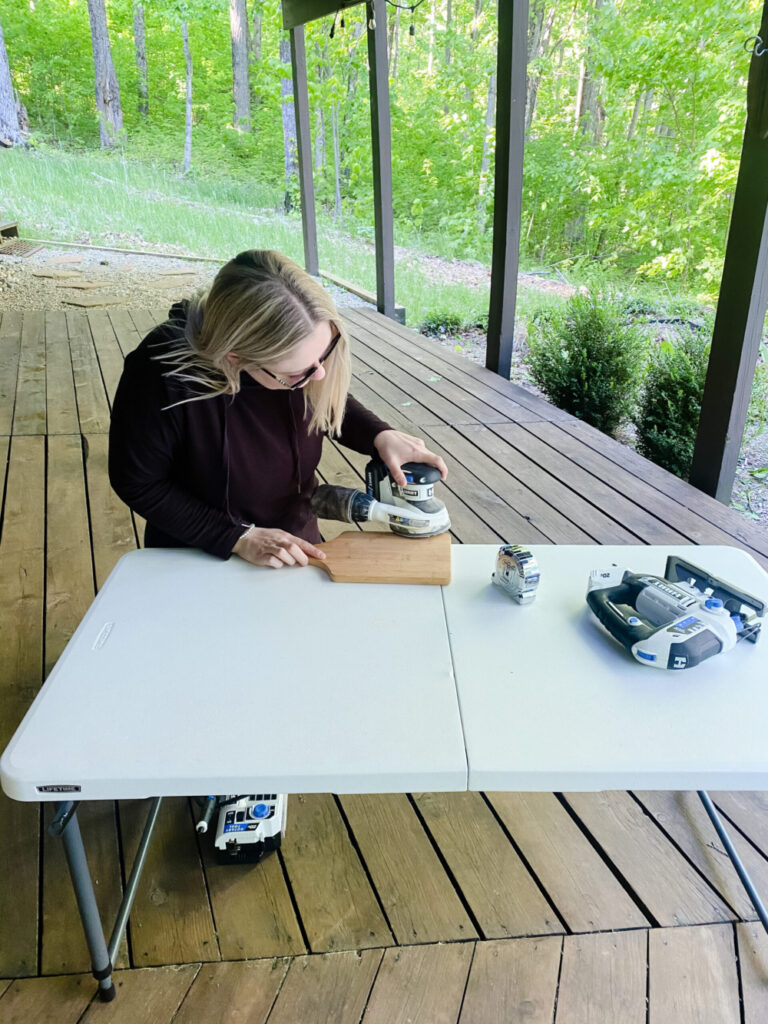
But, like I said, just grow your tool collection as you need the next tool to complete your project! If it’s time to buy a sander and your project will require a mouse sander over an orbital sander, then that makes perfect sense for you to buy first! However, if you’re buying some sort of tool bundle or asking for a new tool for your birthday, an orbital sander is my go-to!
3. Miter Saw
I know, I know…when you first get into cutting, things can start to feel pretty scary! But I promise a power saw is so much easier to use than you would think. I use it on almost every single project.
Remember when I said, “a drill is just a drill”? Well, not every miter saw is comparable. It’s a good idea to consider the different features before making your purchase. You can find my first miter saw linked HERE. I still have and use this saw, but have since upgraded to THIS because I found that I was needing a sliding miter saw. I’ll get into this in a second…
Miter saws are an incredibly important tool for making precise cuts throughout your projects. Whether you’re building a floating shelf or building a deck, this saw will be your go-to. They can make crosscuts, miter cuts, and bevel cuts, which are all techniques and terms you’ll learn with time, but you can basically think of it as a flat cut or different types of angled cuts.
If you plan on doing pretty basic projects, any miter saw will likely do. But if you hope that the size of your projects will grow as your skillset does, I do recommend getting a miter saw that is dual-bevel and sliding. Like I said before, I ended up upgrading my first miter saw to a sliding miter saw so that it would allow me to cut through wider pieces of wood. My first miter saw couldn’t slide, so I was limited to only the boards that the blade could cut through.
Lastly, I wouldn’t opt for a battery-powered miter saw, and definitely recommend corded.
4. Circular Saw
Okay, here me out… circular saws are so versatile! I recommend getting a battery-powered one because they are so handy to have on the go and has been one of my favorite DIY tools for a long time!
The reason I love and recommend a circular saw, especially when starting out, is because it can do all the same things as a table saw but in a different way. It’s such a powerful tool and great for longer boards and big projects. I also think they’re one of the best tools because you can use them woodworking projects as well as with a lot of different materials.
I do have and use a table saw, but feel so much safer using my circular saw and think they are way less intimidating when starting out. If going this route, I also recommend getting a rip-cut guide to make perfect rip cuts. So definitely save this post for reference!
This is just another one of those things that can take your project to the next level.
5. Brad Nailer
Last but not least, one of my favorite tools – the brad nailer! I honestly have no idea why, because they are so simple to use, but this was a tool that I was so intimidated by when I first fired it off. And holy crap, let me just say that they are a game changer and I don’t think a single time went by in my first year owning one where I didn’t say, “THIS IS MY NEW FAVORITE TOOL!” every time I used it.
A nail gun is great for a wide variety of projects, like building accent walls, installing baseboards, or any other trim work project.
I’ve heard people say that corded ones are more powerful, but I love my battery-powered cordless ones and have never had an issue with them not being strong enough. You can find both of mine here! I promise you that this is such a great addition to your tool collection.
BONUS TIP!
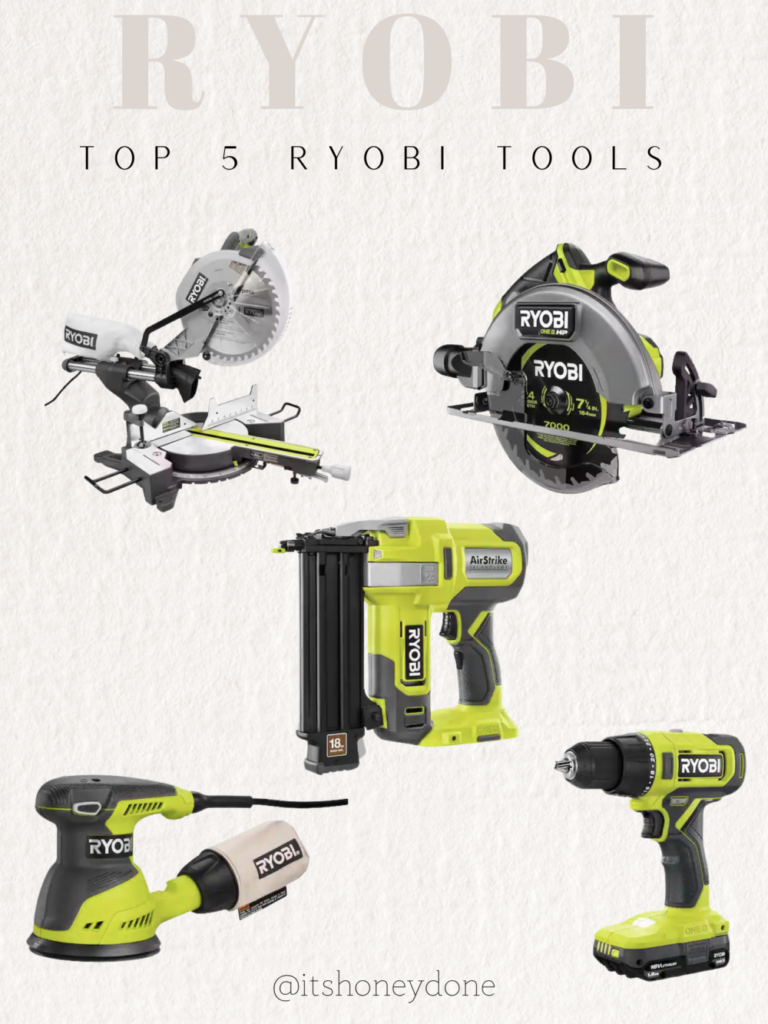
Pick a brand of tools that you want to stick with when you first start DIYing and grow your collection within that brand. You’ll notice that I’ve linked both HART and RYOBI throughout this post and that’s because I have and can recommend them both, but also so that you can shop this post for whichever brand you prefer. If you are a Home Depot shopper, then you can also find RYOBI there!
The reason I recommend this is so that your batteries will be compatible across all of your tools and interchangeable as you work on a project. So let’s say you’re drilling something and then want to sand it, you can just pop the same battery out of your drill and into your sander and know that it’s compatible. Not only is this convenient, but it will also save you money as you don’t need to buy a new battery for each new tool!
Other than my recommended top 5 tools every DIYer needs, there’s a few other cheaper tools and materials that you’ll use on most of your projects.
Other tools/ materials that are good to have on hand:
Note: As an Amazon Associate I may earn small commissions from qualifying purchases.
Related Articles
The Best Advice for Beginner DIYers: 7 Tips for Success
The Best Board and Batten Calculator
Caulk vs Wood Filler – The Right Choice for Your Project
