I'm a neat freak tackling messy projects to help you turn your honey-do list into honey-DONE! I'm an average mom, with an average home, and an average budget with a goal of making things that feel ABOVE average! I'm a self-taught DIYer learning as I go, and I share all of my projects in real time so that, when I make a mistake, we can grow together! Join me daily on Instagram stories where I share home DIY projects, life with my family, and a little bit of everything in between - I can't wait to meet you! :)
Categories
projects & tutorials
home decor
Tips & Tricks
lifestyle
I'm Kayla
Hi, there!
How to DIY Laminate Floors
January 30, 2023
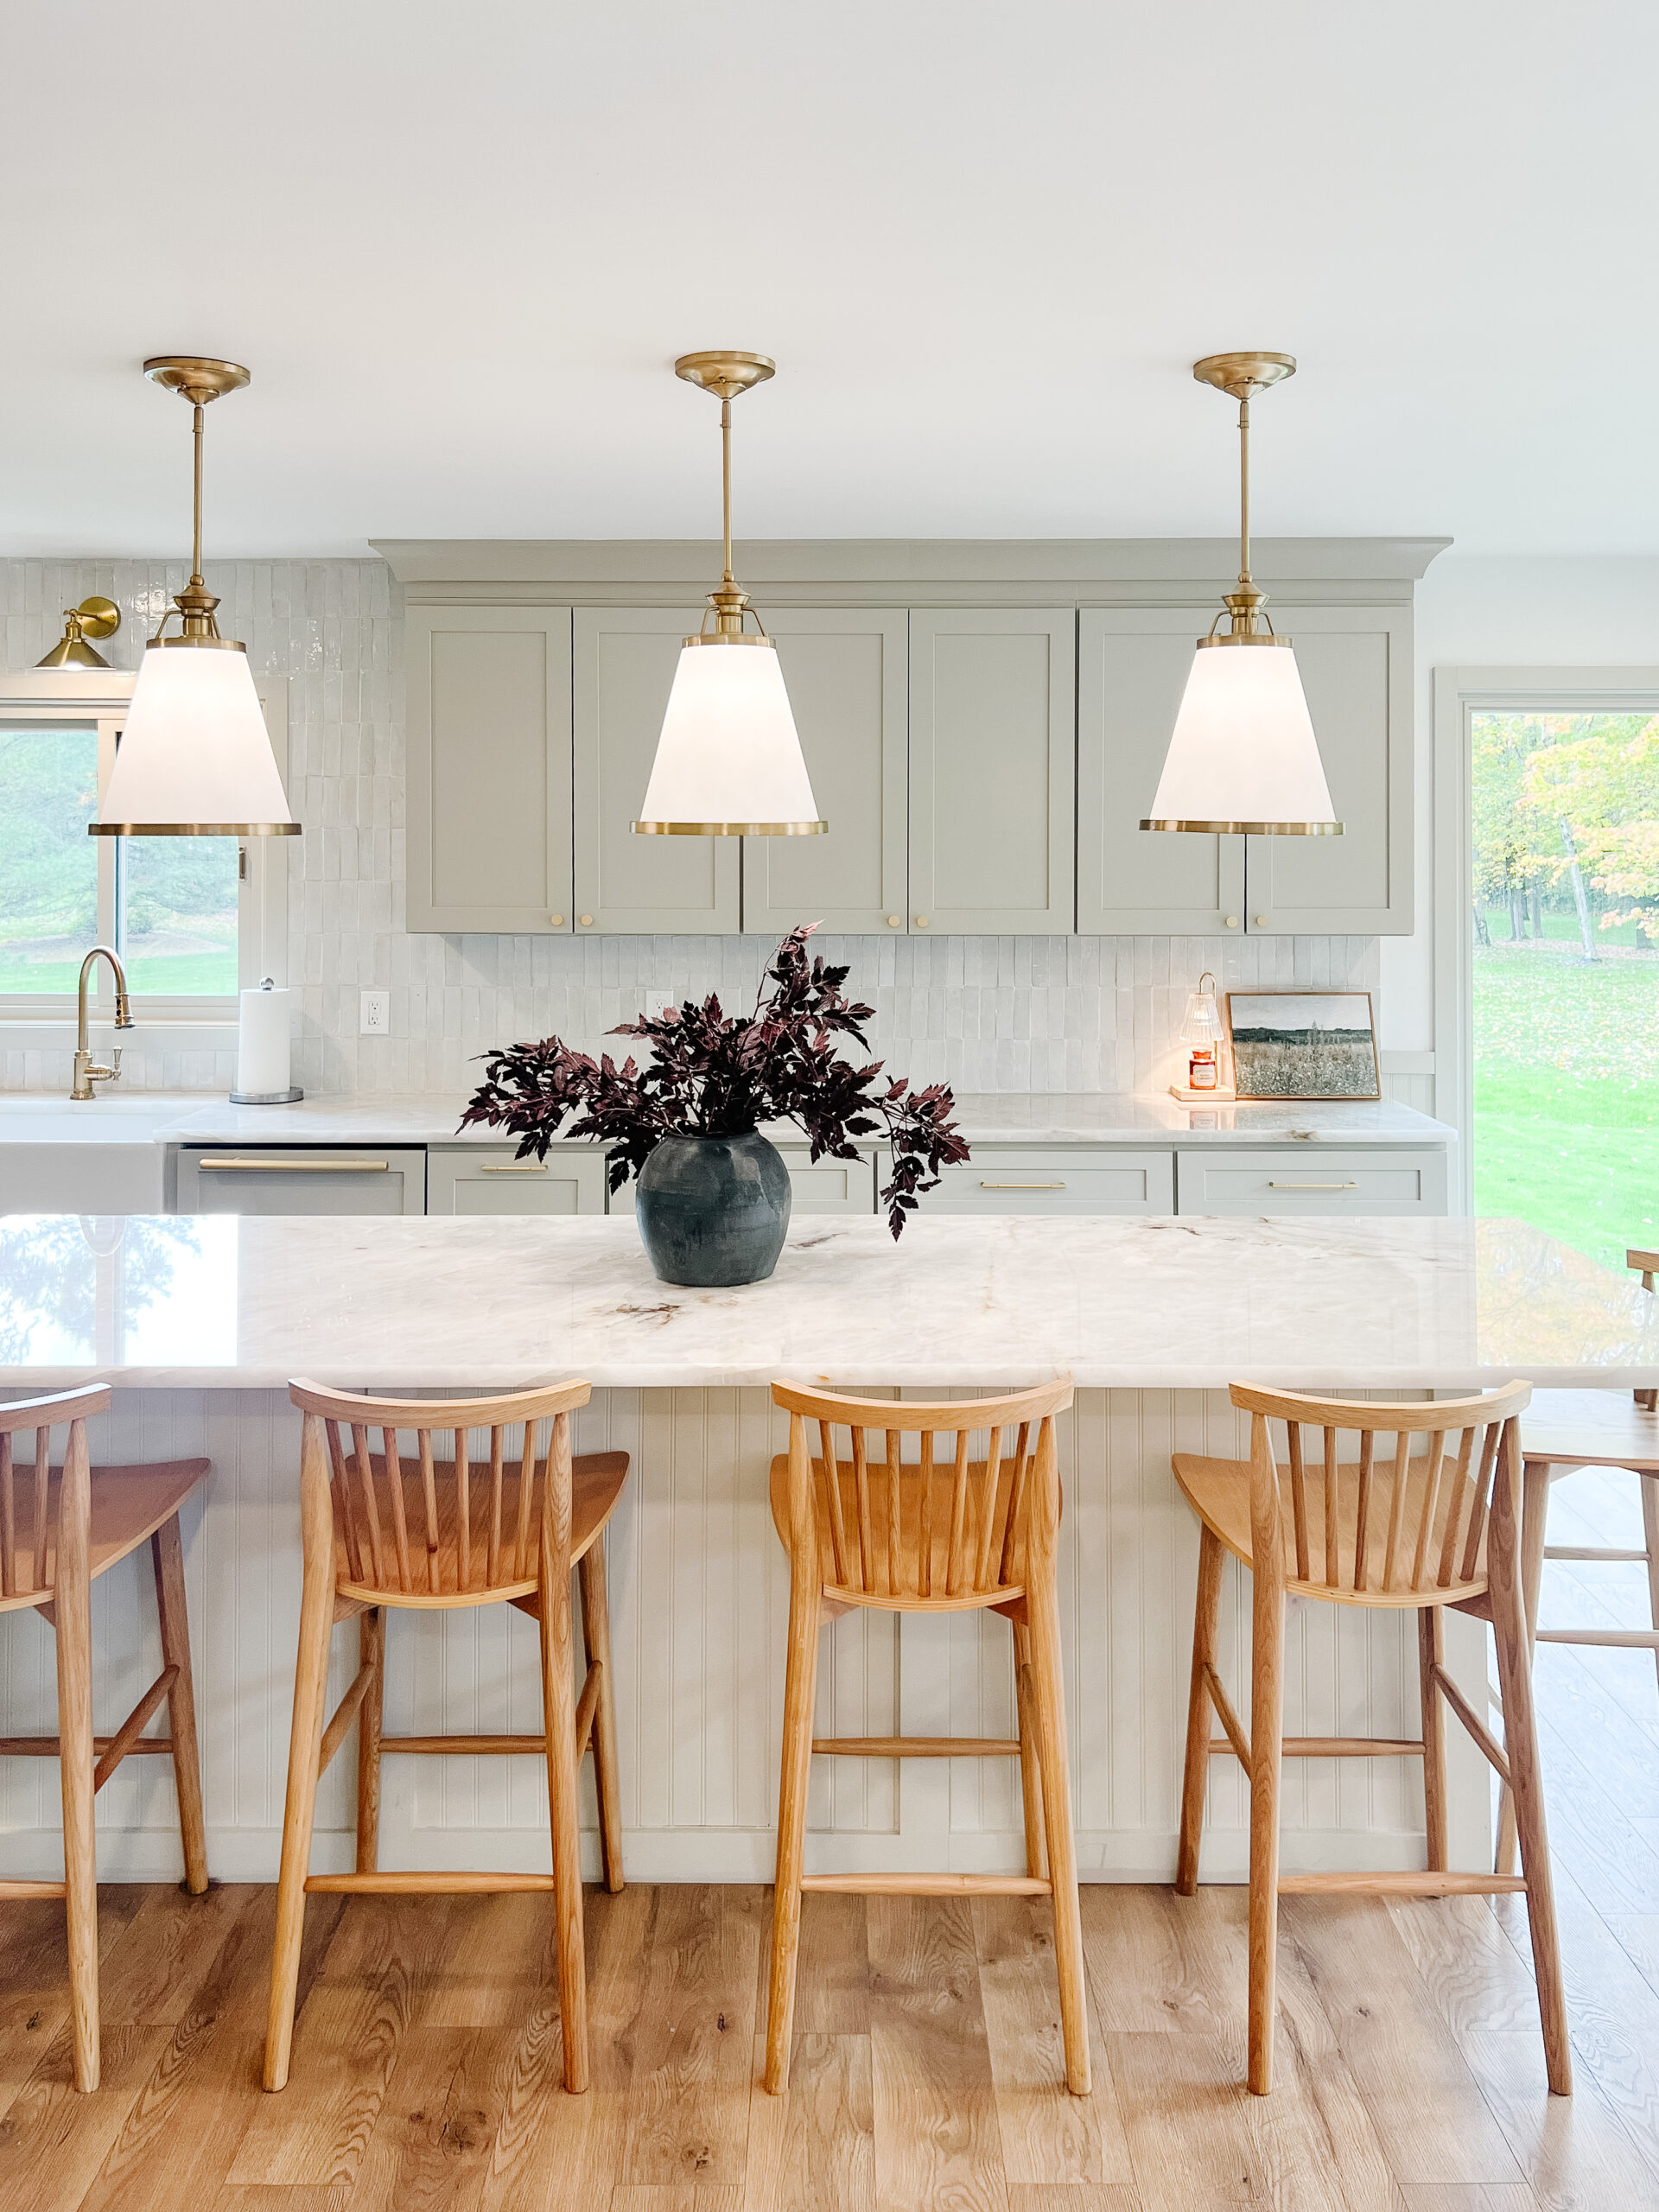
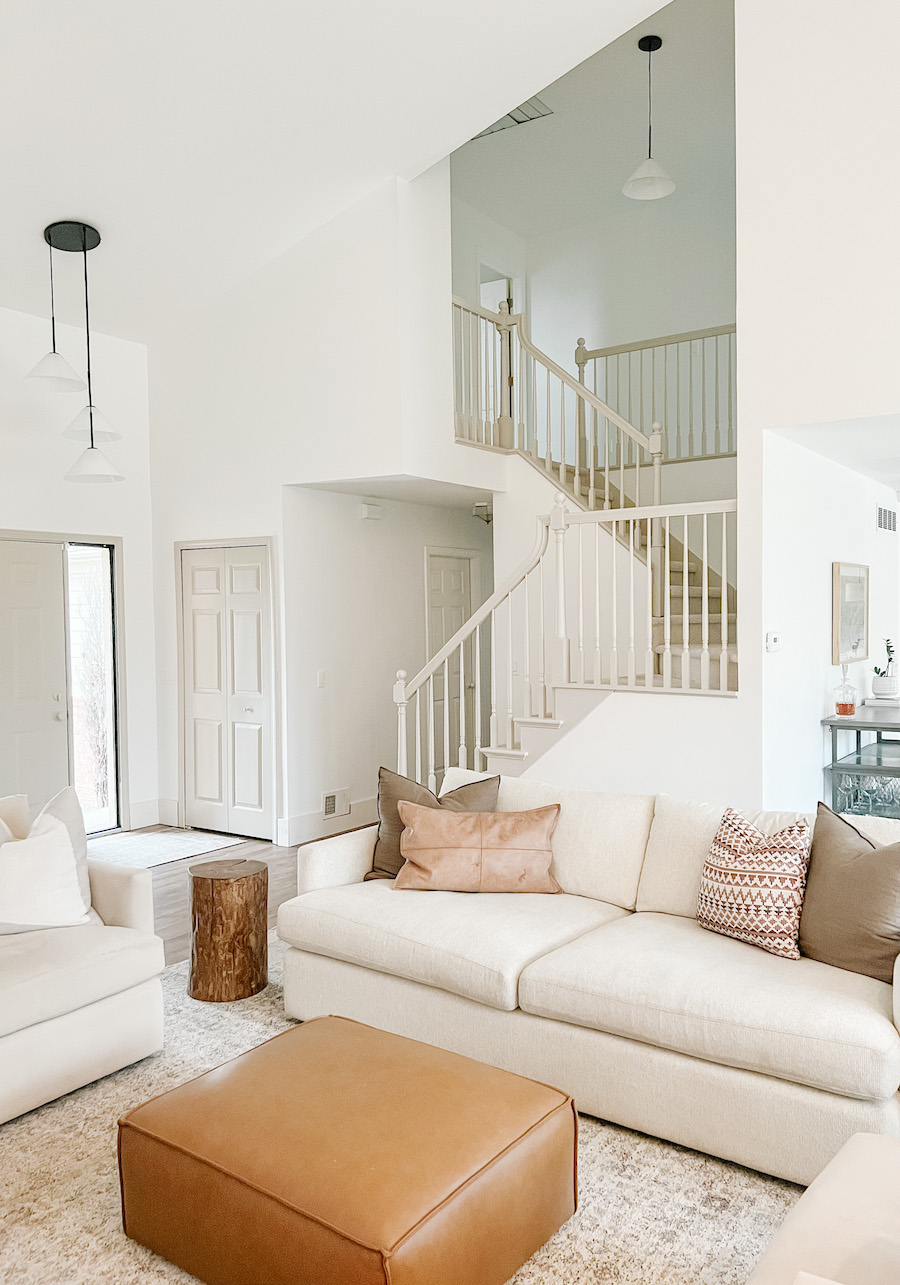
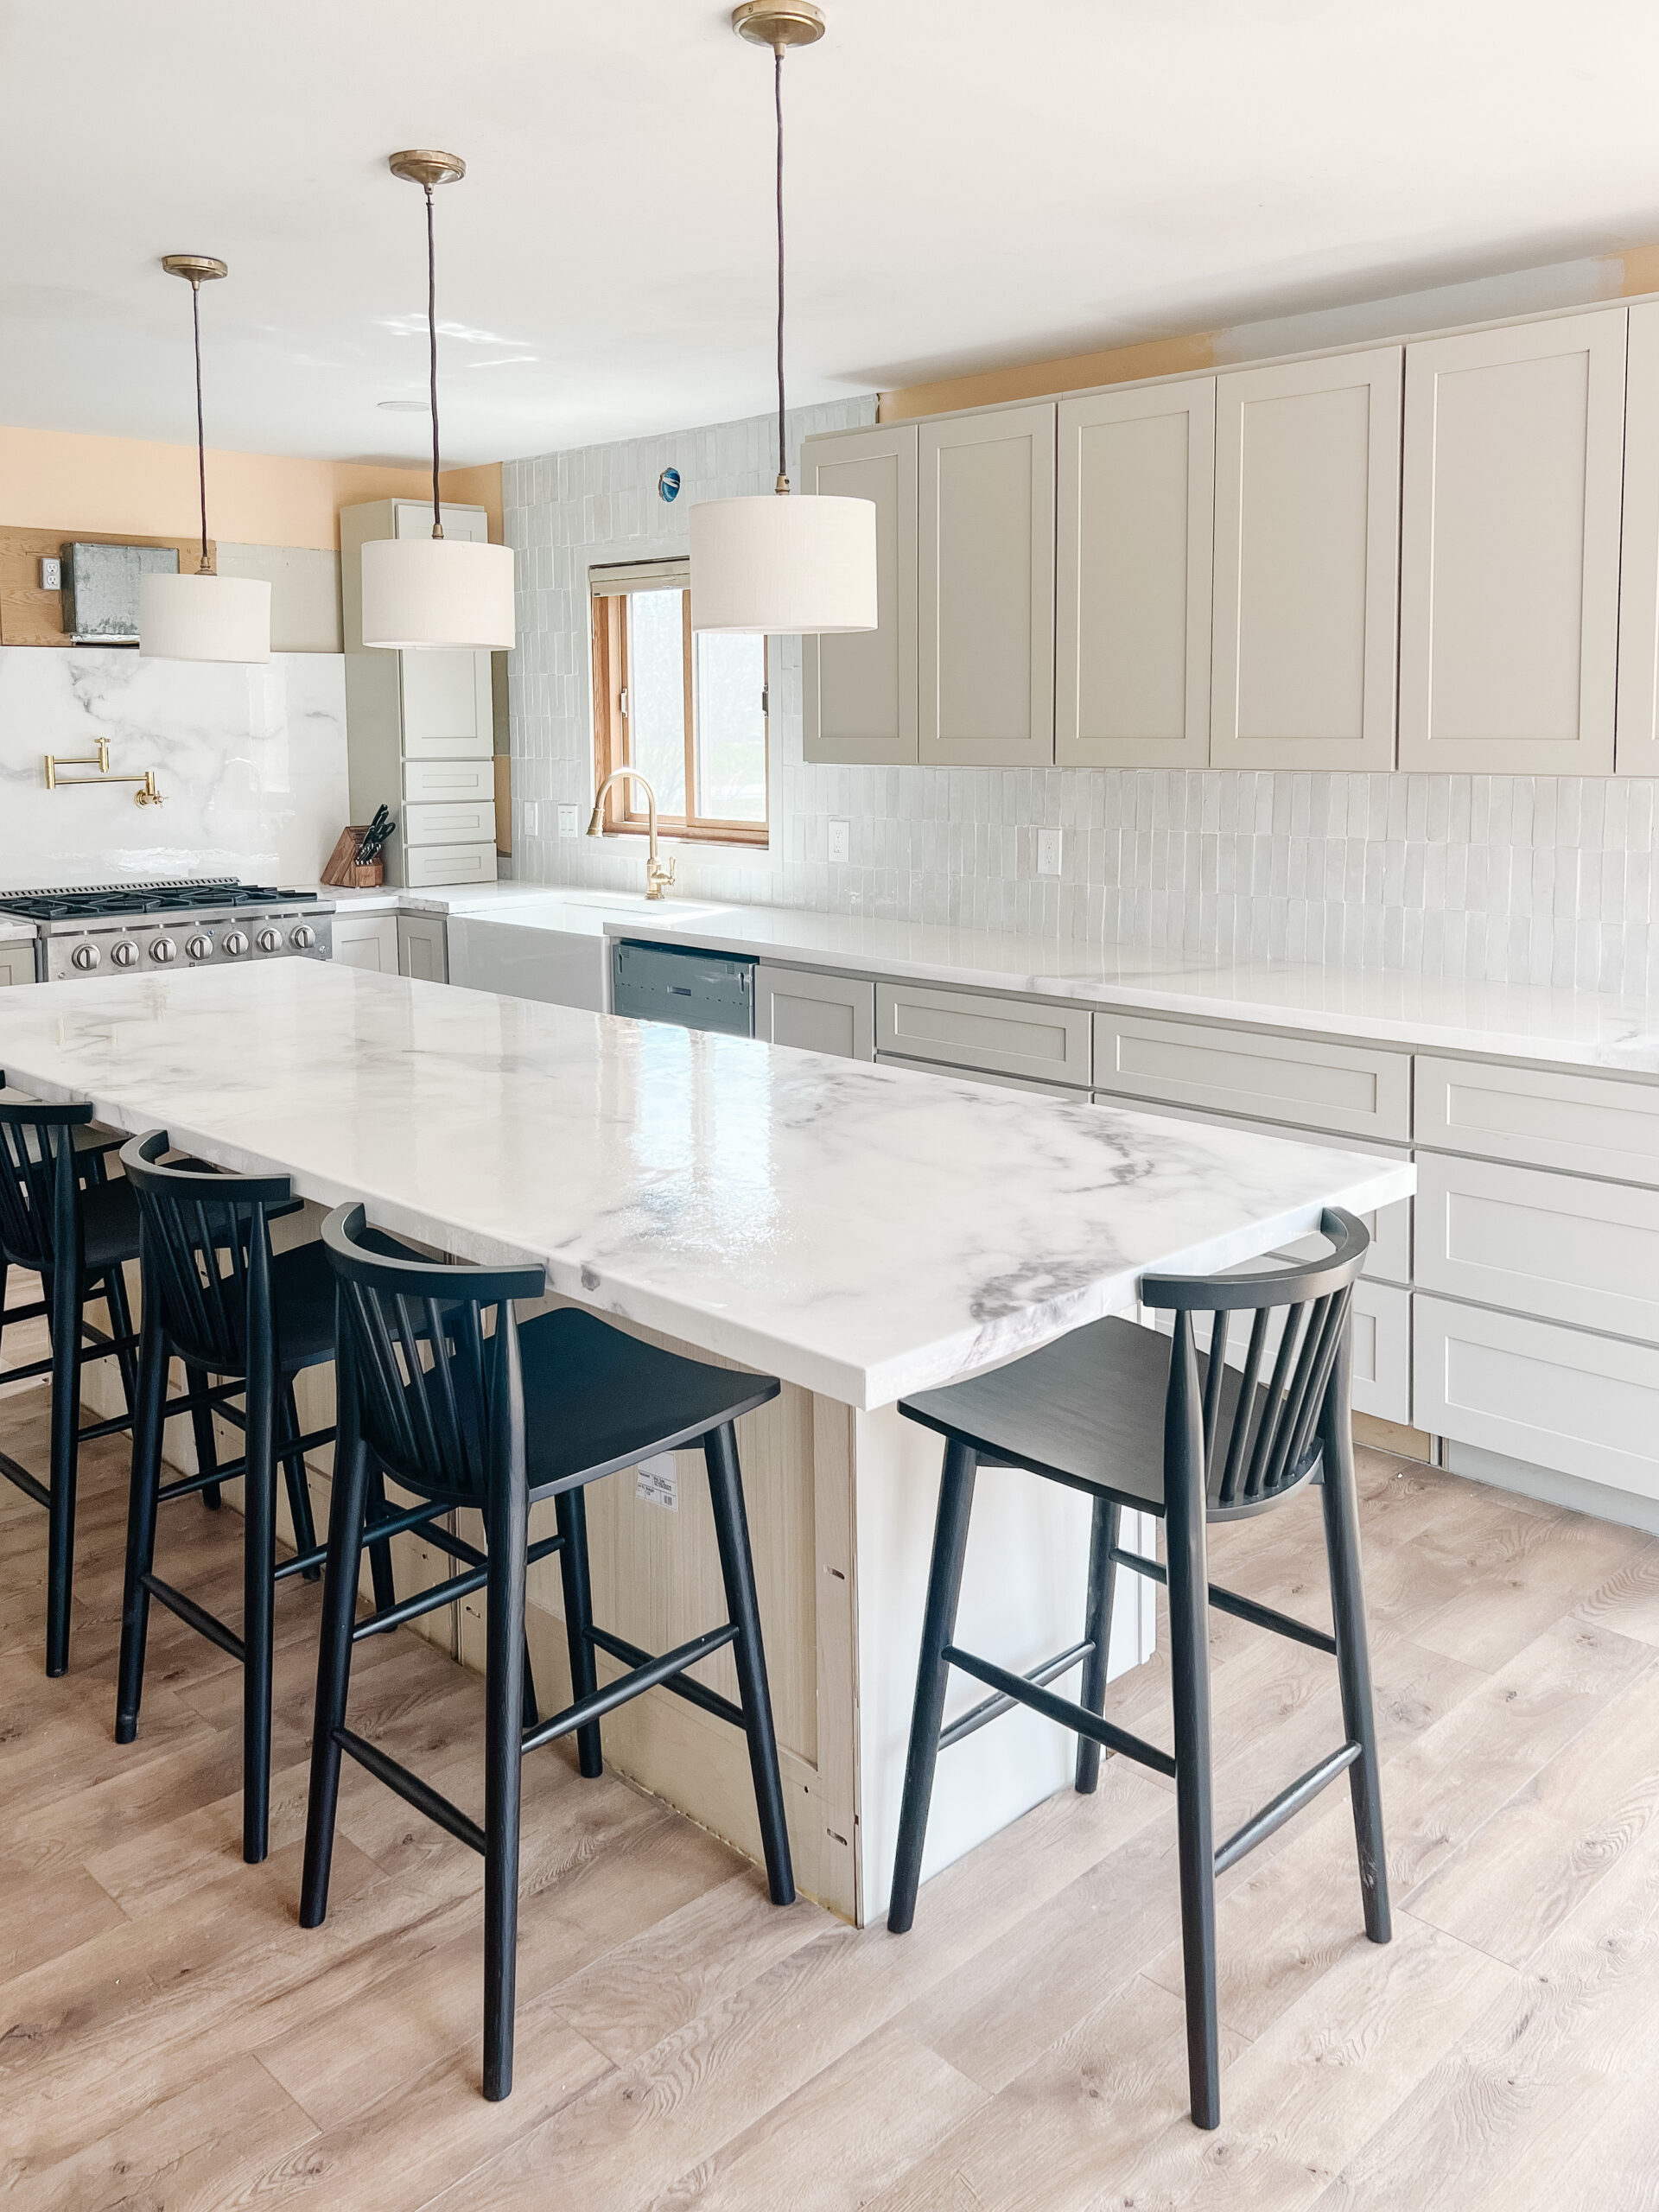
After moving into our new house I quickly jumped into projects and decided to install new floors. This was my first time doing this! I started the process of demoing the pre-existing floors and, I’m not going to lie, there were times where it was hard to live in that environment, specially with two little ones! However, I am so happy with our beautiful new floor and they completely changed the look of our house! Our laminate floor plants are from flooring manufacturer Official Select Surfaces in the color Heritage Oak.
Now that I’ve done it myself, it’s time to teach you how to DIY laminate floors on your own! I would say the level of this DIY project is beginner- moderate level.
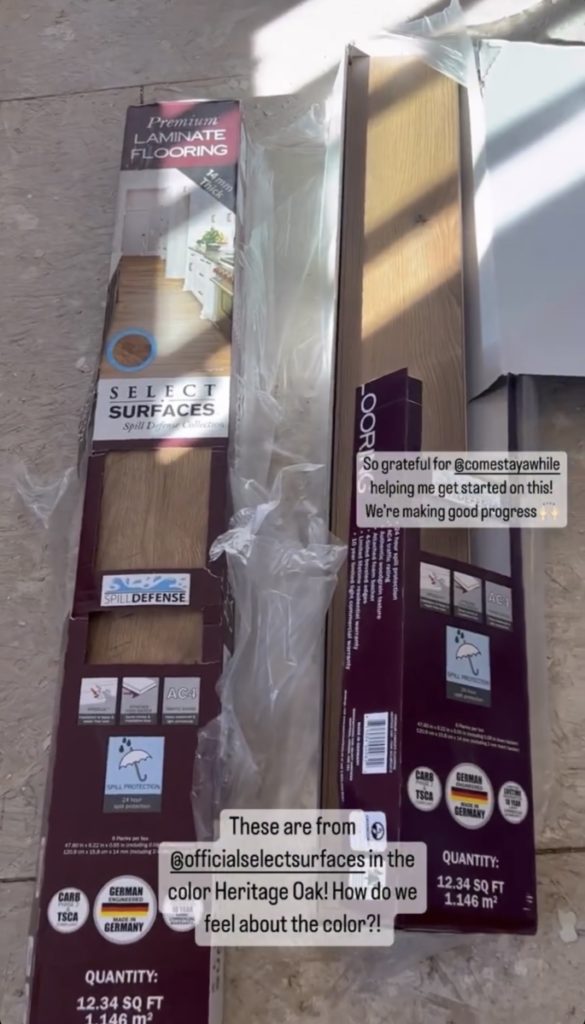
About the Floors
I went with the color Heritage Oak with a textured grain. The planks I used are 4′ long x 6.25” wide with a 14 mm floor thickness. It’s spill-defense laminate with 24 hour spill protection, so the floors are completely safe to lay in a bathroom where you’ll have some splashing and high humidity. Just make sure you wipe the surface within 24 hours!
This particular flooring already has an attached underlayment so I didn’t have to lay anything down, which was part of the reason I chose these floors! They are also floating floors so they can expand and/or contract with the weather as it changes.
Power Tools / Materials Needed for DIY Laminate Floors:
–Tapping Block (usually comes in a laminate flooring installation kit)
Step 1: Prepare the Area / Demo
The first thing is to remove the existing flooring and existing baseboards. The baseboards can be removed with a trim puller. Once you’ve removed the baseboards, you can start pulling up the existing floors. Some people may prefer to reuse their existing baseboards or shoe molding, but I knew I was going to be replacing these. If you are reusing them, I recommend numbering both the back of the baseboard and it’s corresponding placement on the wall so that you can easily reinstall them later.
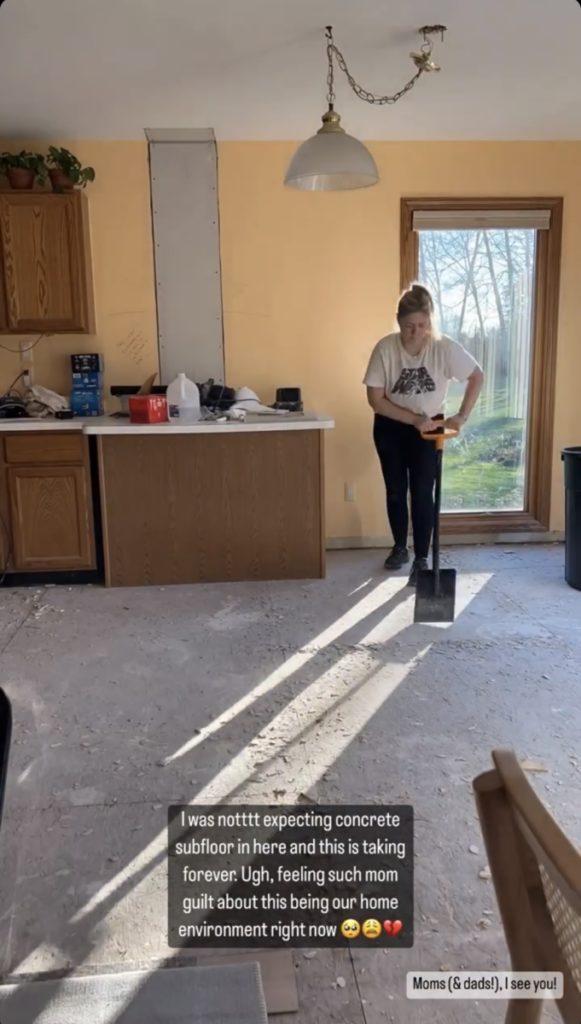
Depending on your current flooring and wood subfloors, this could be the hardest and most time consuming part of the whole process. I ended up having to remove old carpet, linoleum, and ceramic tiles and was surprised to find concrete subfloors underneath our tile. So keep in mind that it could take some extra time and/or costs depending on what’s lying beneath your current floors.
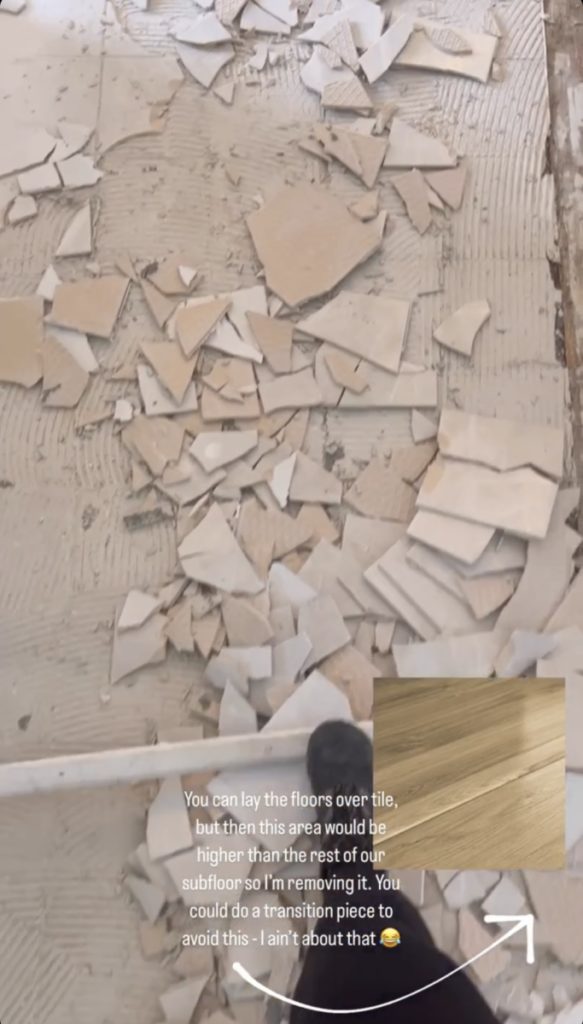
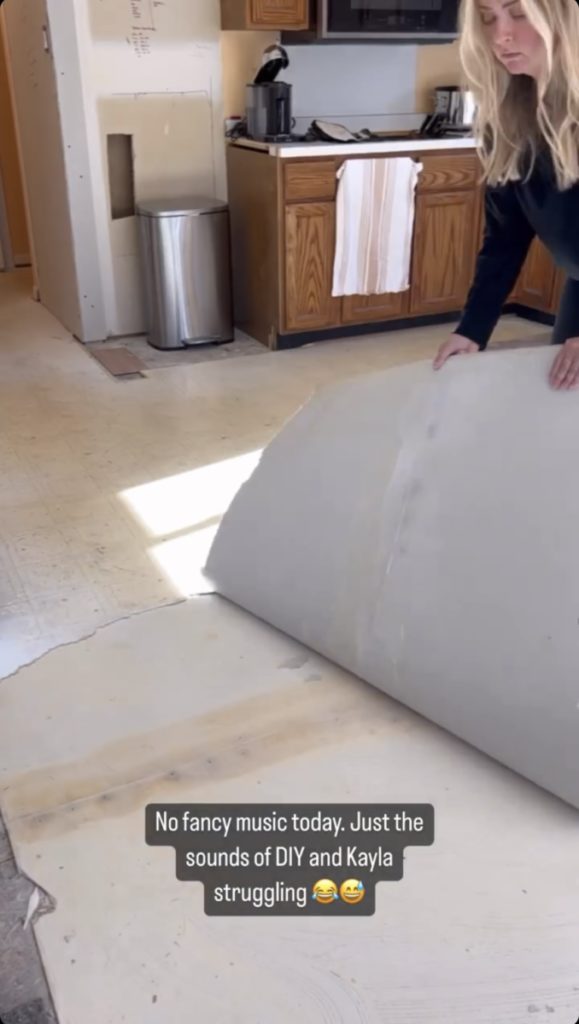
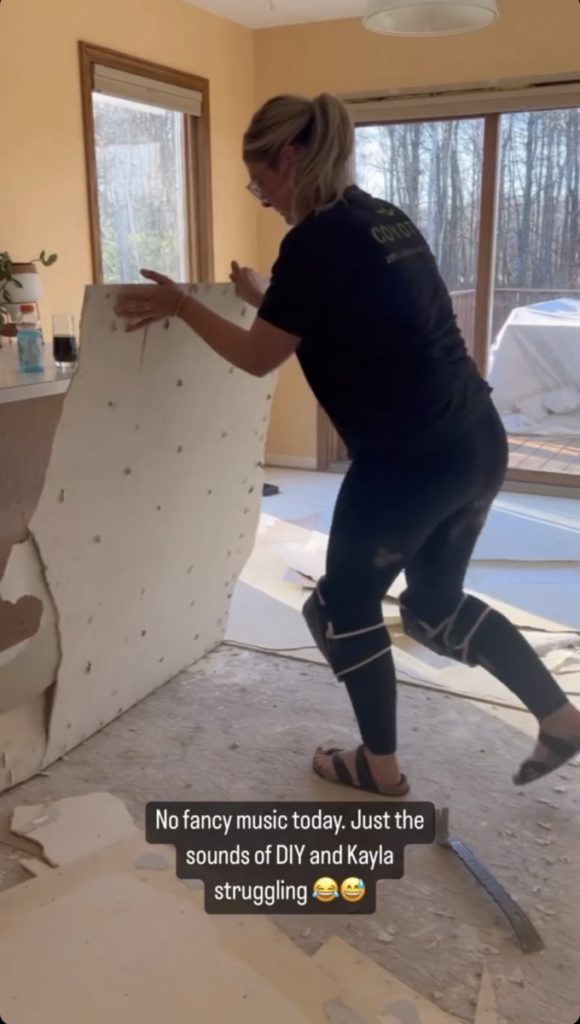
As you remove old flooring you’ll need to make sure the entire floor is level before laying the new laminate flooring.
After removing the old flooring, you may need to lay down an underlayment and a vapor barrier if needed. If your floors already have a foam underlayment attached like the ones I’m installing, then you won’t need to worry about this part. This pre-attached moisture barrier saved me so much time!
Step 2: Figure Out the Pattern of the Laminate Floors
Once you’ve got your baseboards and existing floors removed, you’re ready to determine the direction and pattern of your new flooring. The direction of your planks is personal preference but I think it’s a good idea to lay the first row of flooring horizontally along the longest wall. Another common preference is to have your planks running horizontally when entering the house from the front door.
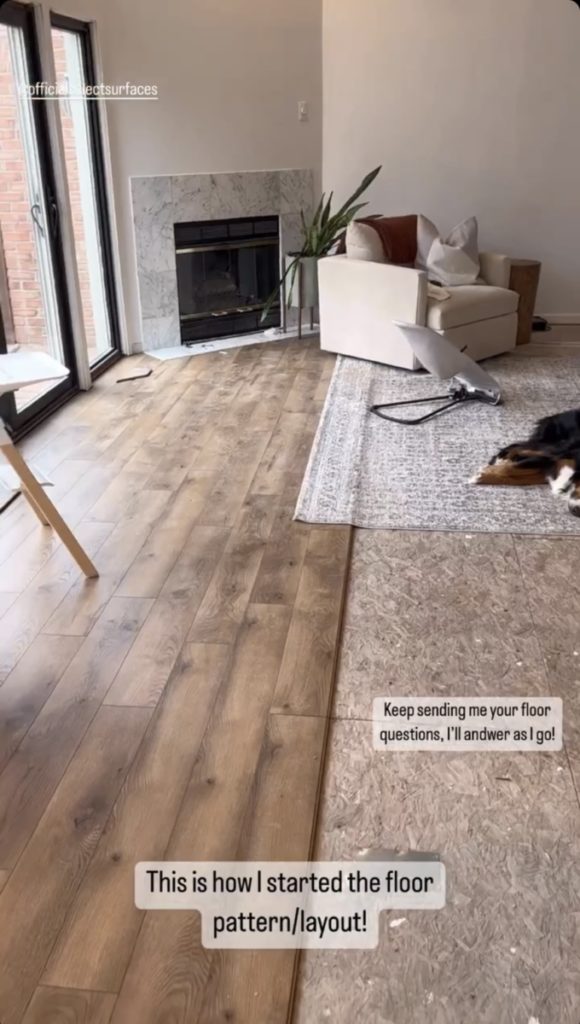
I decided to start my first plank against the back wall of our living room and then whatever piece I had leftover from the last plank at the end of the first row, I would use to start with on the next row.
Since I used that last plank to start off the second row, my pattern going down ended up being long board, short board, medium board, repeat. So it kept the planks from being in a straight line and looking “too perfect.” I also pulled from a different box every time to ensure good color variation.
Step 3: Laminate Installation
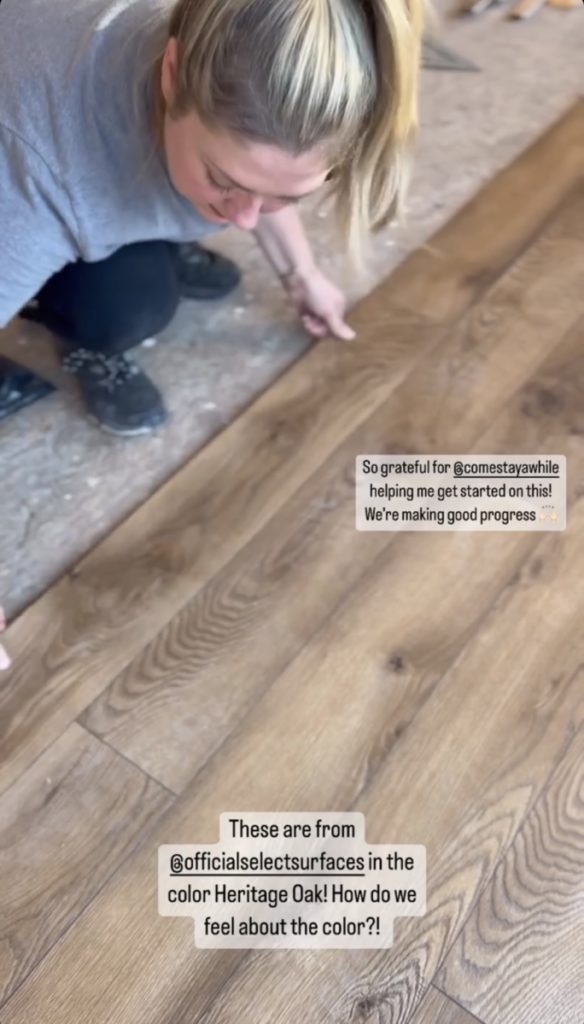
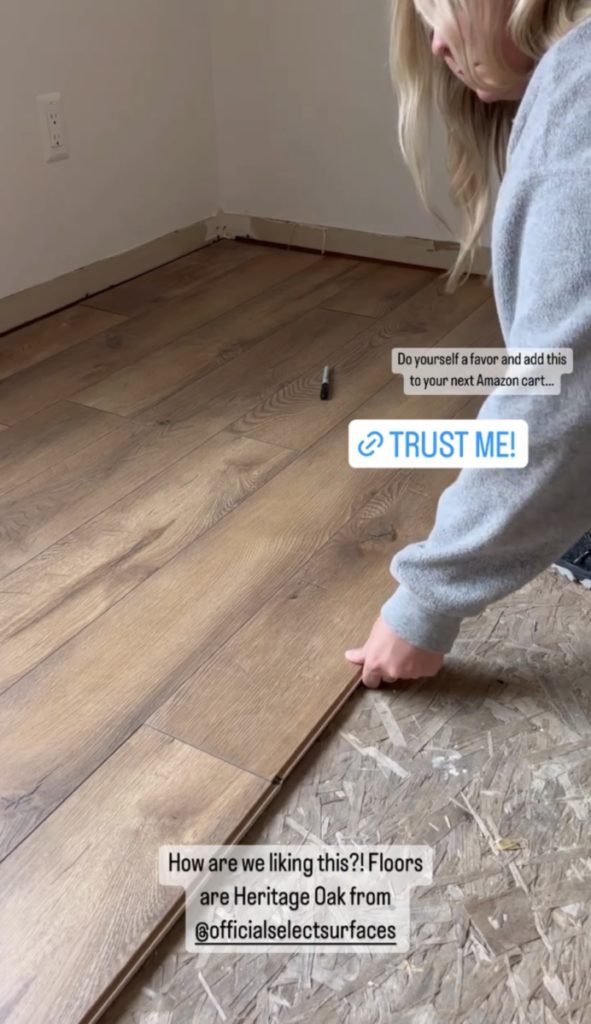
You’ve prepped the subfloors and you’ve figured out the pattern and layout of your floors, so now you’re ready to install your own laminate floors on your first wall! To start, lay the flat edge with no groove a few centimeters from the side of the wall. You’ll want to leave a small expansion gap there to allow room for the floors to expand. Pro tip: some professional installers will hold a carpenter’s pencil in place while positioning the plank to create the perfectly spaced gap in the easiest way! You can grab a pack of these super cheap at Home Depot or any home centers!
Once you’ve laid that first plank, you’ll attach the groove edge to the second plank. The planks have a click/ interlocking system, so when you put them together you’ll be able feel when it’s attached to the other floors properly. The best way to do this is by slightly lifting the plank upwards, sliding it into the side plank, then pushing it into the plank (or wall) above it.
Some flooring will suggest you use a tapping block or rubber mallet to tap it into place.

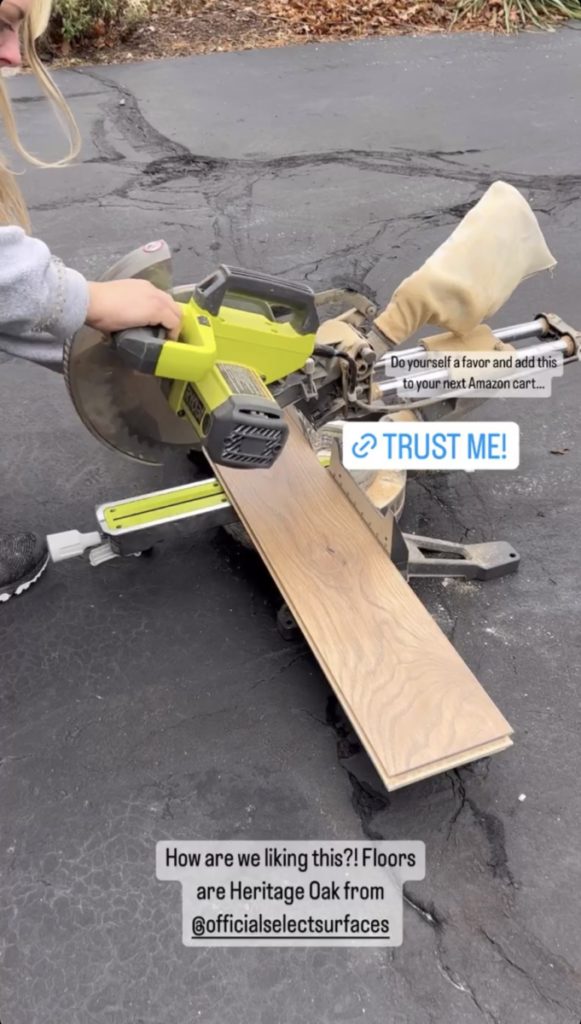
When transitioning around walls in a room, you may need measure and cut the plank where the wall will go. I used a circular saw, jigsaw, and a table saw to make my cuts depending on what type of cut was needed. When you get to a door jamb, you’ll need to use a multi tool to cut off the bottom so that the laminate floors will fit underneath.
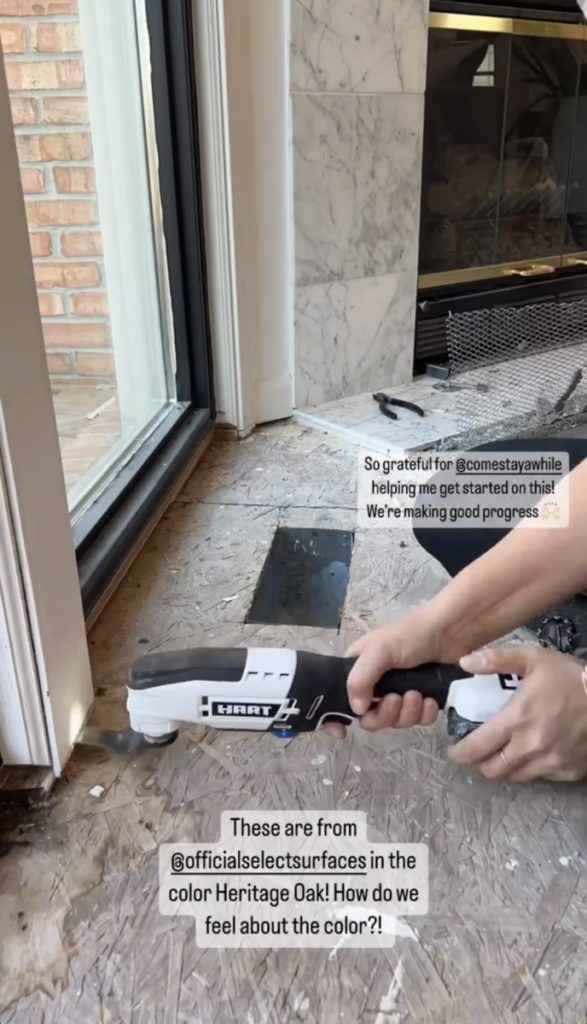
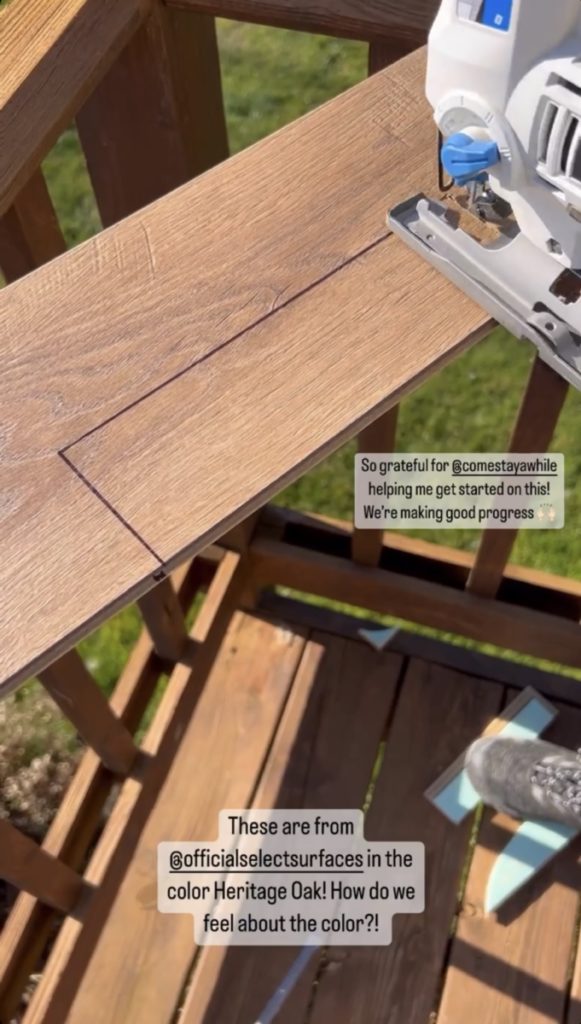
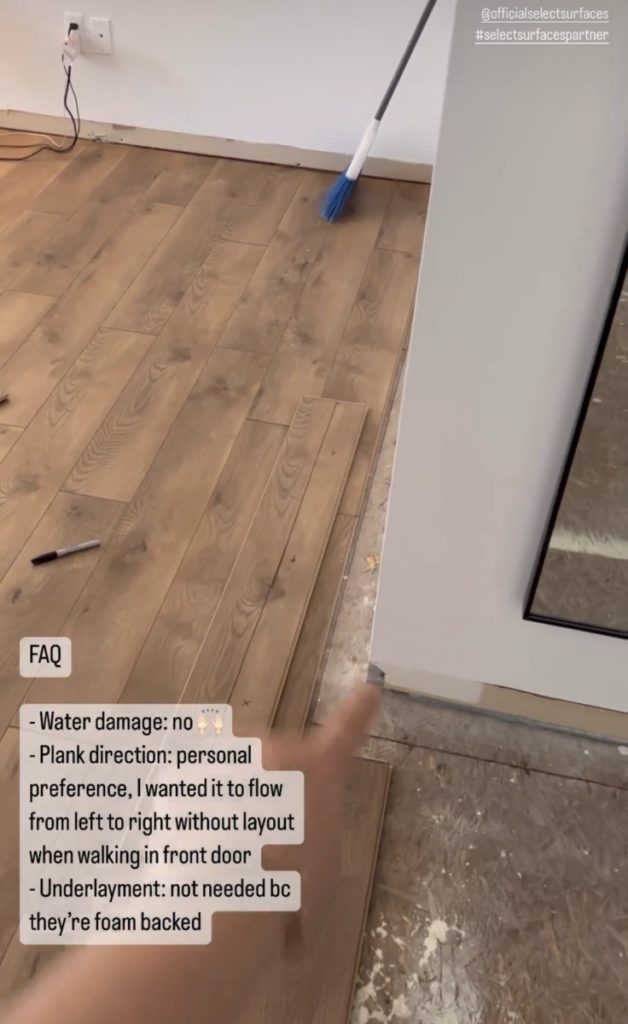
After you’ve done the first row, the installation process is fairly easy and it flies by quickly as you get it going on the subsequent rows.
Final Steps
After installing the last row, you’re floor is complete and you’re ready to install the baseboards!
The floors truly changed the look of our entire house and I couldn’t be any happier with them! I believe that even the biggest fixer uppers can feel transformed with new floors and new paint, so I was super excited to start our renovations by doing this!
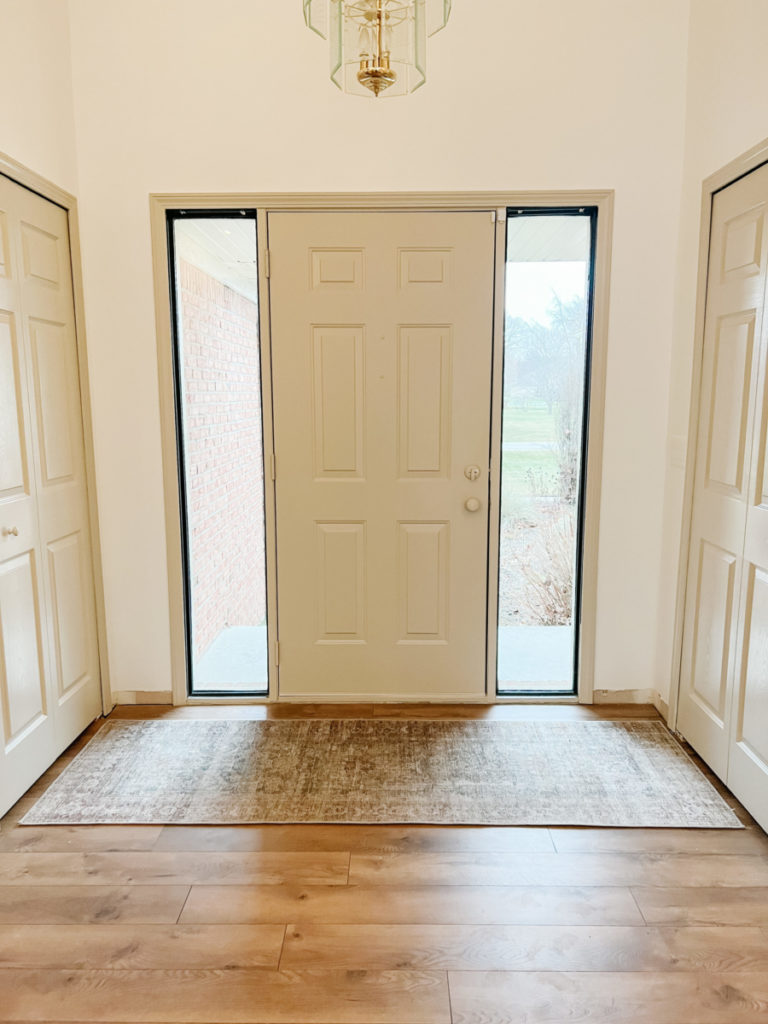
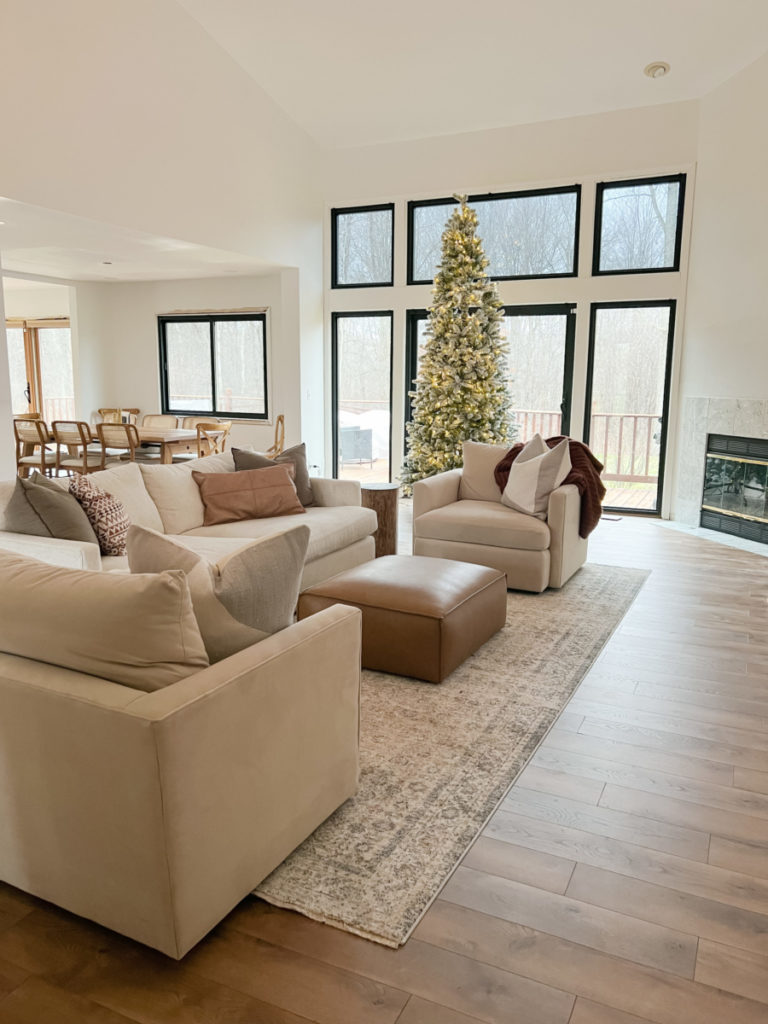
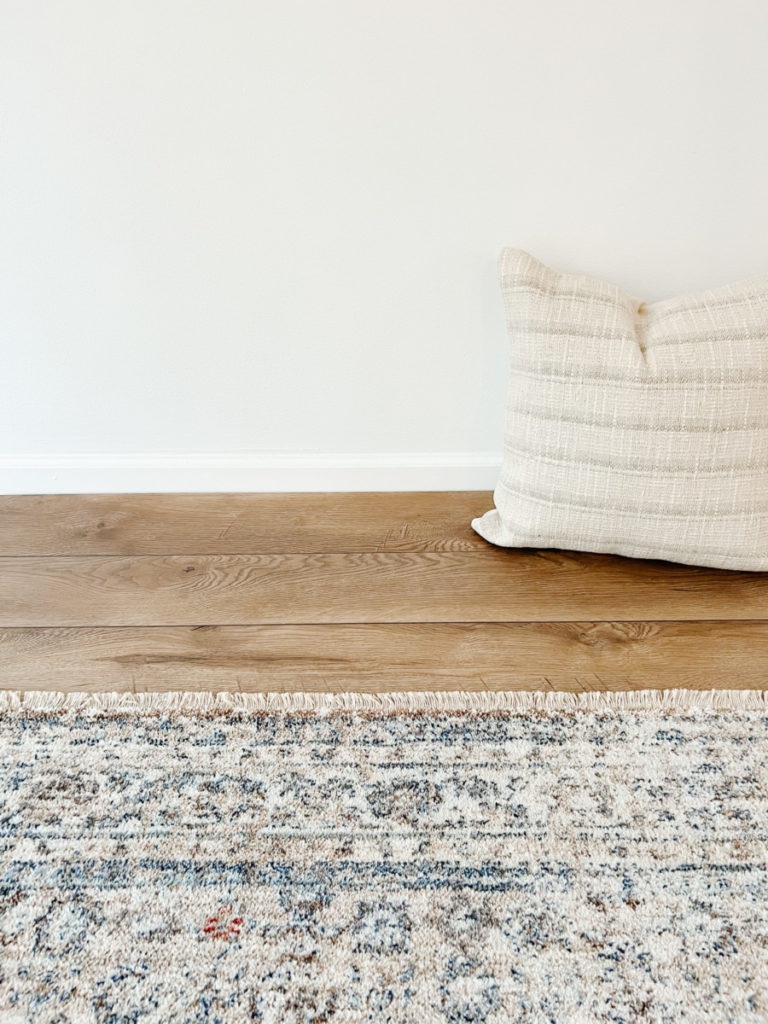
These floors were gifted by Select Surfaces. I am so in love with the color, Heritage Oak!
If you enjoyed this project, follow along over on Instagram @itshoneydone so I can help you turn your honey-do list into honey-DONE!
Note: As an Amazon Associate I may earn small commissions from qualifying purchases.
Related Posts:
Installing Floors: 5 Things You Don’t Want to Forget
The Best Moving Equipment and Moving Tips
Board and Batten Nursery Wall – Full Tutorial
