I'm a neat freak tackling messy projects to help you turn your honey-do list into honey-DONE! I'm an average mom, with an average home, and an average budget with a goal of making things that feel ABOVE average! I'm a self-taught DIYer learning as I go, and I share all of my projects in real time so that, when I make a mistake, we can grow together! Join me daily on Instagram stories where I share home DIY projects, life with my family, and a little bit of everything in between - I can't wait to meet you! :)
Categories
projects & tutorials
home decor
Tips & Tricks
lifestyle
I'm Kayla
Hi, there!
DIY Privacy Wall [ Step-by-Step Tutorial ]
January 20, 2023
There’s nothing I love more than an open-concept home or backyard, but sometimes you need a little privacy too! Angela Rose’s privacy fence inspired me so much and I wanted to recreate that same look for our outdoor space. I thought this was a great idea to get a little privacy in our backyard without compromising the extending view we had that made our space feel big and open. So I decided to build my own DIY privacy wall on the side of the yard next to our new patio and it turned out WAY better than I could have imagined!
I knew this would be a great way to give us a little bit more privacy and would really revamp our entire patio space. I’m so happy with the way it turned out and now our outdoor living space truly feels like our own little private oasis.
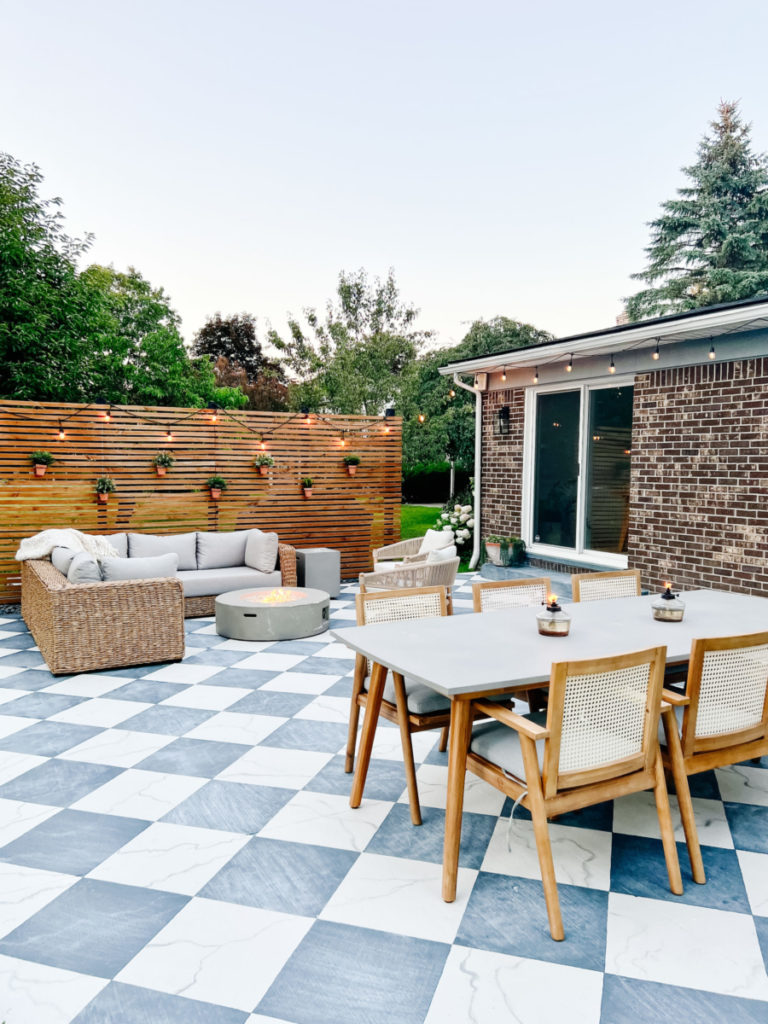
Below are step-by-step instructions on how to build your own DIY privacy wall. This is a beginner-friendly DIY project and a fairly quick build, but you might find it helpful to have an extra person help you out when nailing in the slats to the posts. A special thank you to my handy husband for helping me out with this part!
Materials Needed for your DIY Privacy Wall:
Most, if not all, of these materials can be found at your local Home Depot of Lowe’s.
- Auger (optional)
- Nail Gun
- Paint (I used Tricorn Black)
- 6′ Posts (5 total)
- Galvanized Nails
- Level
- Stain: Canyon Brown
- Tape Measure
- Table Saw or Circular Saw
- Slats: 1 ” x 2 ” ( 1″ x 6″ boards ripped to desired size)
Step 1: Install and Paint the Posts
The overall dimensions of my DIY privacy wall are 16′ x 7′. Depending on how long your DIY privacy wall will be will determine how many posts you’ll need to buy for this project. I ended up buying five 6′ posts and this covered a pretty large area along the side of our patio.
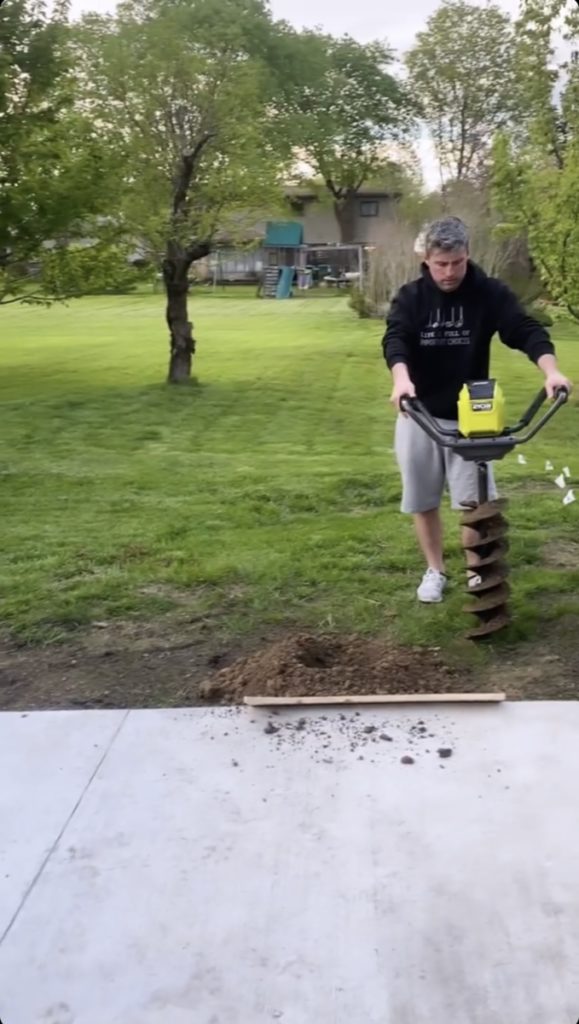
The height of the support posts will determine how deep your holes in the ground need to be. The hole needs to be at least 1/3 of the height of the posts. Since our posts are 6′, we dug 2′ holes into the ground. I also recommend researching the frost lines for your climate as this could impact your project!
We decided it would be a good idea to use an auger for this part. My husband took on this job and it was so fun to see this tool in action!
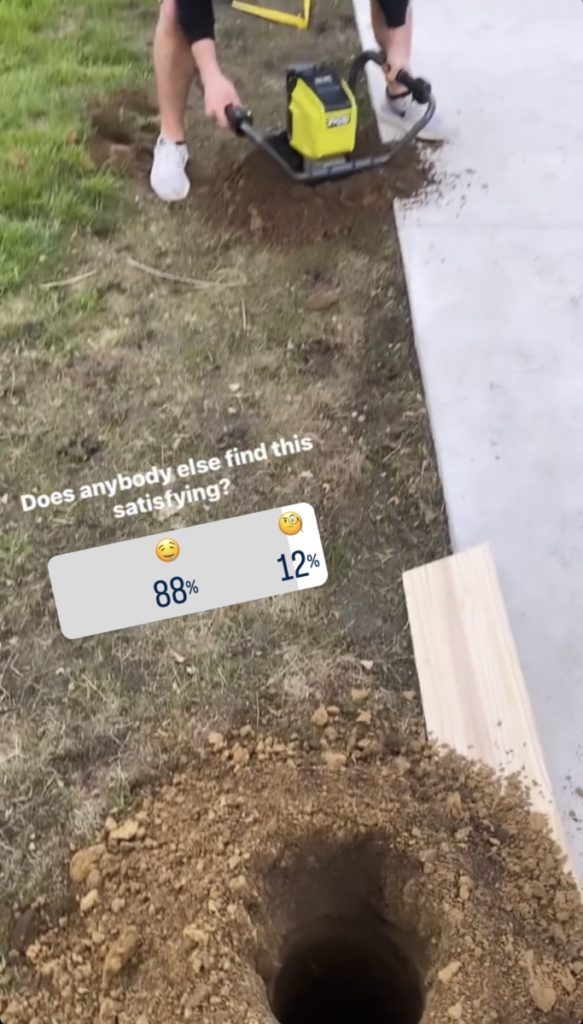
After digging holes into the ground, we installed each of the wooden posts and then painted them Tricorn Black. This is my favorite shade of black and I love how it gives the whole thing a more modern look.
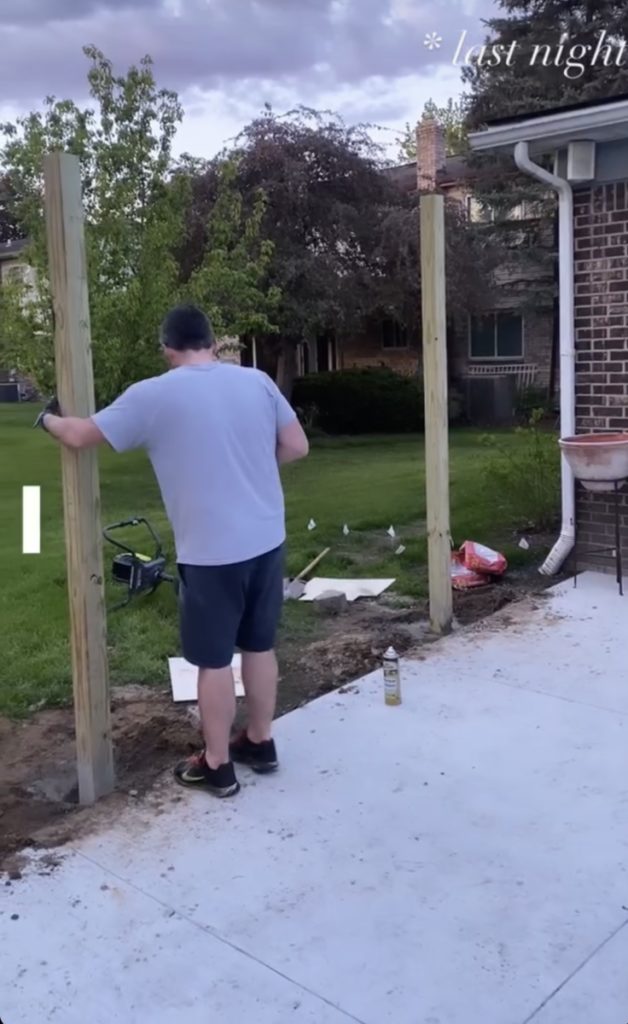
Step 2: Nail in the Slats and Stain the Wood
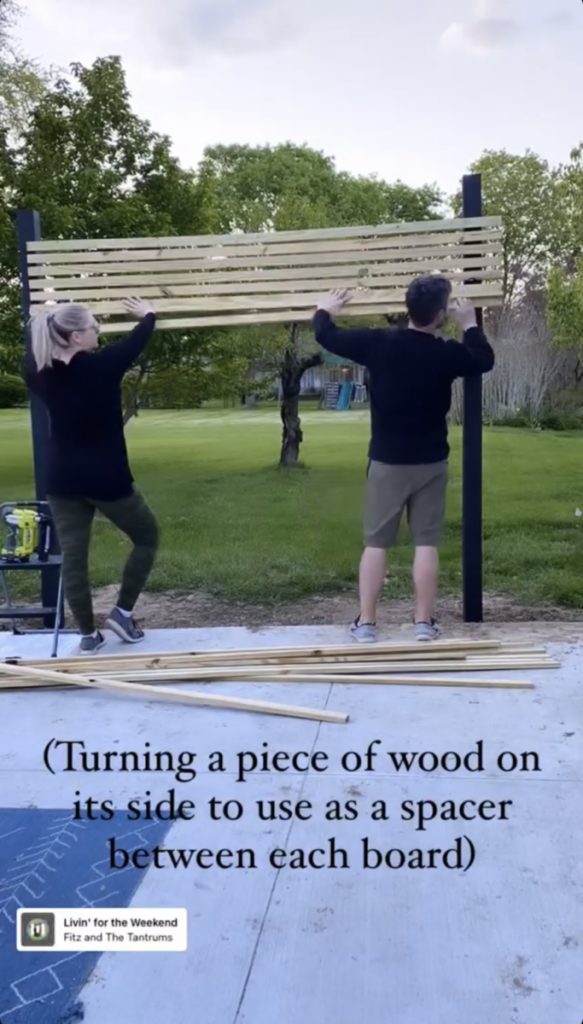
We started to nail in the slats about 3 inches down from the top of the posts. I used my nail gun to attach each wooden slat to the posts and used galvanized nails.
A good way to determine the spacing between the slats was to use the slats themselves. To do this, I turned a 1″ x 2″ wooden slat on its side and placed it in between the slats I was nailing in to ensure it was evenly spaced all the way across and all the way down the privacy wall. Each space was about 1″. So, basically, I used a sideways slat as a consistent spacer for the whole project!
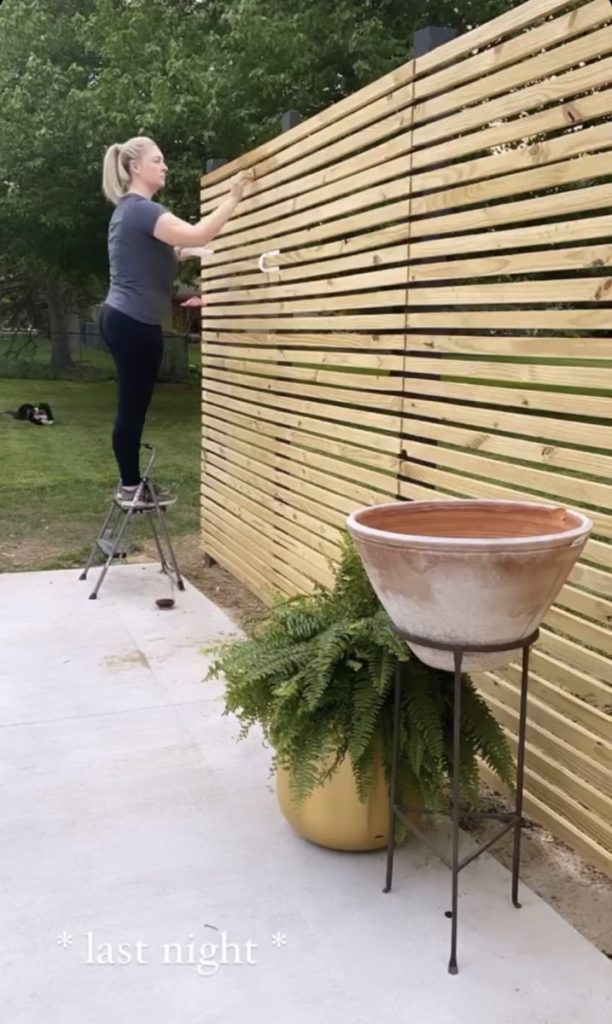
Once all of the slats were nailed into the posts I was able to stain them. I used a stain called Canyon Brown and love the way it paired with the Tricorn Black. It’s a darker stain so I only needed to use one coat and I’m so happy with how it turned out.
Step 3: Decorate your DIY Privacy Wall
Now that you’ve built your DIY privacy wall, it’s time for the best part… decorating and enjoying it!
Again, my inspiration for this project was Angela Rose’s wood slat wall and I love how she added rocks around the bottom of the posts so we did the same thing.
If you don’t want to add rocks, you could add wood chips, tall grasses, pretty flowers, or just leave it as it. I also added string lights and cute potted plants across the entire wall. There’s lots of different and creative ways to decorate your privacy wall.
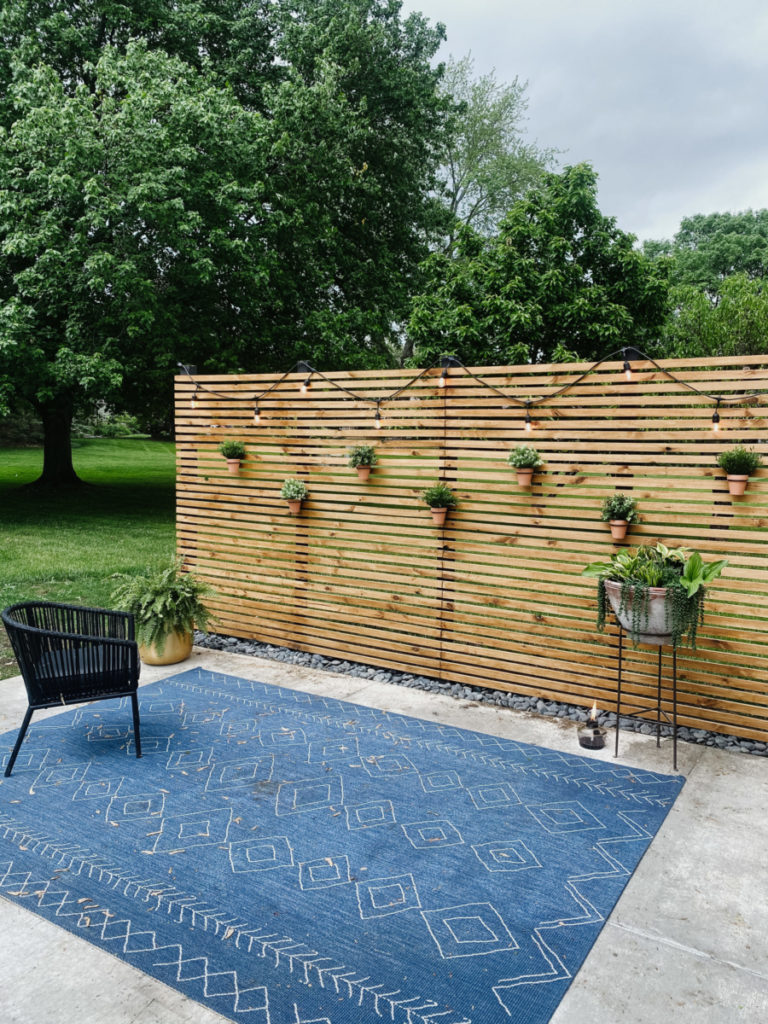
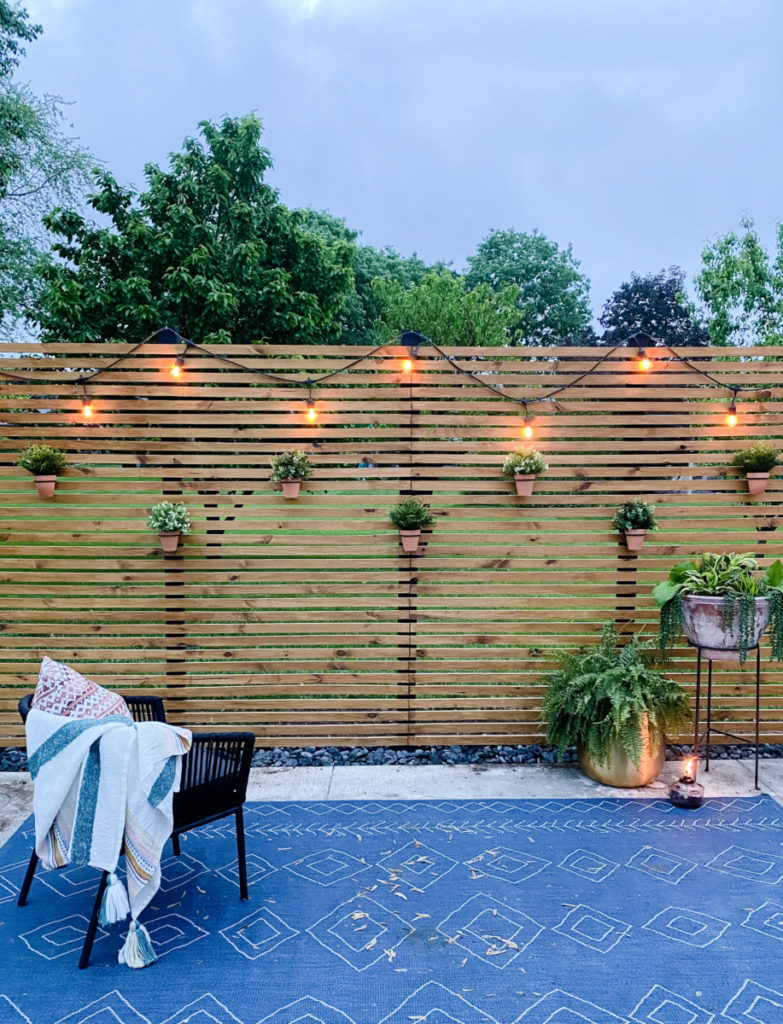
This project has been such a fun way to revamp our patio and the perfect solution for having a more private space. It’s also a great option if you have neighbors that live fairly close and want to get out and enjoy the fresh air without having to worry about who might be outside next to you. The spacing between the slats also help with different climates because wind can blow through the structure without blowing it over! If you have any questions, ask below!
Decor:
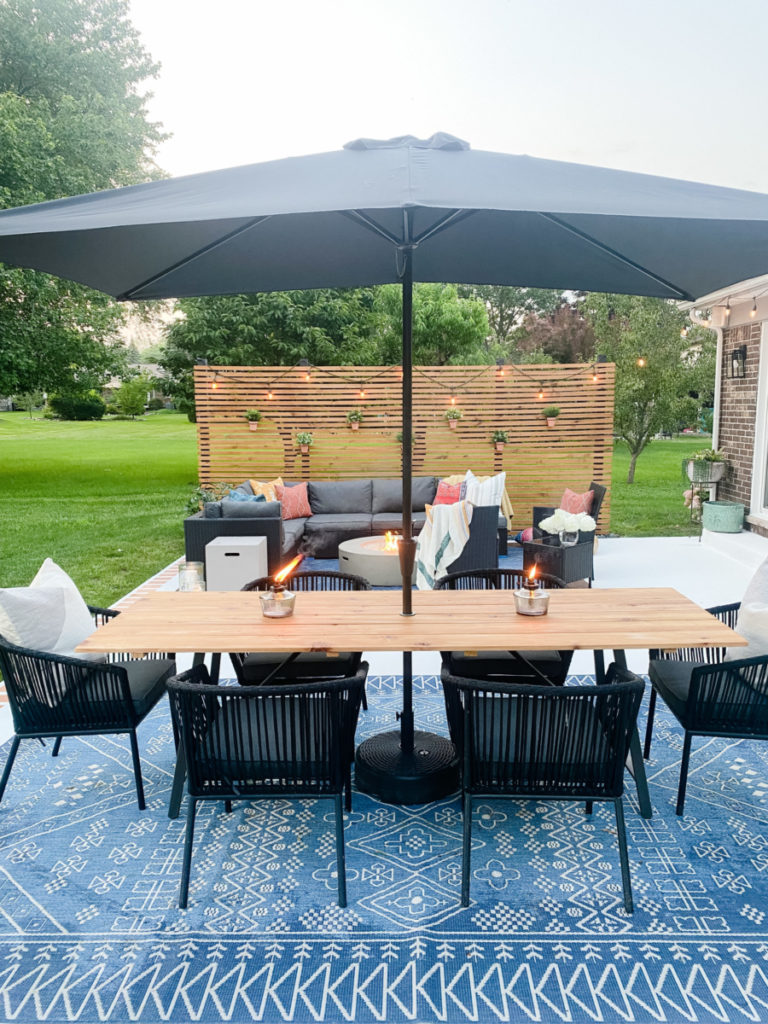
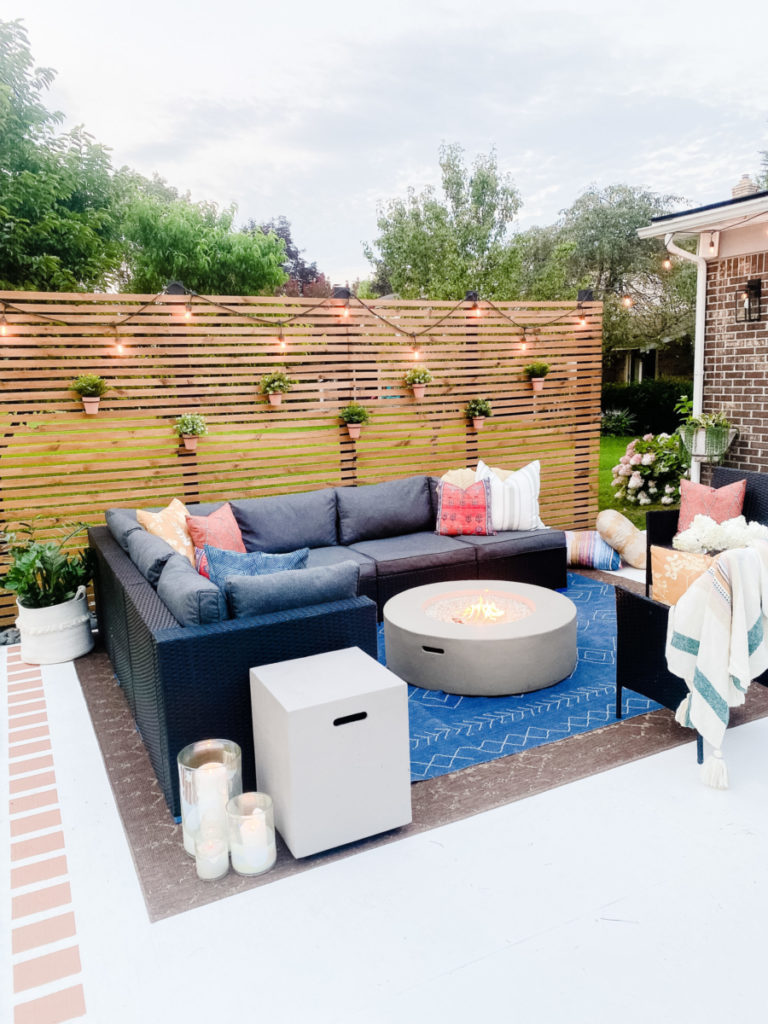
I ended up building this same wall for our air conditioner unit. If you haven’t read that post yet, you can read it out HERE. And check out THIS POST see what my next big patio makeover project was.

Note: As an Amazon Associate I may earn small commissions from qualifying purchases.
Related Posts:
DIY Air Conditioner Fence Cover

I was excited to uncover this great site. I need to to thank you for your time for this particularly wonderful read!! I definitely enjoyed every part of it and I have you book marked to check out new stuff in your web site.