I'm a neat freak tackling messy projects to help you turn your honey-do list into honey-DONE! I'm an average mom, with an average home, and an average budget with a goal of making things that feel ABOVE average! I'm a self-taught DIYer learning as I go, and I share all of my projects in real time so that, when I make a mistake, we can grow together! Join me daily on Instagram stories where I share home DIY projects, life with my family, and a little bit of everything in between - I can't wait to meet you! :)
Categories
projects & tutorials
home decor
Tips & Tricks
lifestyle
I'm Kayla
Hi, there!
DIY Nursery Closet ( Under $80 )
January 12, 2023
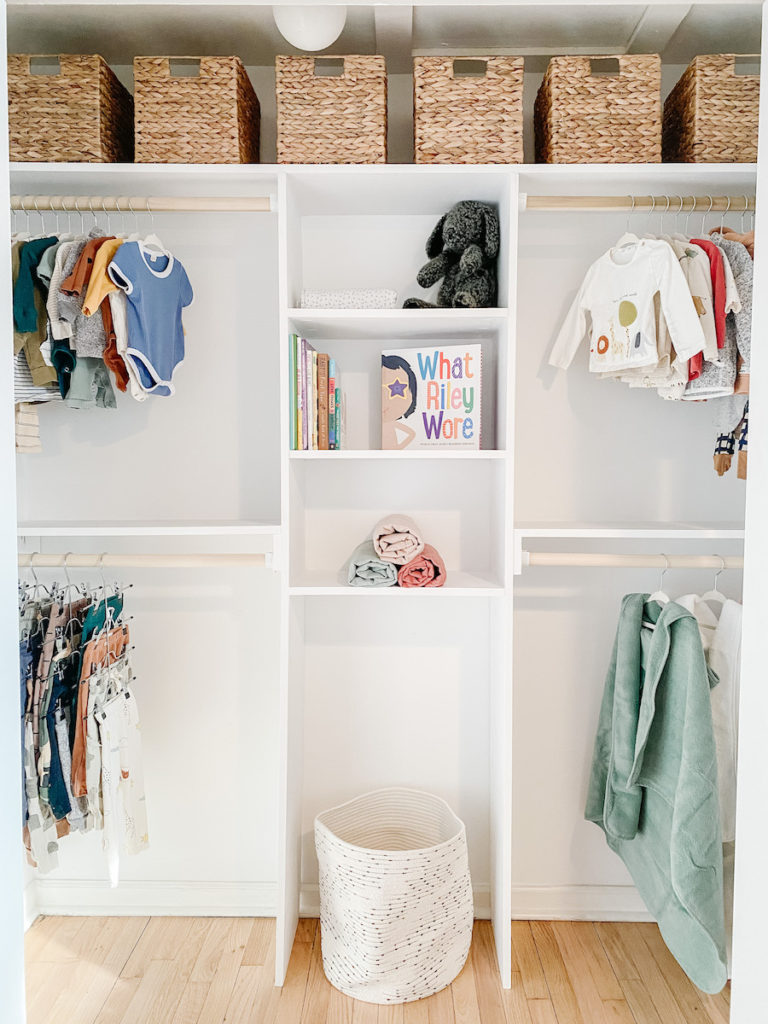
I first started to get into home DIY projects when we were pregnant with Riley, and my confidence quickly grew into feeling brave enough to try and build him a more functional closet space. I decided to do a closet makeover when planning his nursery but wanted it to be super budget-friendly and beginner-friendly, especially as I had never built anything like this before.
The before was nothing special – an average, small closet with a metal rod. But I really wanted a custom closet, and so I built it myself!
I needed a nursery closet with lots of shelving and sections for all of the tiny baby clothes, baby shoes, burp cloths, extra diapers, and the list goes on… You know, all the unexpected things you may get from your baby shower!
Even with this small space, I was able to create the perfect baby’s closet with plenty of room for all of the small items and baby essentials we knew we’d need as new parents. But the best part is that you could definitely customize this to cater to the needs of any large closet, too!
This DIY nursery closet was less than $80 and was one of my first projects ever. So from first hand experience, I can assure you that it’s definitely beginner-friendly!
Preparation for the DIY Nursery Closet
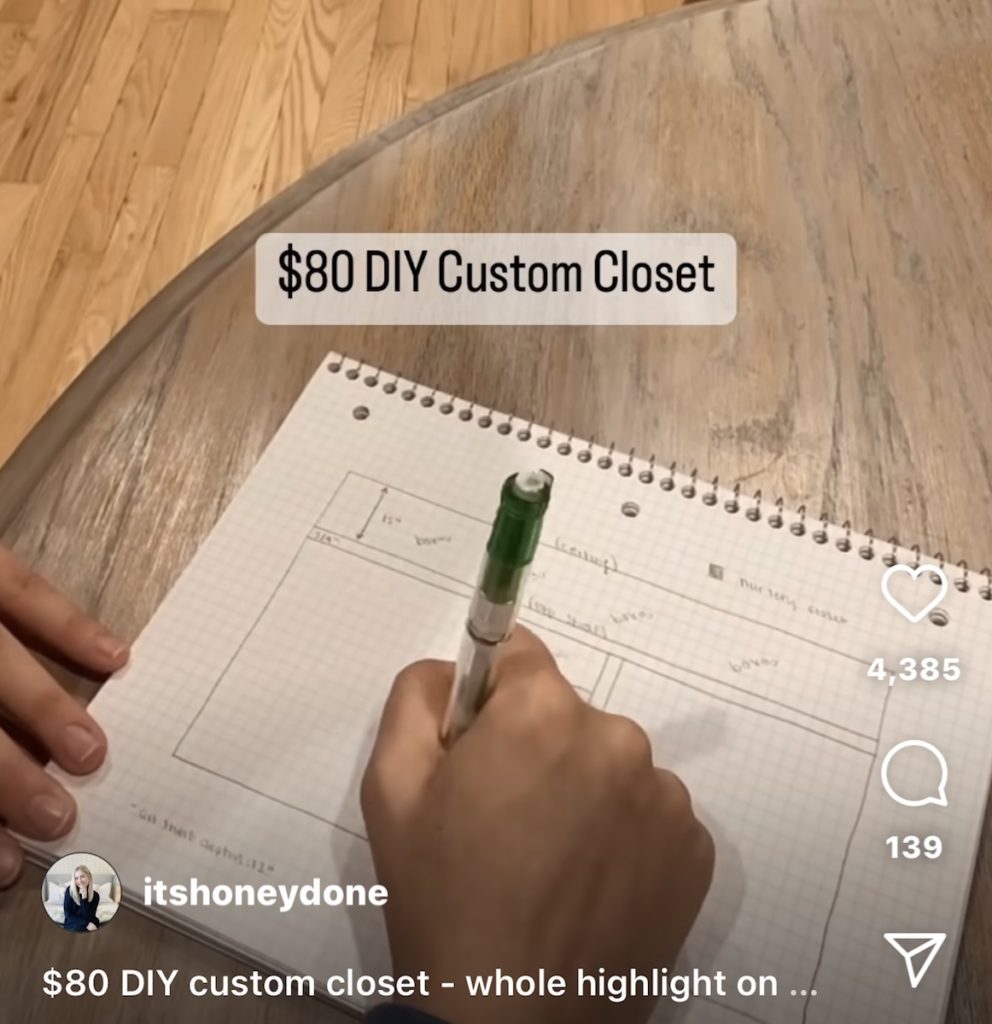
Before building the closet, I sketched out the closet system measurements on grid paper. I found this to be the best way to organize all of my thoughts. This also helped give me a better idea on what materials/tools I needed for the project.
After drawing it out and making measurements, I finalized all of my plans for the DIY nursery closet and bought the materials!
Tools/ Materials I used:
- One sheet of 3/4″ 4×8′ birch plywood
- Caulk
- Paint: Benjamin Moore Chantilly Lace
- Paint Roller
- Paint Brush
- Power Drill
- Kreg Jig for pocket holes
- Table Saw (another option is a circular saw)
- Wood Glue
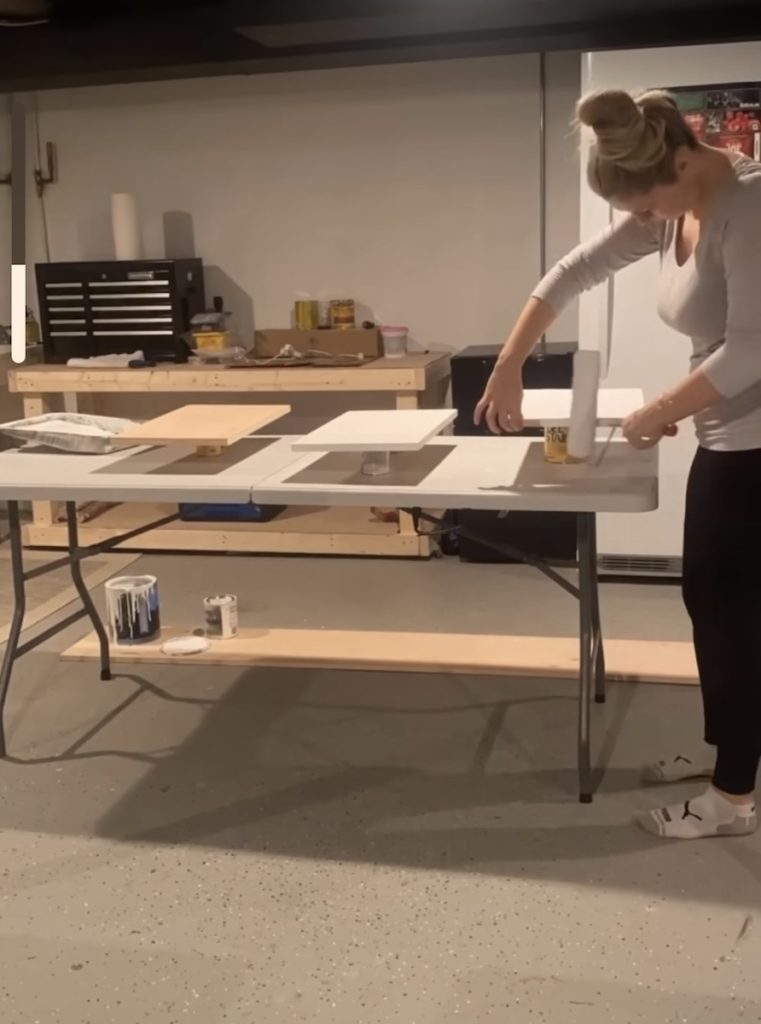
Once you’ve got your materials, it’s time to make your cuts and paint the shelves.
I cut the plywood down using my table saw. If you don’t have a table saw, another option would be a circular saw.
After cutting the boards, I used Benjamin Moore Chantilly Lace for a pretty white paint color. Once I got the boards cut to their sizes and painted, it didn’t take much time to build the closet from there.
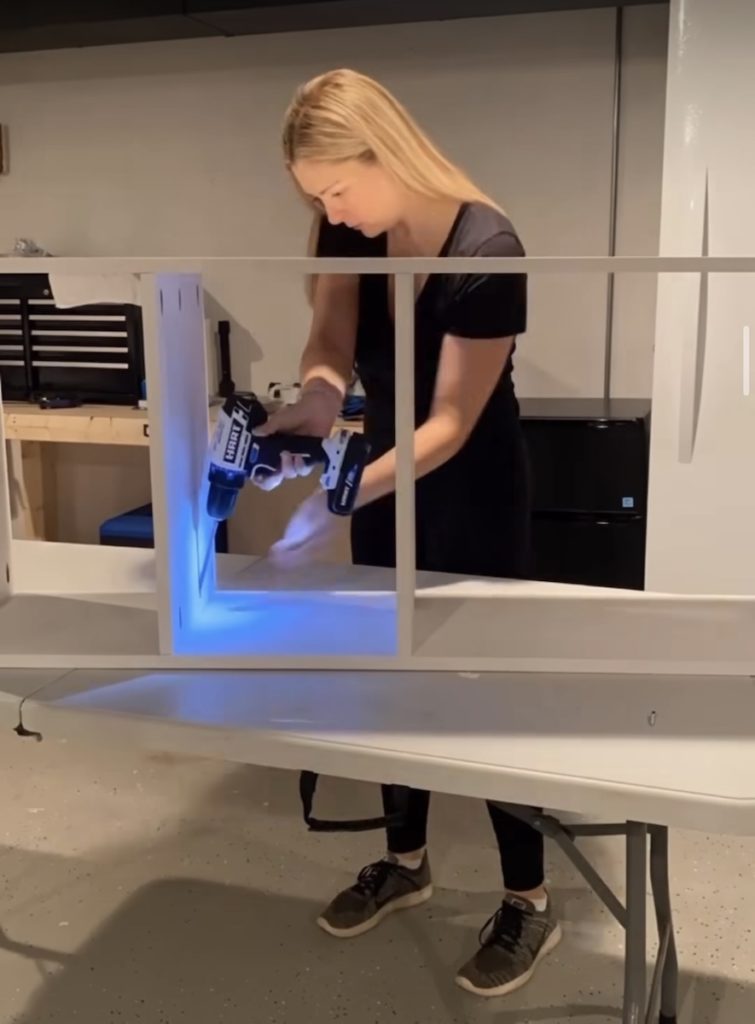
Assemble the DIY Nursery Closet: Build the Frame
After cutting and painting the boards, I made pocket holes so I’d be able to secure the frame. I made the pocket holes with this Kreg Jig.
To make the best use of this space, I did this several times to create more sections and to make sure I had plenty of space for all of the baby things. To add in more drawer space, clothing rods, and room for longer items to hang from the closet rod, I created different sizes of these sections.
I also googled how much space baby clothes needed to hang versus adult clothes to determine how large each section may need to be. I had no idea about the little things, like what size storage solutions you need for a baby 0-3 months, haha!
When building the frame I started with the center column. I used my multitool to cut a notch in the back wall baseboards so that this tower could be pushed flush up against the back wall, but didn’t actually secure it to the back wall. Trust me, I know this seems crazy, but this thing was SOLID when finished and I’ll continue to explain!
Assemble the DIY Nursery Closet: Build the Supports and Shelves
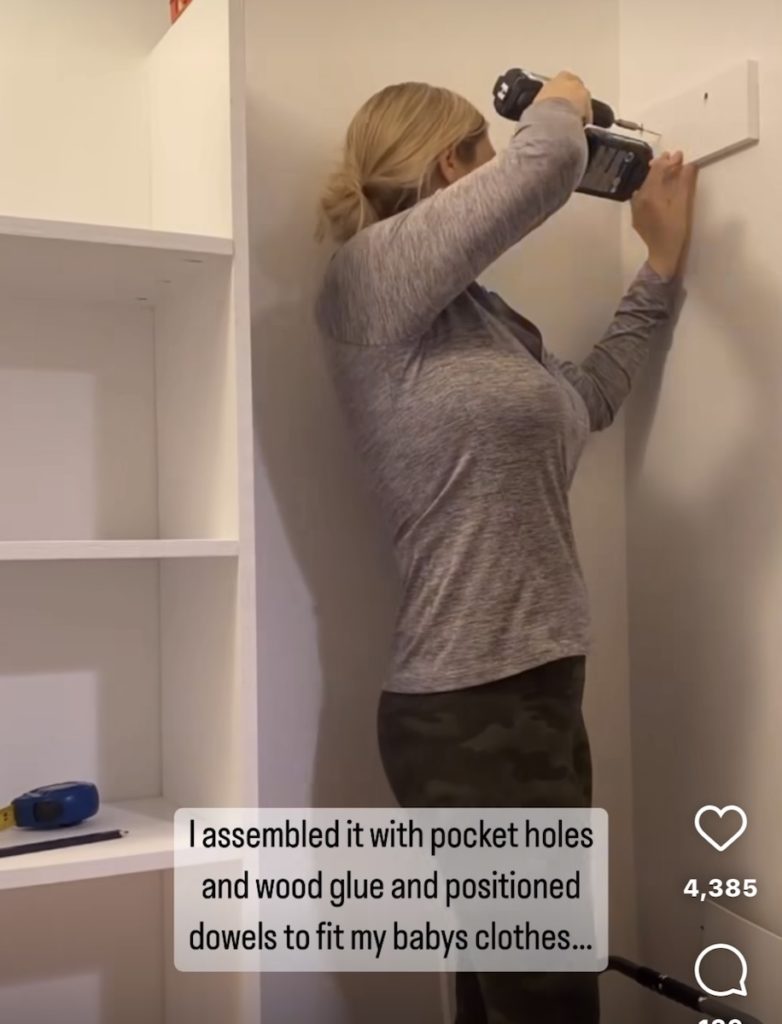
Next I added supports on the left and right walls (screwed into studs) to support the weight of the top horizontal shelf. The top horizontal shelf was added next, and I screwed down into the top of it to attach is to these side support pieces as well as into the top of the center column. At this point, the center column was already super secure in place without having ever been attached to the back wall, and will continue to be reinforced throughout the build.
Next up, I repeated this same process to create the lower left and right shelves, and then added metal brackets to support wooden dowels for hanging clothes. There’s many different ways you can build a DIY nursery closet, but I chose my measurements to make sure there was plenty of storage space for more baskets, folded clothes, or whatever else was needed for a baby’s nursery closet.
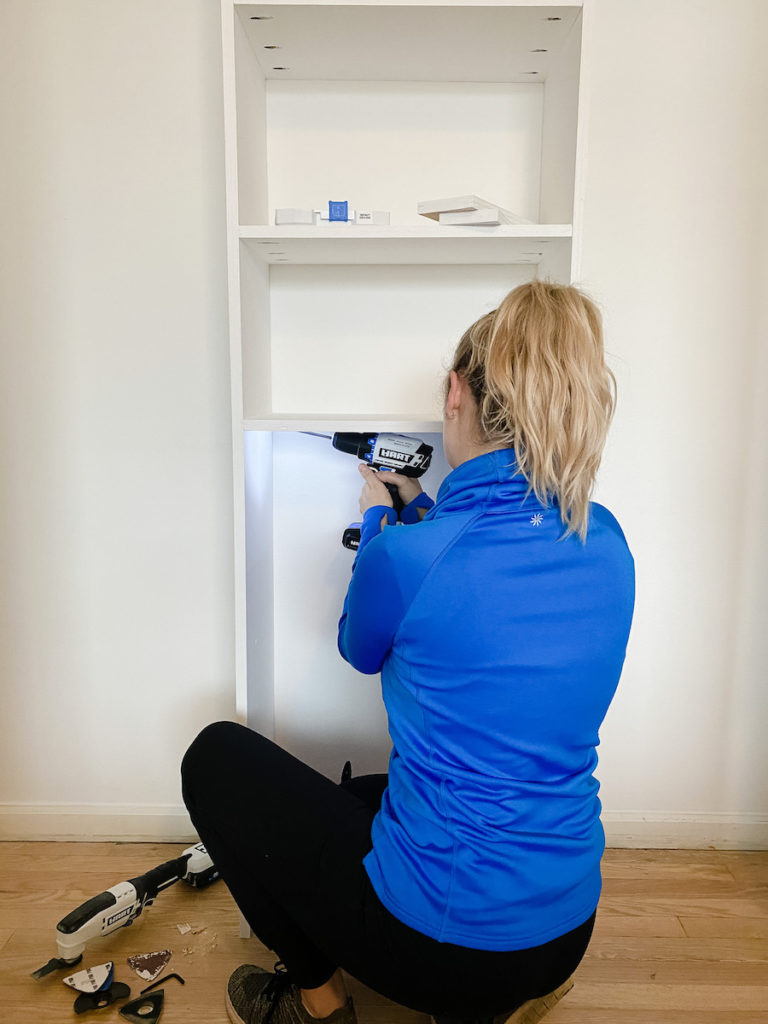
For the center column, I made the depths of the shelves 12″, the height between the middle shelves 12″, and the width of the middle shelves 20″. I’m definitely not a professional baby closet organizer, but this worked great for us!
Another great idea would be to build your DIY closet around a dresser drawers. I’ve seen this done several times before and love the look of it!
Touch Ups
Once you’ve built your closet, the next step is to touch up any areas that need paint. One of my favorite tips to making a space look even better is using caulk and wood filler to fill in any nail holes or gaps. This gives the inside edges a clean and crisp look and takes any DIY project to the next level. You’ll use wood filler for holes, and caulk for corner seams such as where two corners come together. Note: make sure you buy paintable caulk!
Organize the Closet
Now that you’ve created lots of extra space with different sections, it’s time for the fun part…organizing and decorating! Below, are some of the items I used to organize and decorate my son’s closet.
Hopefully this gives you some ideas for a more spacious and organized closet!
All in all, this was a great experience for my first true build and I highly recommend trying it out as a DIY beginner! And if you are interested in this build specifically for a new baby, congrats! I hope you get both your dream baby and your dream closet 🙂
Follow along on social media @itshoneydone so I can help you turn your honey-do list into honey-DONE!
Note: As an Amazon Associate I may earn small commissions from qualifying purchases.
Related Articles
Board and Batten Nursery Wall – Full Tutorial
My Two Favorite Caulking Tricks
Caulk vs Wood Filler – The Right Choice for Your Project
