I'm a neat freak tackling messy projects to help you turn your honey-do list into honey-DONE! I'm an average mom, with an average home, and an average budget with a goal of making things that feel ABOVE average! I'm a self-taught DIYer learning as I go, and I share all of my projects in real time so that, when I make a mistake, we can grow together! Join me daily on Instagram stories where I share home DIY projects, life with my family, and a little bit of everything in between - I can't wait to meet you! :)
Categories
projects & tutorials
home decor
Tips & Tricks
lifestyle
I'm Kayla
Hi, there!
DIY Kitchen Island Accent Project
August 31, 2023
If your kitchen has an island, this can be a perfect spot for a fun little accent wall feature! No island? No problem! The same concepts can be applied to the sides of cabinets at the end of a row of cabinets in your kitchen, on the side of your bathroom vanity, and more! I always say accent walls are the best place to start learning how to do DIY projects because they are budget-friendly, beginner-friendly, can help you learn a lot of basic skills, and don’t need to require more than basic tools.
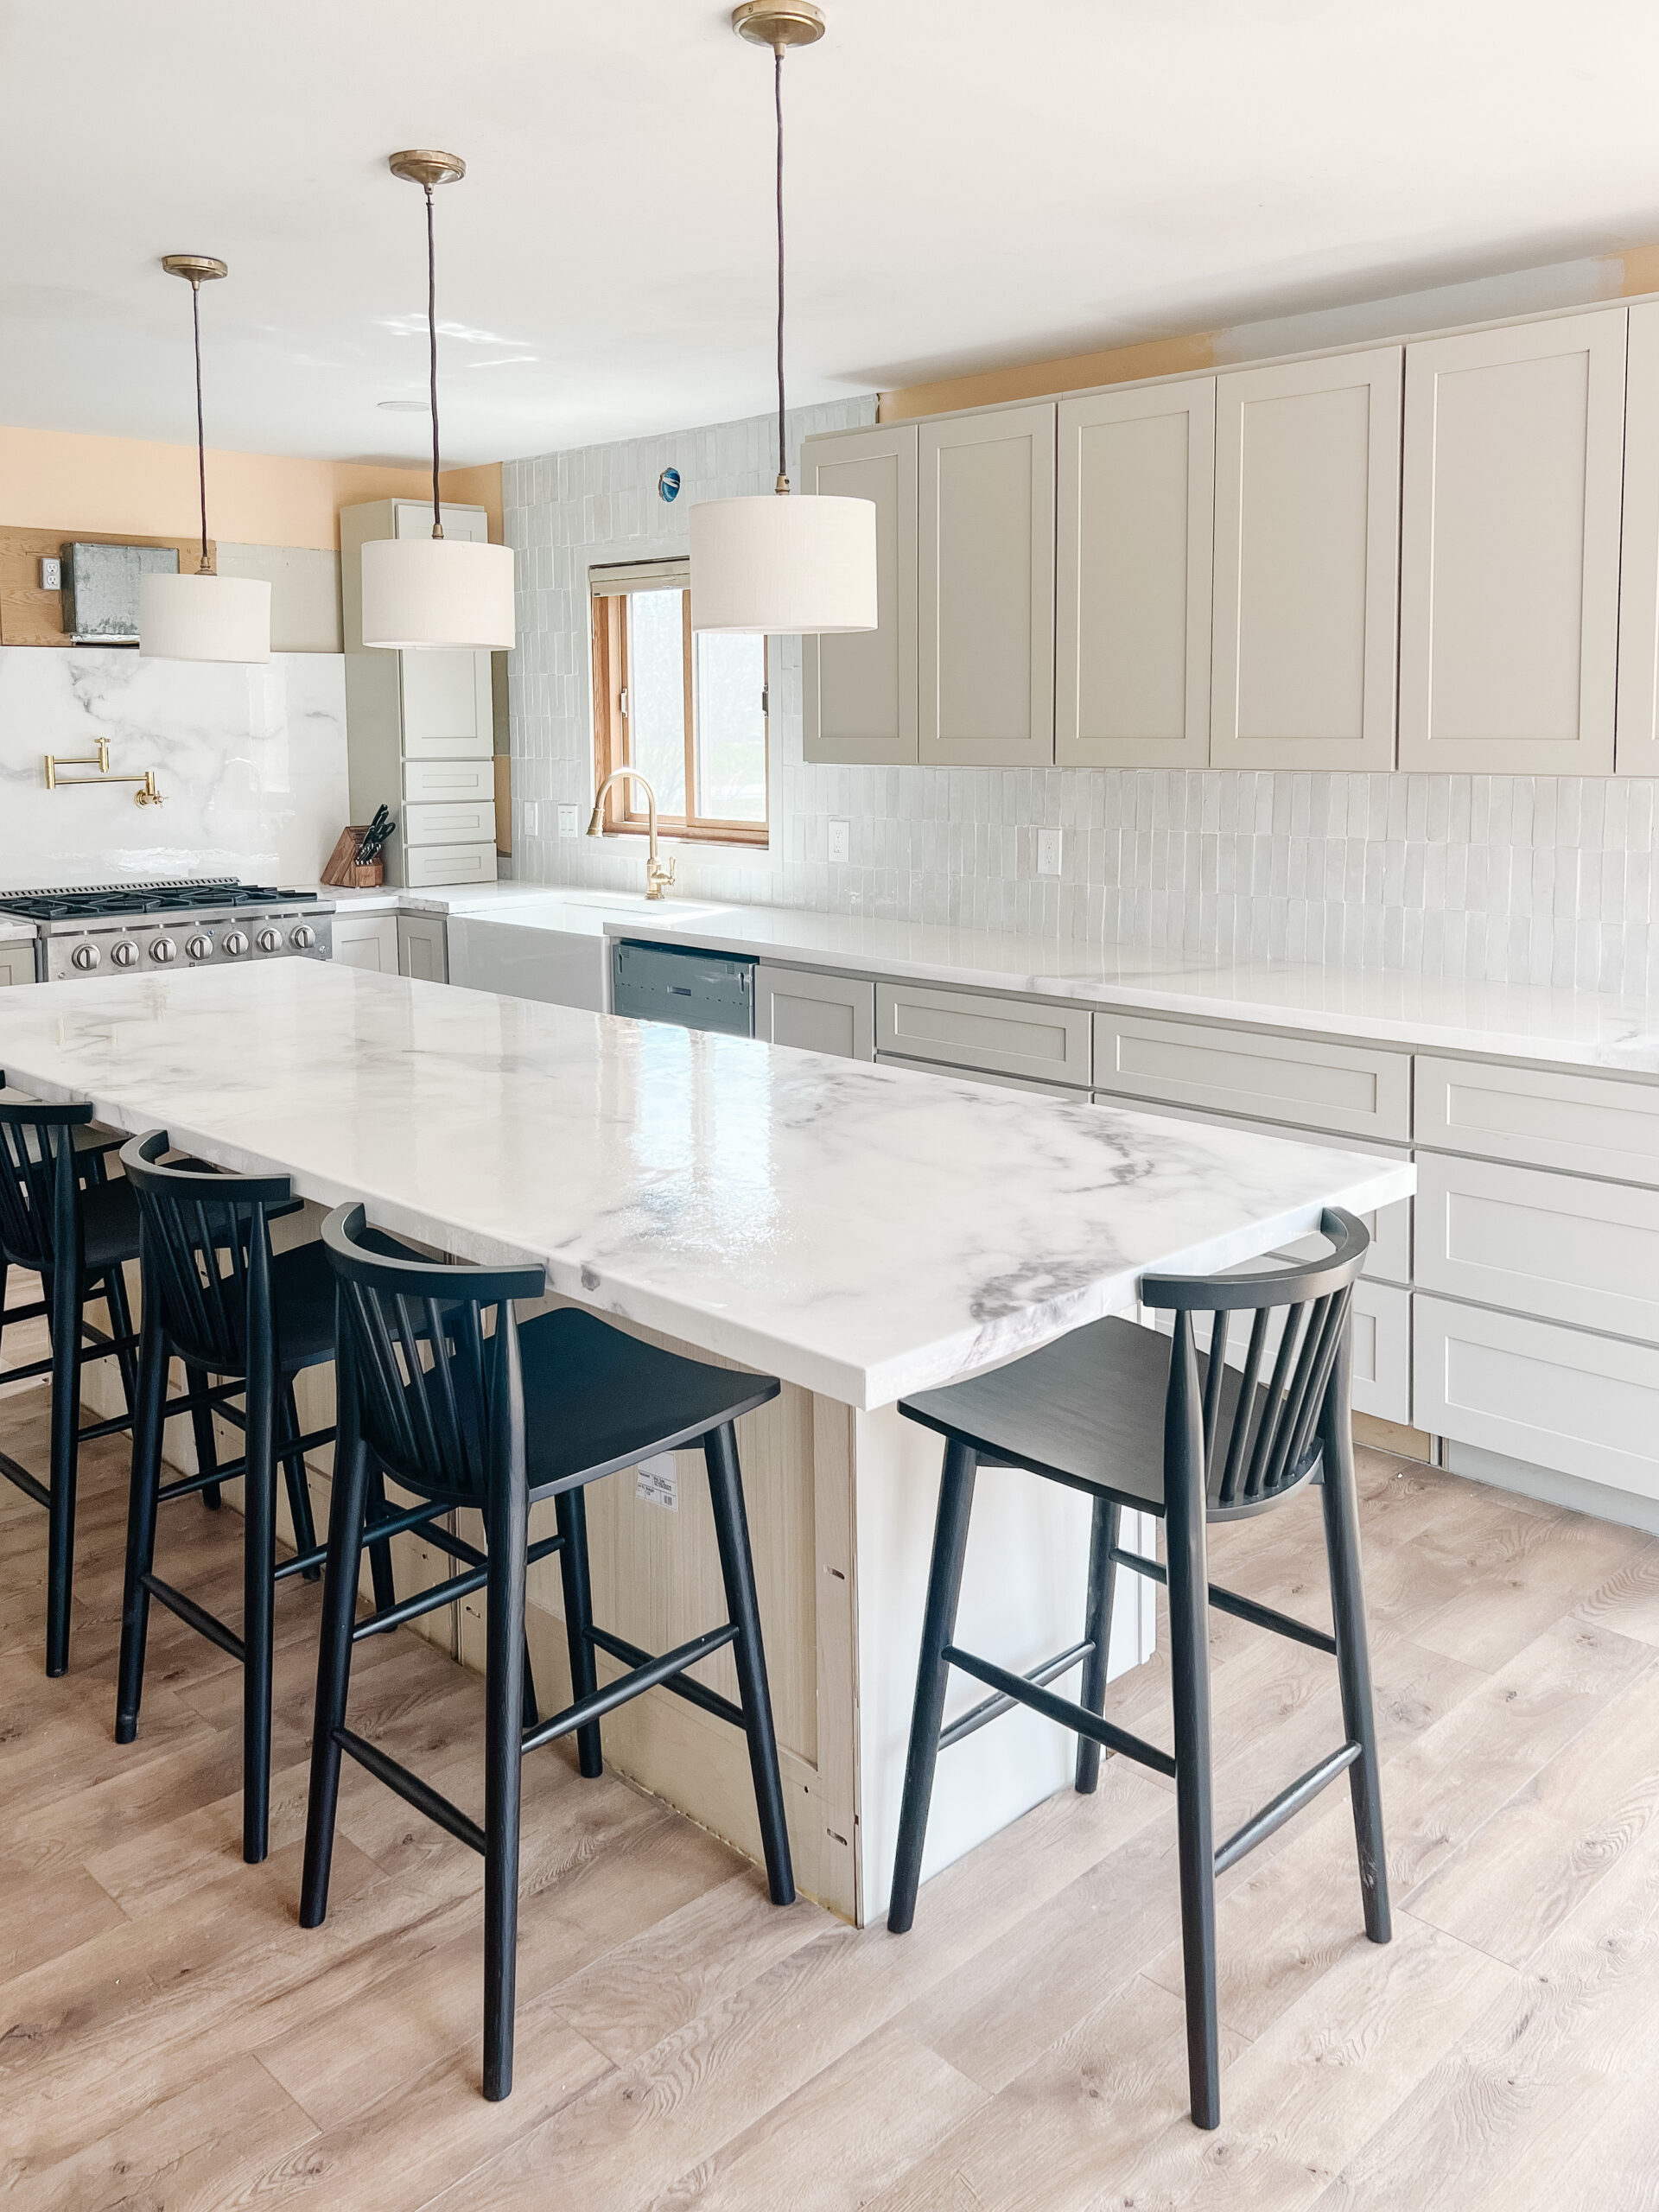
After I installed our kitchen base cabinets from RTA Cabinet store, the back of my new kitchen island was unfinished and I wanted to add some fun detail. Enter: my DIY kitchen island project!
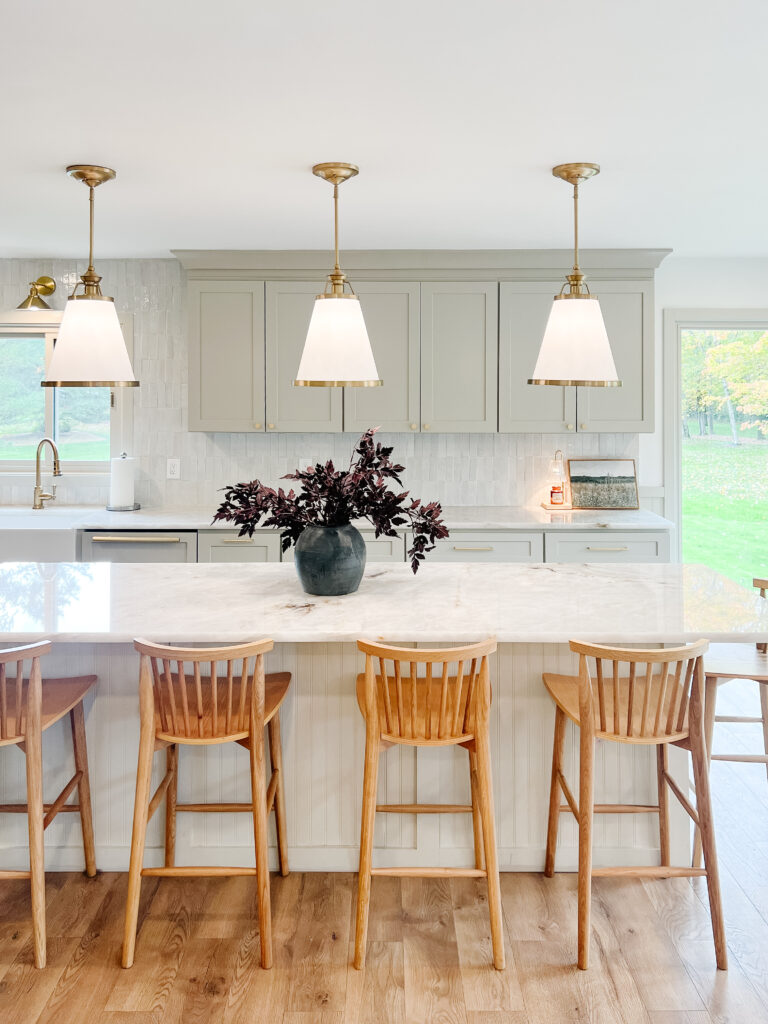
Our kitchen still has a ways to go until it’s finished, but little accent details like this make me so happy! Some sort of accent feature to your kitchen island is a great way to give your kitchen more character! It can be as simple as a fresh coat of paint, adding some trim work, or adding bead board. This DIY kitchen island accent project was quick and easy and made our kitchen remodel look that much better!
Tools
- Level
- Pin Nailer
- Nail Gun
- Miter Saw
- Circular Saw
- Tape Measure
- Caulk
- Caulk Gun
- Shims
- Wood Filler
- Sandpaper
- Baby Wipes
- Wooster Short Cut Brushes
- High Density Foam Rollers
Materials for Your DIY Kitchen Island Accent Project
I used beadboard and MDF for my trim piece to create shaker style panels that would match my shaker cabinet doors and the accent walls in the kitchen. These can be found at your local Home Depot or Lowe’s store. Then, I used the wainscoting calculator to determine the size of my panels. You can read my blog post on how to use the wainscoting calculator HERE.
There’s no right or wrong way to do this, but I decided to only put the beadboard on the back of the cabinet to cover up the unfinished side. Although these were stock cabinets, there wasn’t a need for me to do the side of the island or the front side as these were already finished.
To see more about my cabinet install process, check out my kitchen highlight on Instagram HERE or some of my progress reels HERE. It’s totally personal preference if you want to only do the backside, the sides, or both. If beadboard isn’t the look you’re going for, you have a ton of other options. Think: shiplap, farmhouse trim work, pole-wrap, slat walls, and more!
Steps
I started by framing out the back of my island with MDF trim to create my rails and stiles. This helped frame out where the beadboard would go and I decided to make the center section wider than the two sides. I initially used a brad nailer to attach each of these pieces to the island, trying to be mindful of placing my nails at right at the top edges where the trim meets the counter top and right at the bottom near the floor. This ensures that the nail holes will be discreet, as you won’t see them underneath the counter overhang and the future quarter-round moulding I’ll be adding will cover those down by the floor. I then reinforced these further with my pin nailer as these holes are nearly invisible.
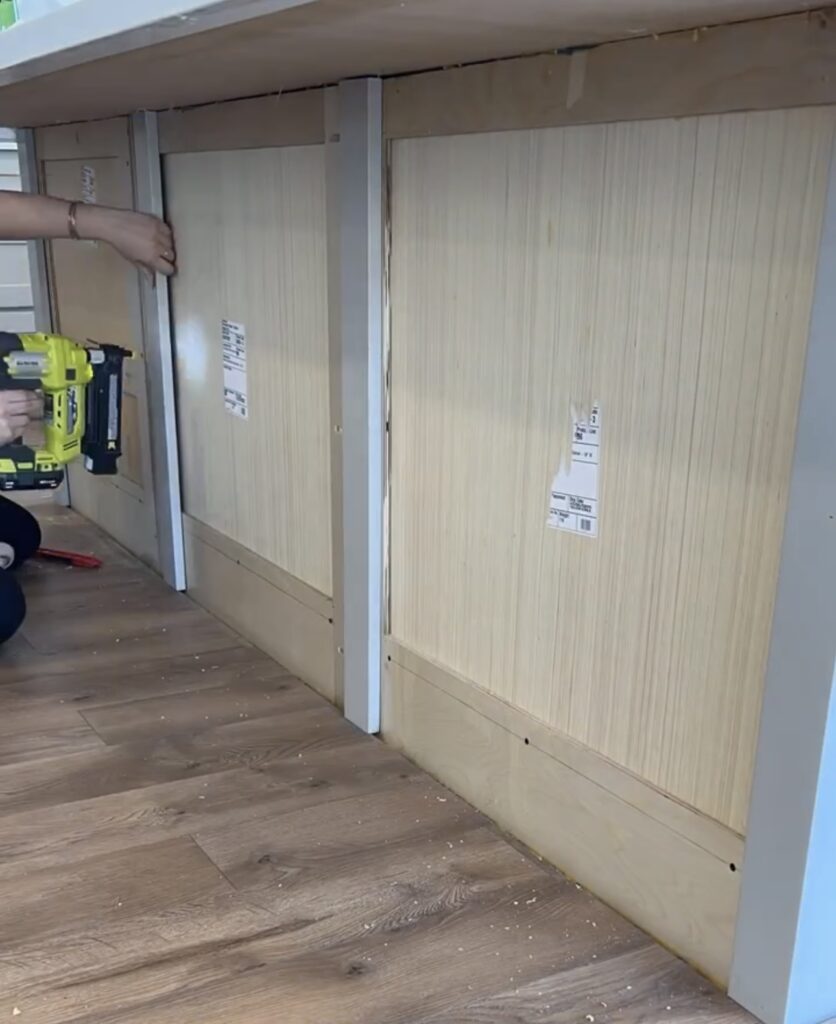
I chose to do the trim first and then fit the beadboard inside of the trim panels so that it’d sit flush and look custom on the ends. If I had done one large panel of beadboard and placed my rails and stiles (the MDF trim) over it, it would have created a gap where the back of my cabinets meet the sides of my cabinets. Doing it my way was more work, but ultimately allowed for a better finish.
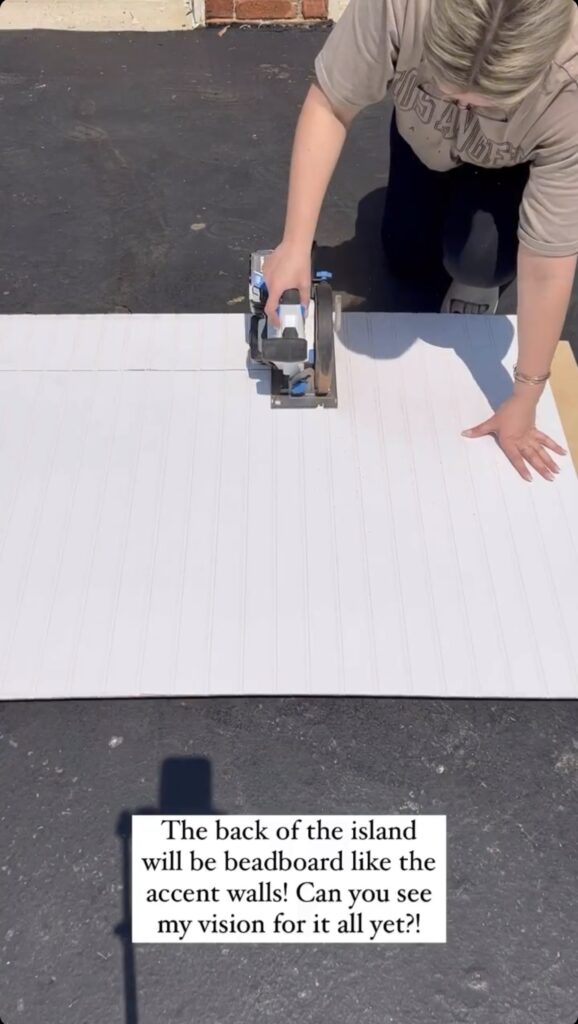
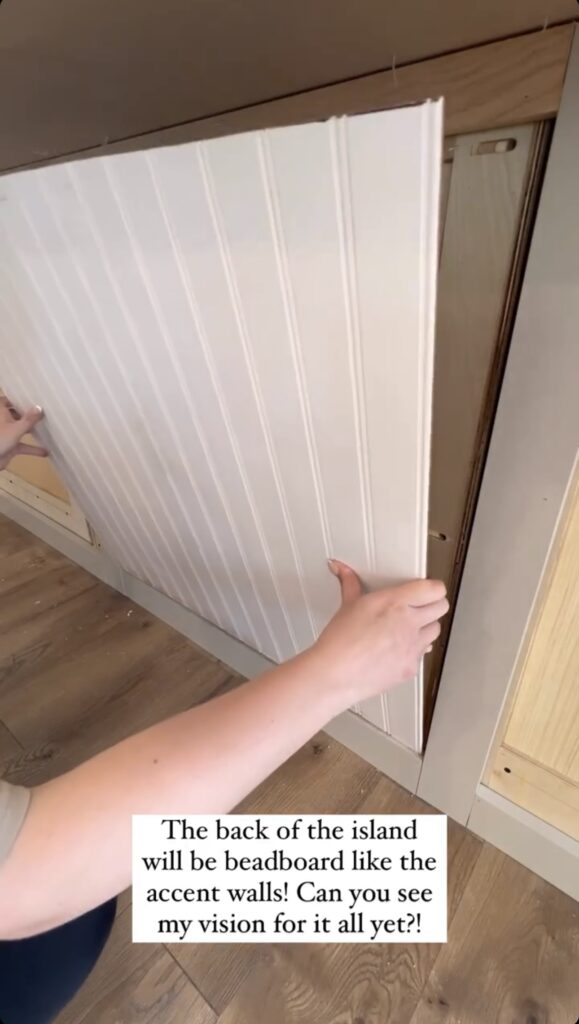
For the next step, I cut the beadboard to size using my measuring tape and circular saw. I used a pin nailer to attach the beadboard to the cabinet. This really helped out with hiding the nails. If you don’t have the tools needed for this project another easy way would be to use some wood glue and clamps in some areas, but that would make it semi-permanent. Pro tip: always nail into the grooves of your beadboard whenever possible to disguise these holes ever further!
Finishing Touches
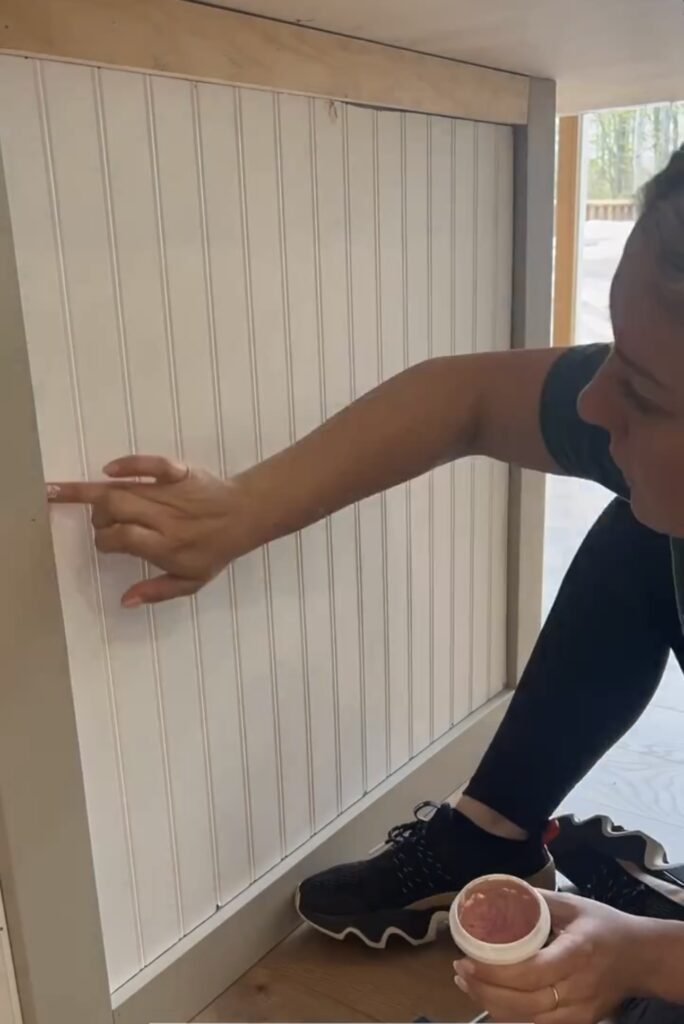
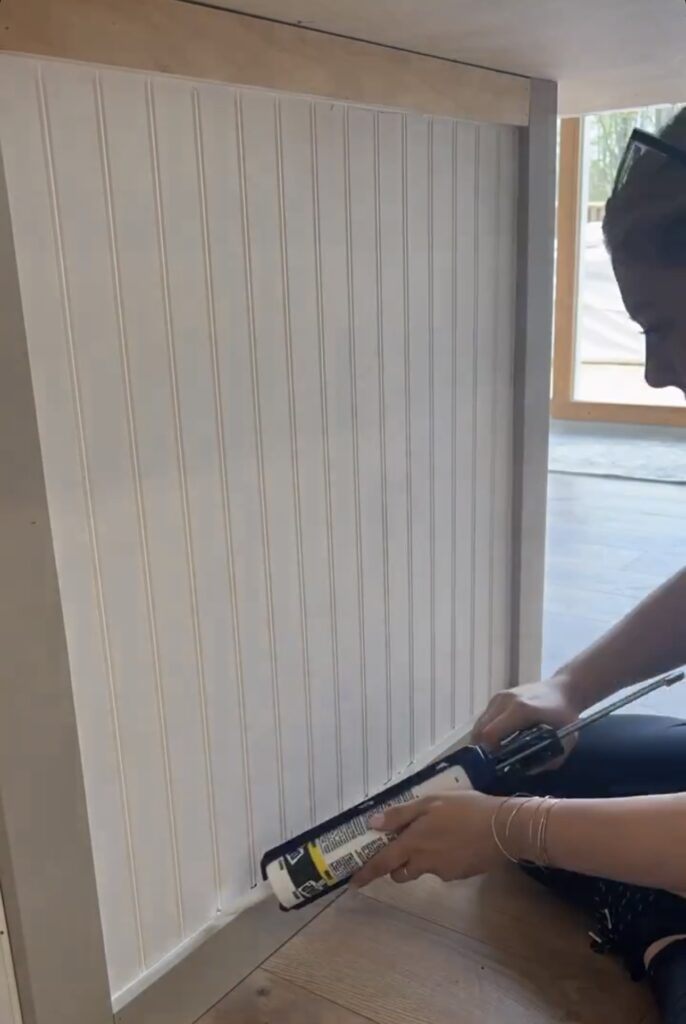
After adding beadboard, I added caulk and used wood filler on any visible nail holes. This will help create a clean and smooth surface. Need help determining when to use caulk versus wood filler? Check out THIS blog post! After this, I sanded and wiped down my surface to prep for paint.
Paint
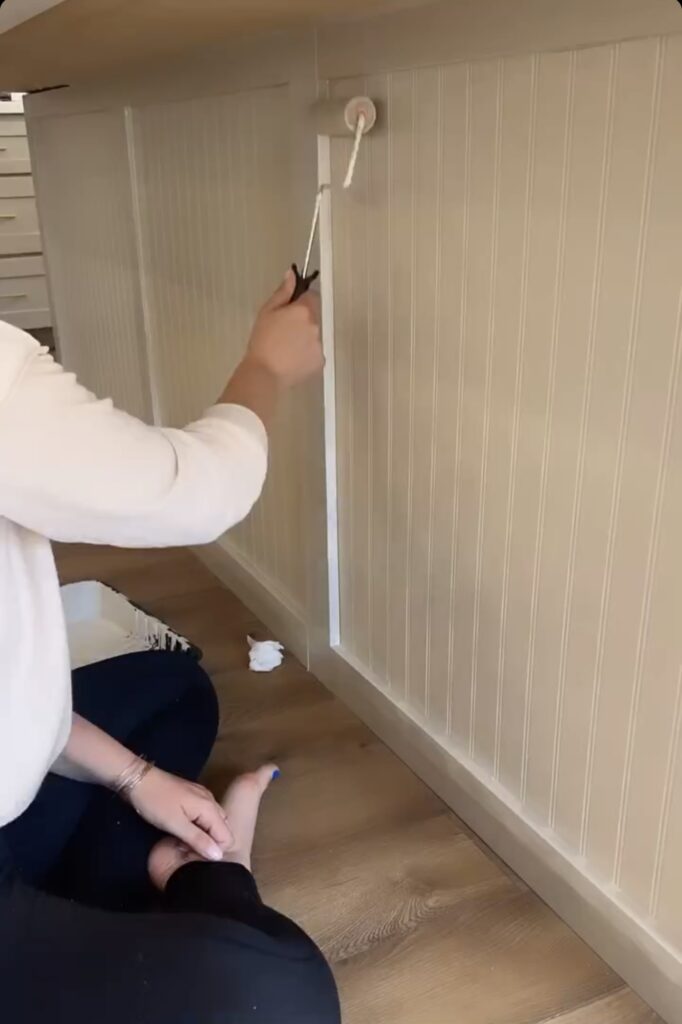
The beadboard needed a new coat of paint to match the cabinets. I used Sherwin Williams emerald urethane trim enamel paint color matched to the color of my new cabinets. This is basically the same thing as my go-to color, Accessible Beige, but the exact paint color match for my cabinet color is in the picture below.

When walking into our kitchen from the living room, the new island is a focal point in what is quickly becoming our new modern kitchen! It seriously feels like a custom kitchen island and I’m so happy with how the beadboard turned out and how it blends so well with the design of our kitchen. And man, I just love our new countertop and these RTA cabinets are SO much prettier than our old cabinet. Just please nobody tell Griffin I think I’m going to get new bar stools, please…
Whether you have a small kitchen island or a large kitchen island, this is a super easy DIY project that can be done on pretty much any kitchen island. Would you try an accent feature like this on your own kitchen island?! Let me know down in the comments below, and follow along on Instagram HERE so I can help you turn your honey-do list into honey-DONE!
Note: As an Amazon Associate I may earn small commissions from qualifying purchases.
Related Posts:
DIY Faux marble Epoxy Kitchen Countertops
DIY Backsplash Tile Install for Beginners
Board and Batten Nursery Wall – Full Tutorial
