I'm a neat freak tackling messy projects to help you turn your honey-do list into honey-DONE! I'm an average mom, with an average home, and an average budget with a goal of making things that feel ABOVE average! I'm a self-taught DIYer learning as I go, and I share all of my projects in real time so that, when I make a mistake, we can grow together! Join me daily on Instagram stories where I share home DIY projects, life with my family, and a little bit of everything in between - I can't wait to meet you! :)
Categories
projects & tutorials
home decor
Tips & Tricks
lifestyle
I'm Kayla
Hi, there!
DIY Faux Marble Epoxy Kitchen Countertops
April 14, 2023
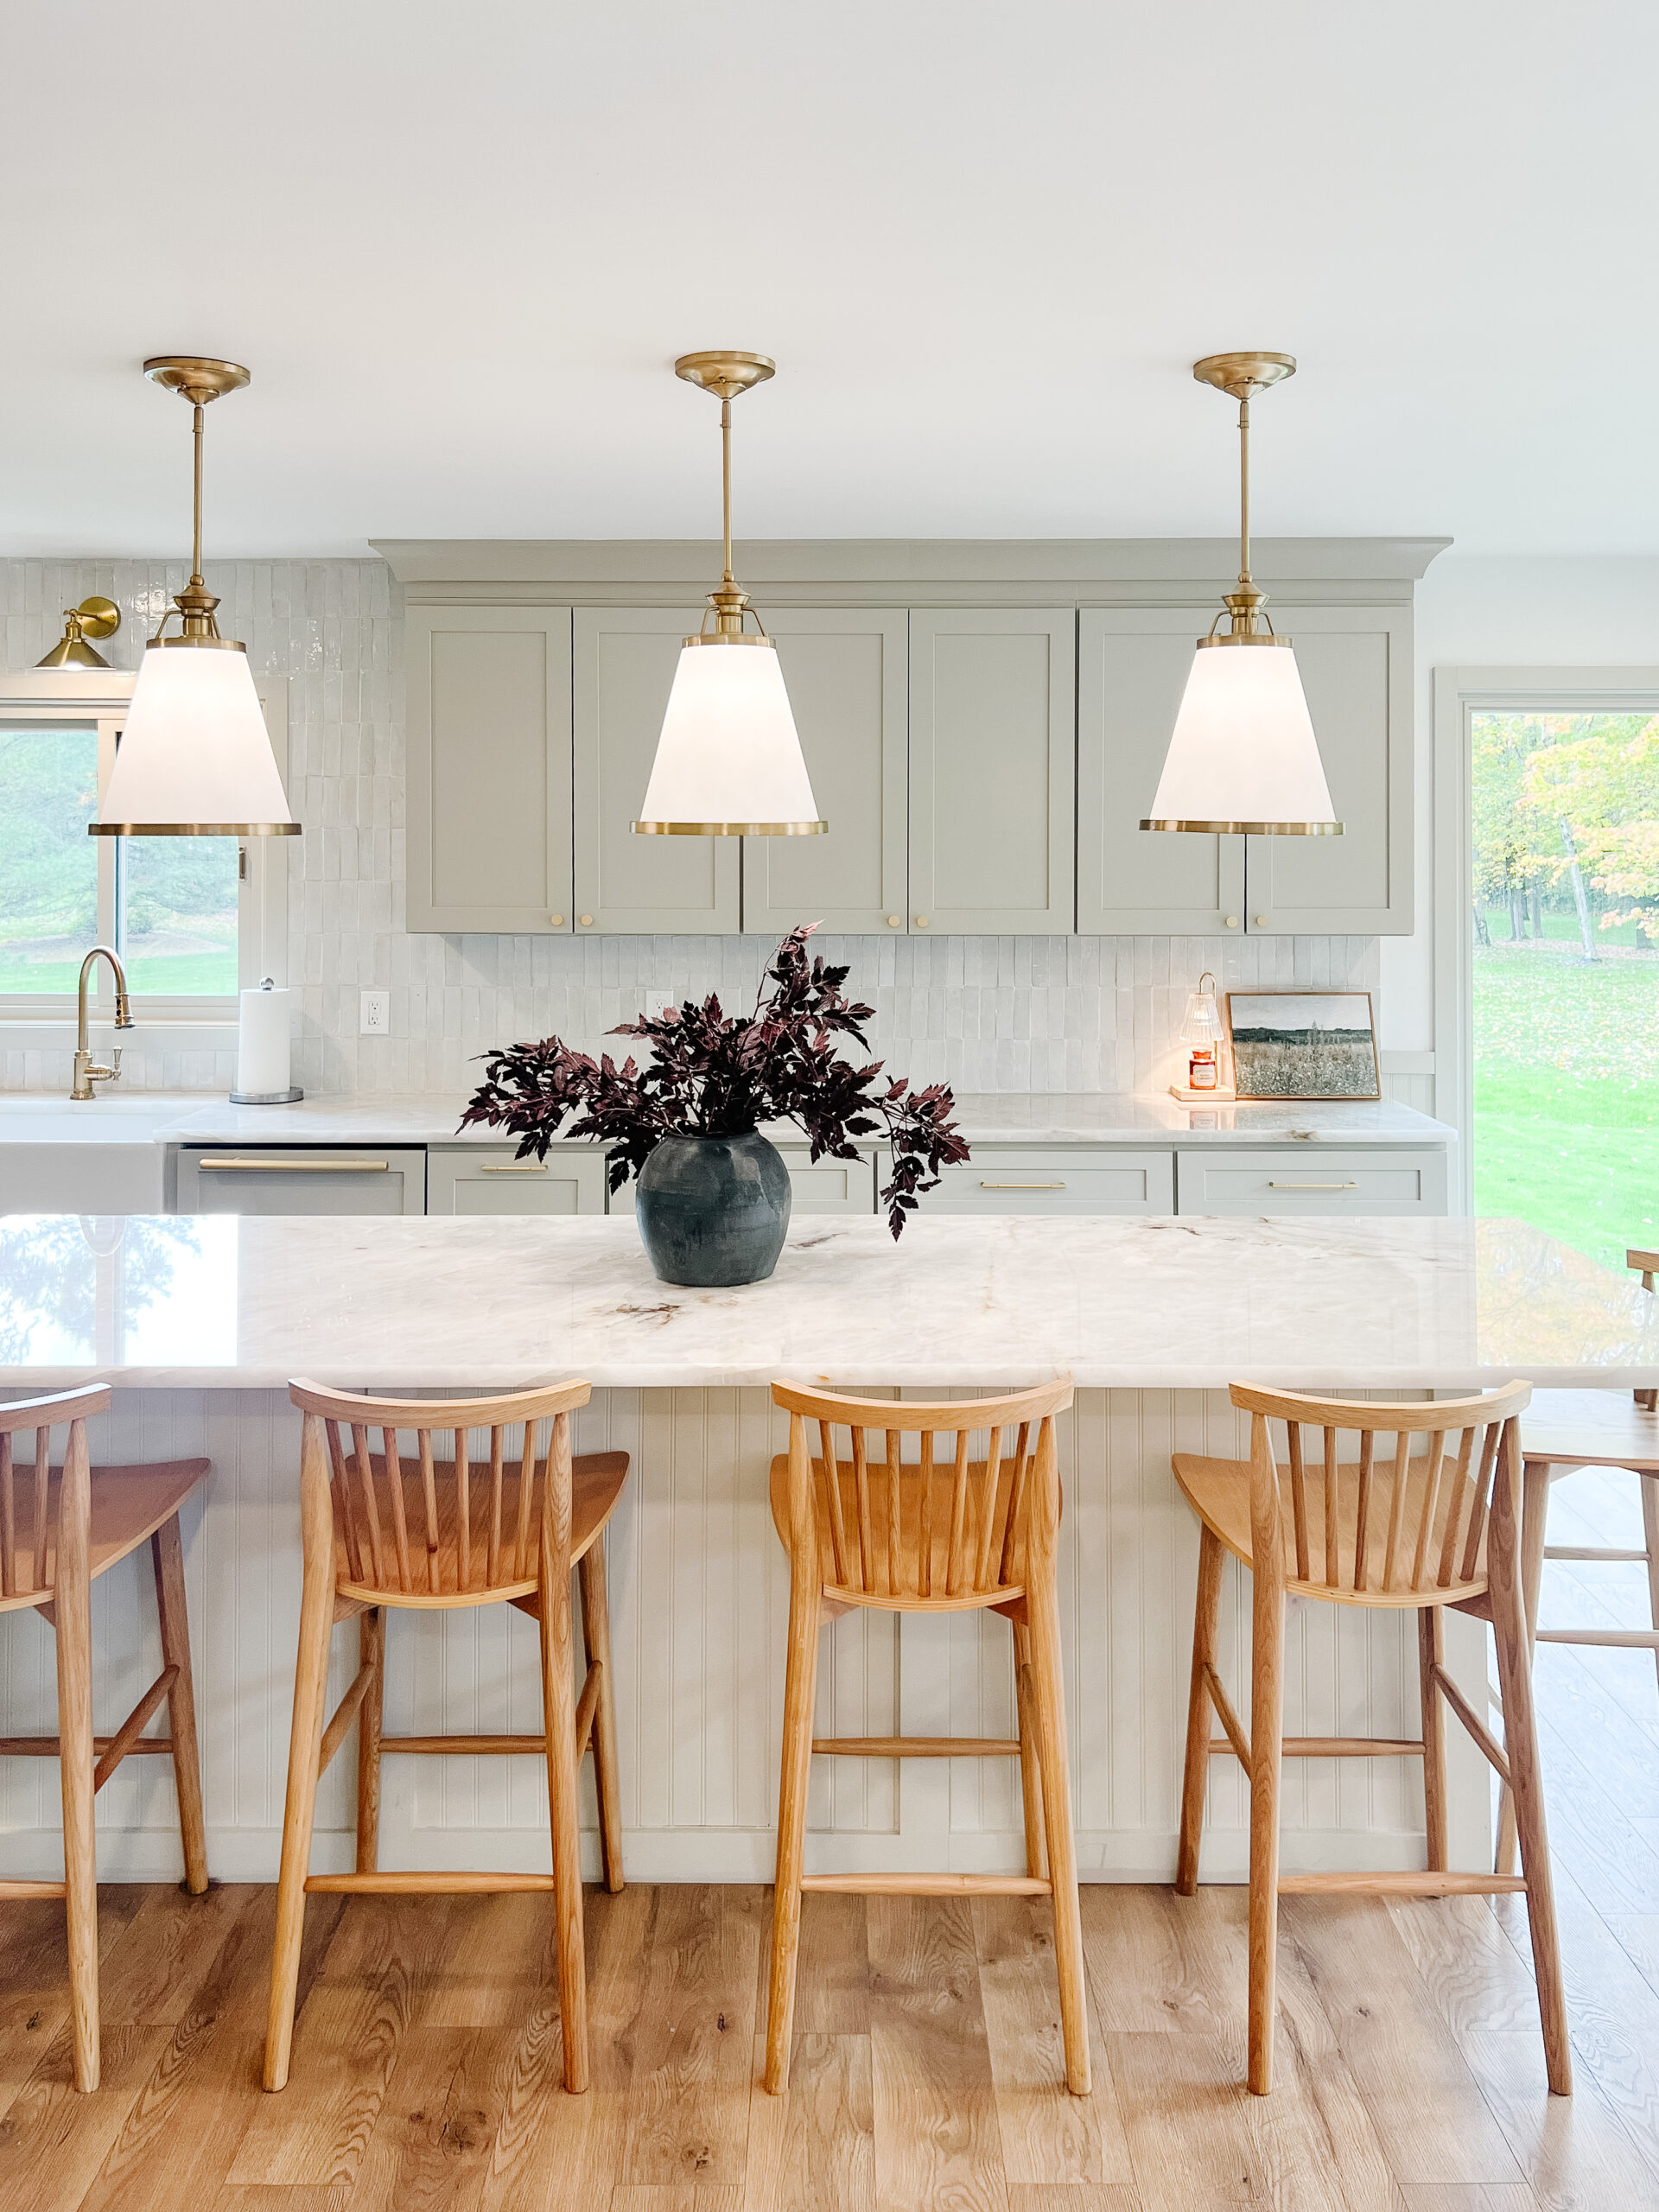
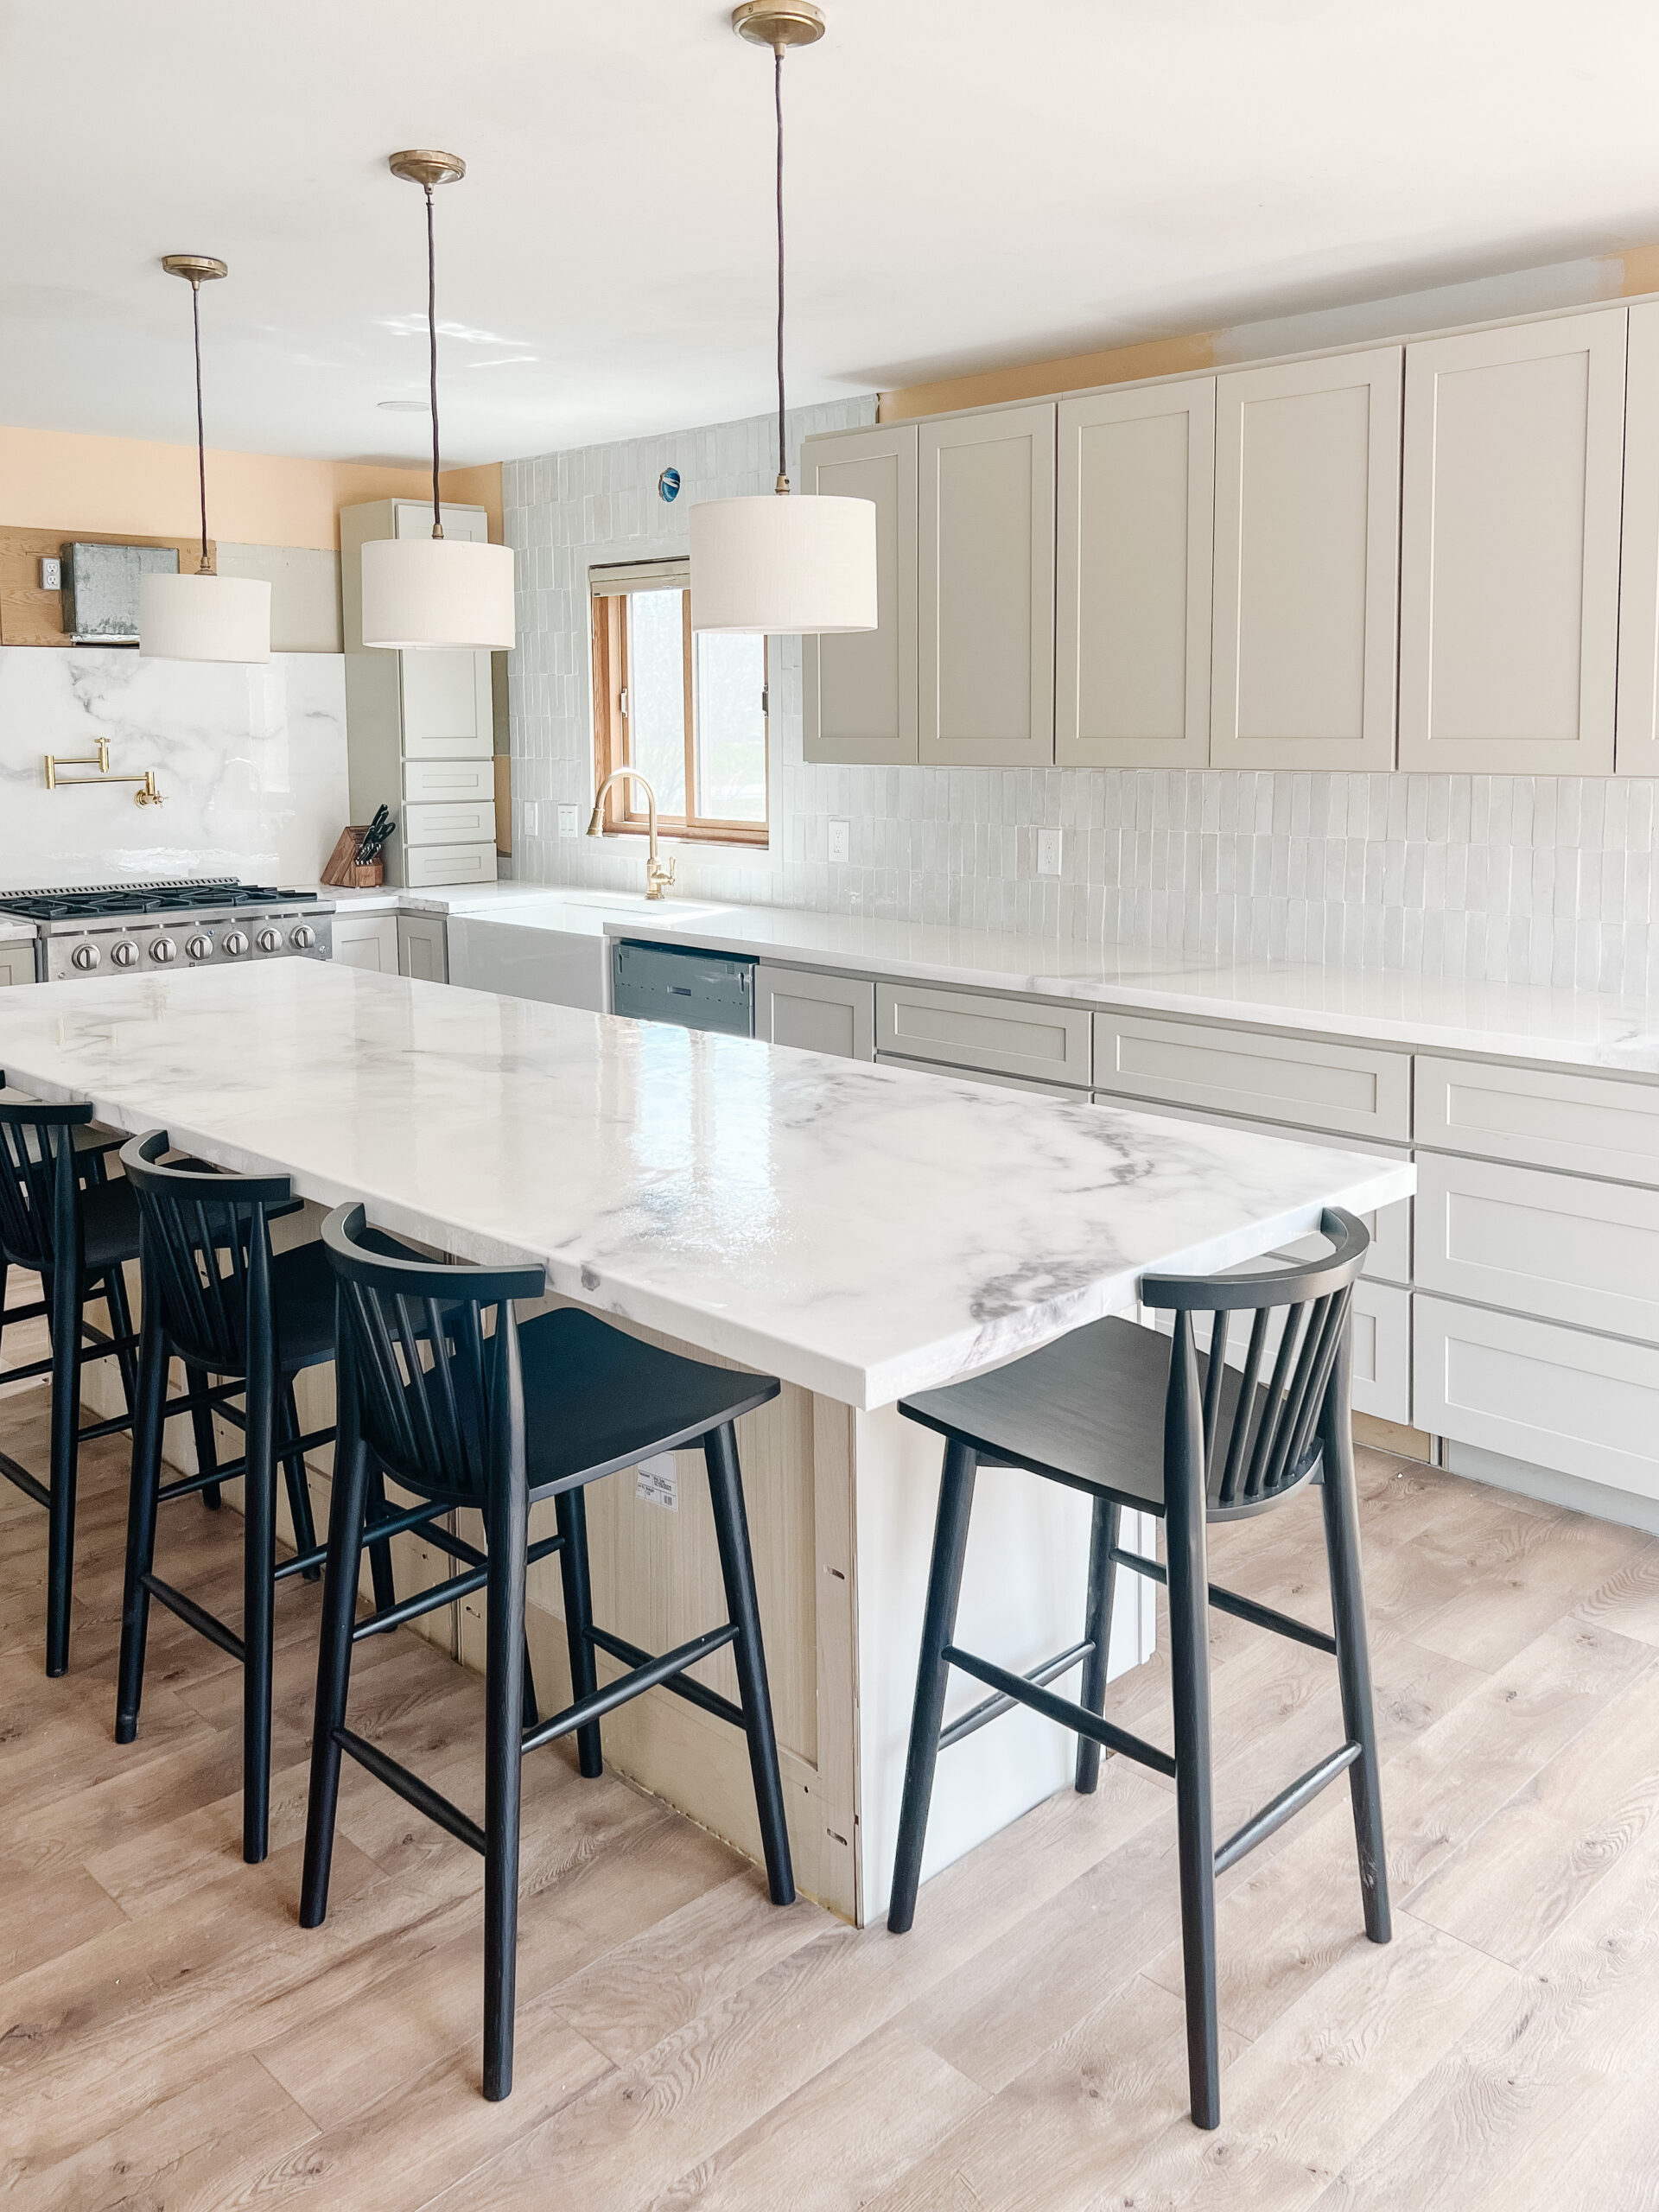
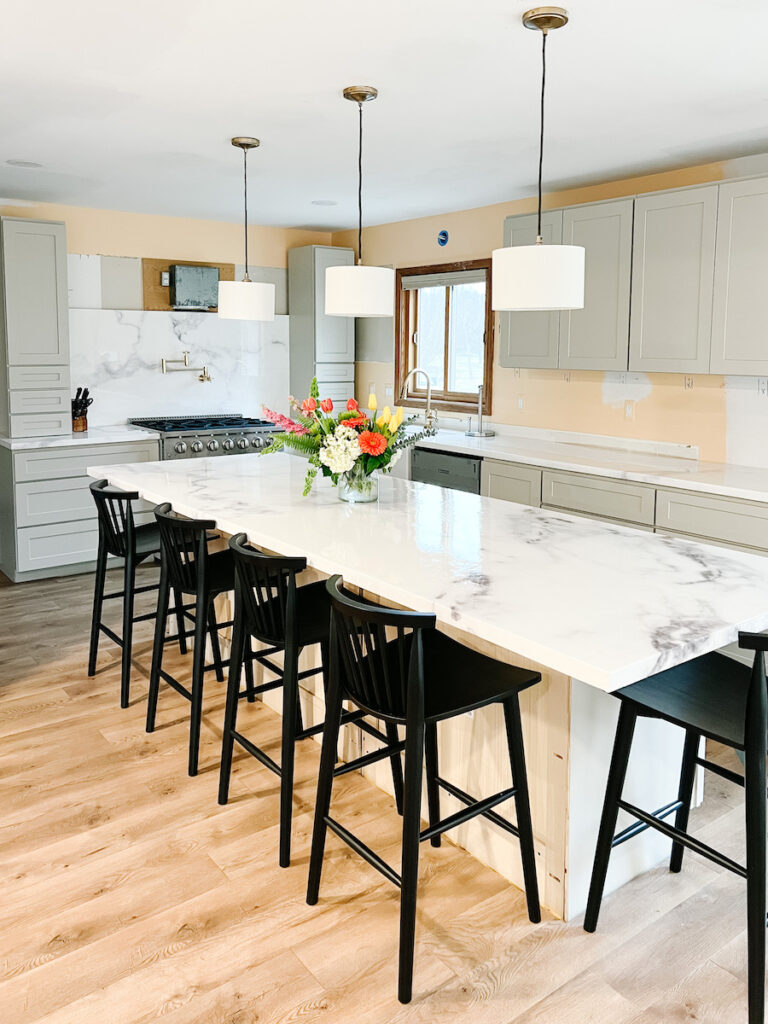
If you’re looking for a budget-friendly way to update your kitchen without breaking the bank, this project is for you! You all thought I was crazy for attempting this, and a lot of you didn’t think it would work, but I think the results speak for themselves! Whether you’re building from scratch or updating your old kitchen countertops, this is an affordable way to transform your countertops into a stunning faux marble surface without it looking like a DIY project.
I know you’ve probably seen the faux marble paint method, but faux marble epoxy kitchen countertops are the perfect alternative to the paint method. In this countertop project, rather than painting the marble veins on the counters, you’ll be using printed marble wallpaper. The wallpaper makes the marbling in the kitchen counters look way more realistic than the paint method and makes it look less of a DIY project, IMHO!
The bulk of this project was building new custom countertops out of MDF and prepping the boards for the faux marble process. We added a lot of square feet to our layout. But if you don’t need to build new countertops and you’re only resurfacing and updating your existing layout, this can definitely be done in a few days!
While I ultimately think that epoxy countertops are not the best choice or long-term solution for a high traffic area such as a kitchen, I do think it’s a great alternative for achieving the look for less while on a budget and saving for permanent counters. You can see how much I saved on this project HERE.
Materials Needed for Your Faux Marble Epoxy Kitchen Countertops:
See THIS POST for FAQs on using the epoxy method.
–MDF Boards cut to size (If you’re starting from scratch)
–Circular Saw (If starting from scratch)
–Titebond Wood Glue (If starting from Scratch)
–Nail Gun (If starting from scratch)
–TotalBoat Tabletop Epoxy (gifted)
-Marble Wallpaper or Contact PaperPrimer (my wallpaper was gifted from Photowall)
Cut Your Kitchen Counters to Size (optional)
I used MDF (medium density fiberboards) for my kitchen countertops. I know a lot of you will be using your pre-existing counters rather than cutting new ones to size, so feel free to skip to the next step! This is for anyone with outdated countertops or even granite countertops that they just don’t love!
To start, measure the length and width of the size you want your countertop surface to be. Don’t forget to take the overhang into consideration! The best thing I found for this was taking a straight edge or framing square, drawing a line on the board to guide your cut and then using a circular saw to make the cut.
Once each board is cut to size, use wood glue to attach the board to the base and use your nail gun to secure it into place. You’ll also want to ensure you have a two-part system in place so that you can build a super solid surface countertop, so I also clamped everything down as the wood glue was drying!
Prime the MDF or Old Countertop
After nailing in your countertops, you’ll need something for the wallpaper to adhere to the wood. Since wallpaper isn’t technically meant to be applied on MDF boards/ existing counters, I thought it would be a great idea to put on a primer coat first. It makes sense to me since wallpaper is usually applied to walls with a primer and paint. This step was simple and quick and ultimately just felt like a good choice.
Just like a wall, roll on the primer right on top of the MDF or your pre-existing countertops. Make sure the entire surface has been primed before moving on to the next step!
Apply Faux Marble Wallpaper or Contact Paper
A lot of people have asked me why I chose to use wallpaper instead of contact paper and this was just personal preference. I wanted to find a mural that was large enough to cover the surface area without having the pattern repeat itself. This is what landed me on Photowall. I think you can go in whatever direction you want with this, but this was my final decision after researching different alternatives. I do recommend it!
If you find some contact paper with a print that you like, I’m sure that would work great too! This could work especially well for something like faux butcher block countertop where the pattern is more seamless if you prefer the look of wood countertops.
Note: If you’re doing a butcher block print, I would consider using a matte epoxy finish since butcher block is not typically glossy like marble!
When applying your wallpaper, for best results, lay it out to make sure it lines up exactly the way you want it. Additionally, make sure the veining is exactly how you want it on the counters. More veins can look totally different than parts with little or light veins.
After you’ve figured out the layout of the paper, you can paste it onto the counters. For the corners, think of it like you’re wrapping a present. Except instead of folding it over, make cuts along the corners and then paste it onto the counters.
Apply Epoxy to the Faux Marble Countertops
I also had a lot of questions about the type of Epoxy I used. I chose TotalBoat Table Top Epoxy Resin, which I used as a protective coating. This is the same type of epoxy you’ll find on bar tops at restaurants. It cures clear and has a high-gloss finish. It’s also scratch resistant and 100% waterproof, has self-leveling properties, and is more heat resistant than other kits. You can see more details on the epoxy I used and other FAQs on this project HERE. Or you can head over to totalboat.com for the full description on this specific type of epoxy.
When working with epoxy it is important to trust the process and remember that it’s self-leveling! You’ll need to fully prep the area you’re working on because you’ll be applying a liberal amount of epoxy that will essentially waterfall over the edges of your countertops. Make sure to cover your cabinets and floors because it can get messy.
Work in small areas and apply your epoxy onto sections of your countertop. Then, use a foam roller to spread out the epoxy and push it over the edges.
You’ll then want to go back at least once per hour as the epoxy settles and run some sort of a straight edge along the underside of your counters. This will remove any drips that are settling in place and ensures that the underside of your countertop cures flat!
Wait for the Epoxy to Cure
If you decide to do more than one coat of epoxy, then you’ll need to wait 4-8 hours between coats. Other than that, it only takes about 24 hours for your epoxy to feel cured to the touch. However, you’ll want to wait 3-5 days to allow it to fully cure before putting things on them.
Find out if it’s heat-resistant or if I’m worried about it yellowing and more in my FAQ blog post!
DIY faux marble epoxy kitchen countertops is the perfect way to update your outdated countertops. And if you’ve been thinking about doing the paint technique, I personally think this approach looks much more realistic and less like a DIY!
Note: As an Amazon Associate I may earn small commissions from qualifying purchases.
Related Articles:
DIY Faux Marble Epoxy Countertops FAQ
One Step DIY Stair Railing Makeover for Under $75
DIY Nursery Closet (Under $80)
