I'm a neat freak tackling messy projects to help you turn your honey-do list into honey-DONE! I'm an average mom, with an average home, and an average budget with a goal of making things that feel ABOVE average! I'm a self-taught DIYer learning as I go, and I share all of my projects in real time so that, when I make a mistake, we can grow together! Join me daily on Instagram stories where I share home DIY projects, life with my family, and a little bit of everything in between - I can't wait to meet you! :)
Categories
projects & tutorials
home decor
Tips & Tricks
lifestyle
I'm Kayla
Hi, there!
DIY Faux Marble Epoxy Countertops FAQ
April 14, 2023
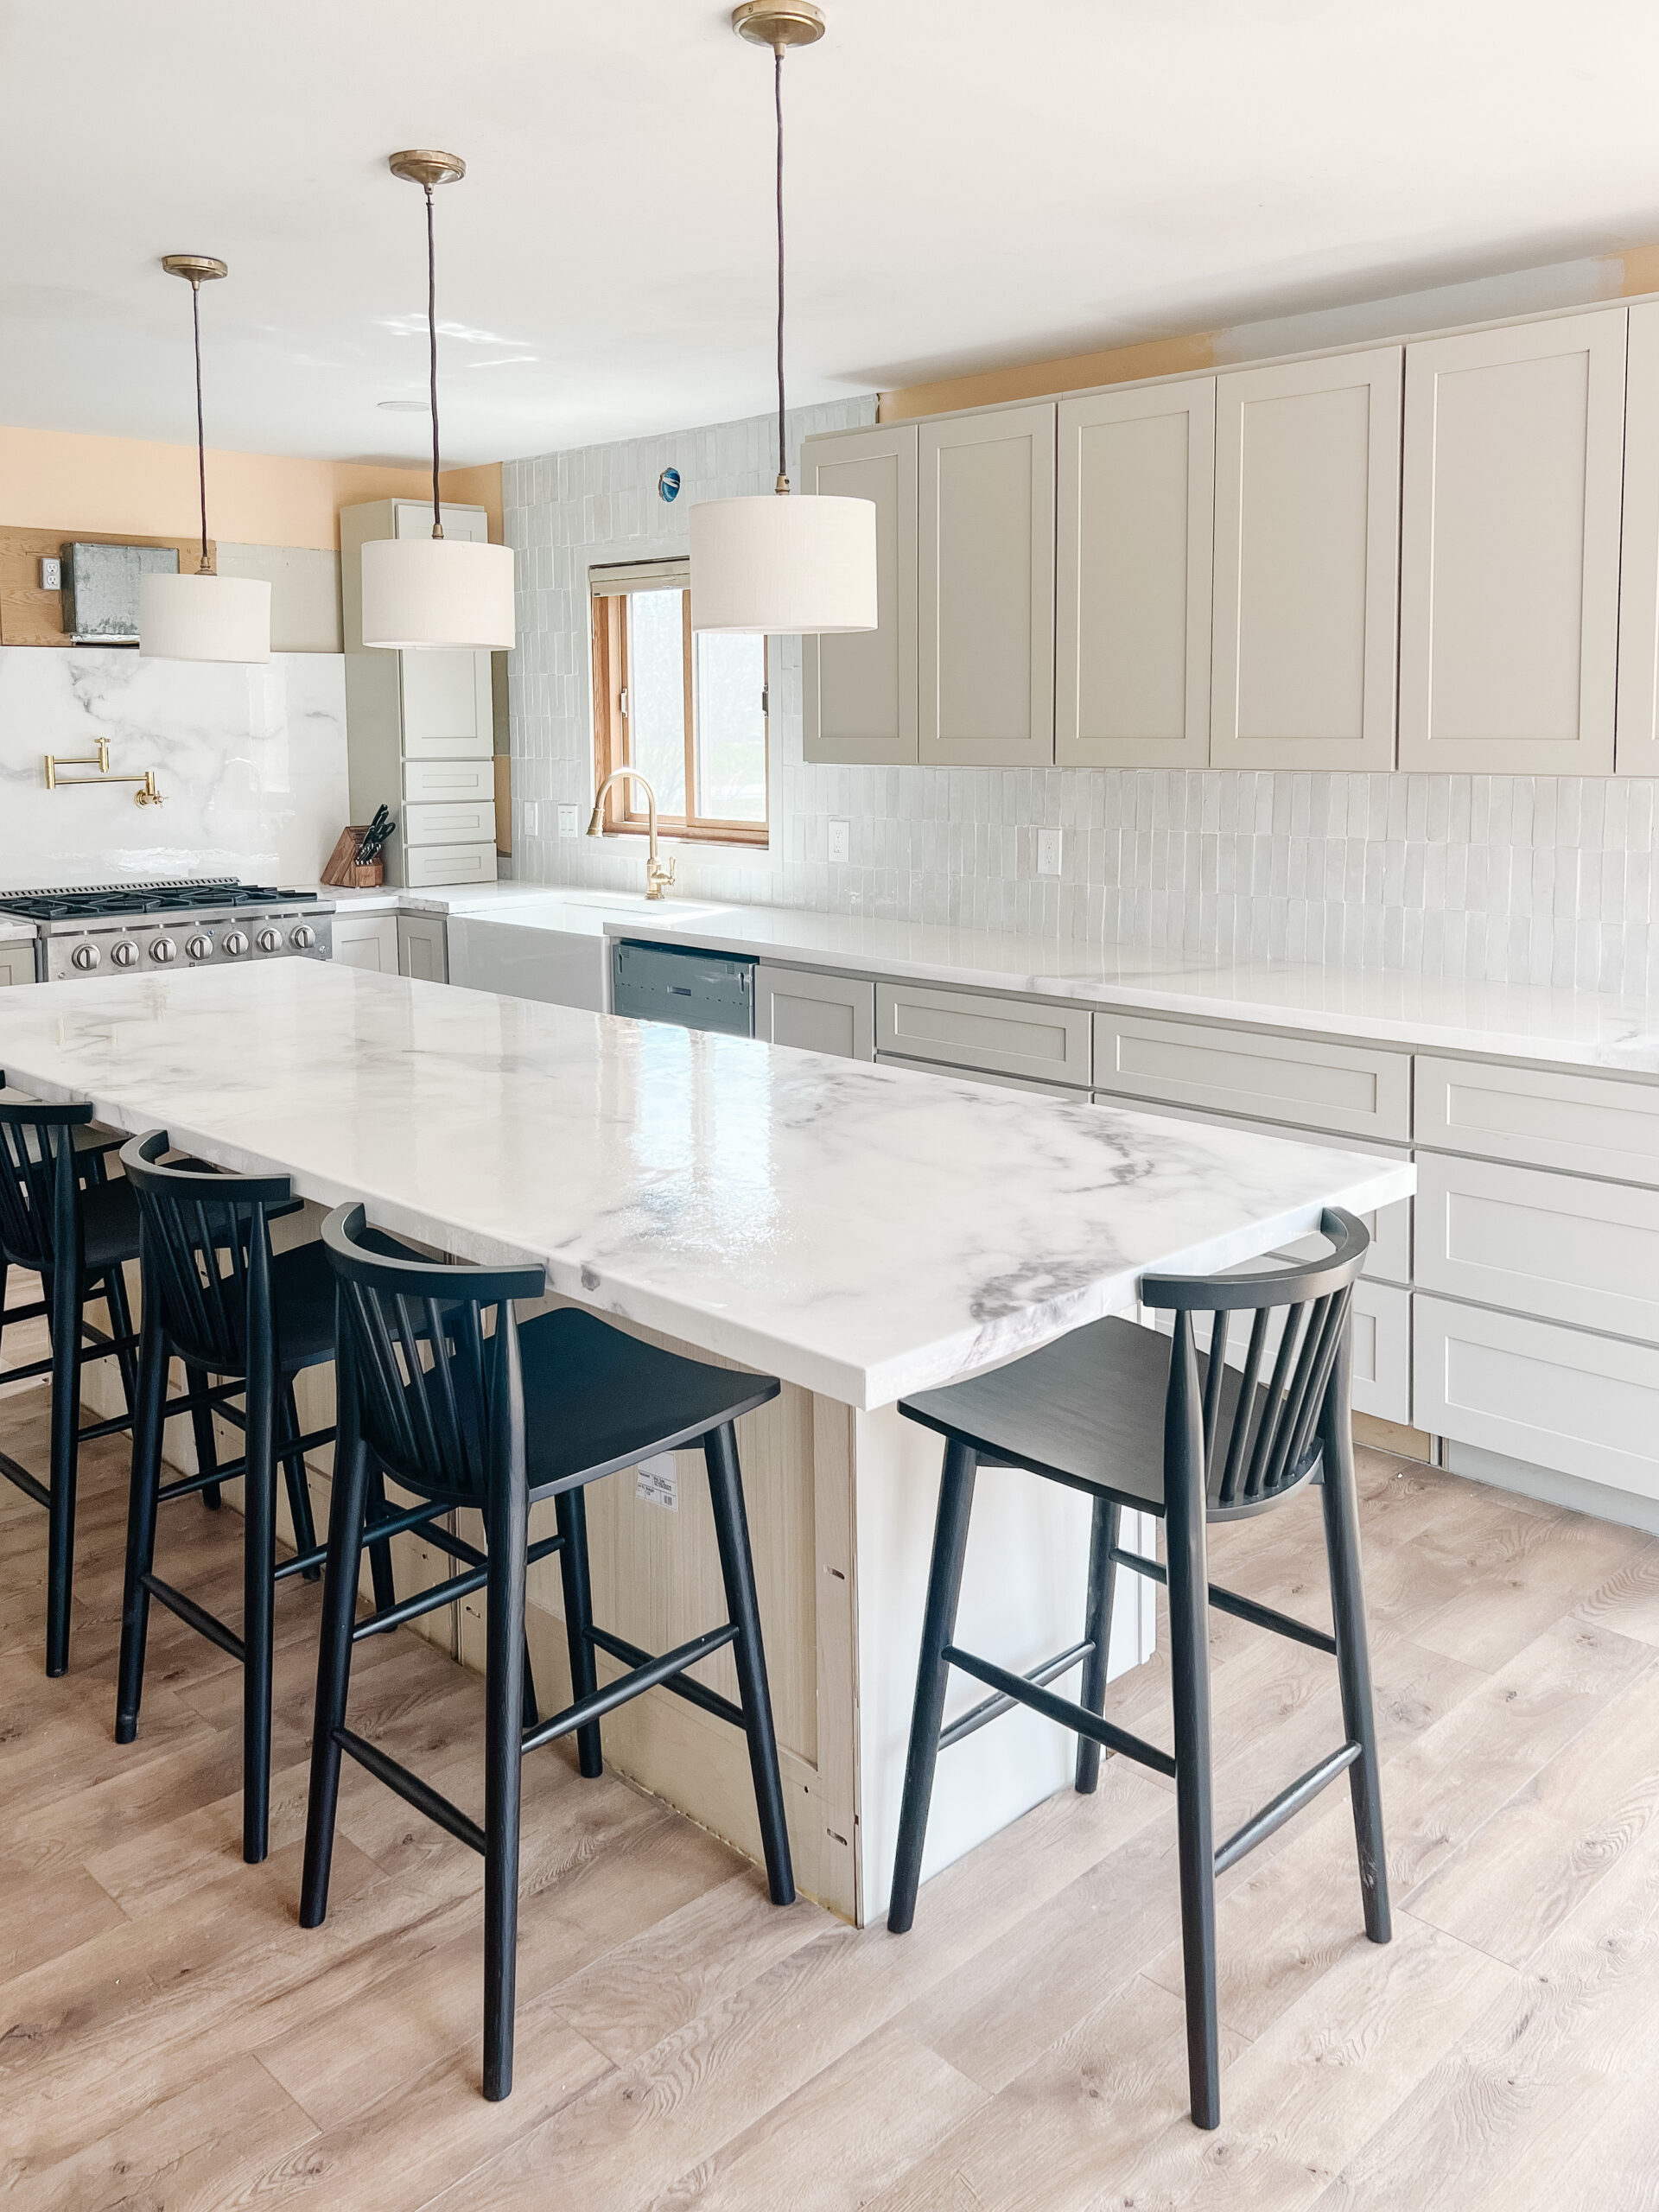
I had tons of questions throughout my viral countertop project, so I wanted to dedicate a full blog post to make sure I answer all of them! I hope this will help you use this as a reference if you ever want to do this project on your own kitchen countertops!
If you find this helpful, I also wrote a blog post on the entire process, “DIY Faux Marble Epoxy Kitchen Countertops.” This post is for subscribers only, but don’t worry! All you need to do is sign up for my newsletter and I’ll send the link to your inbox!
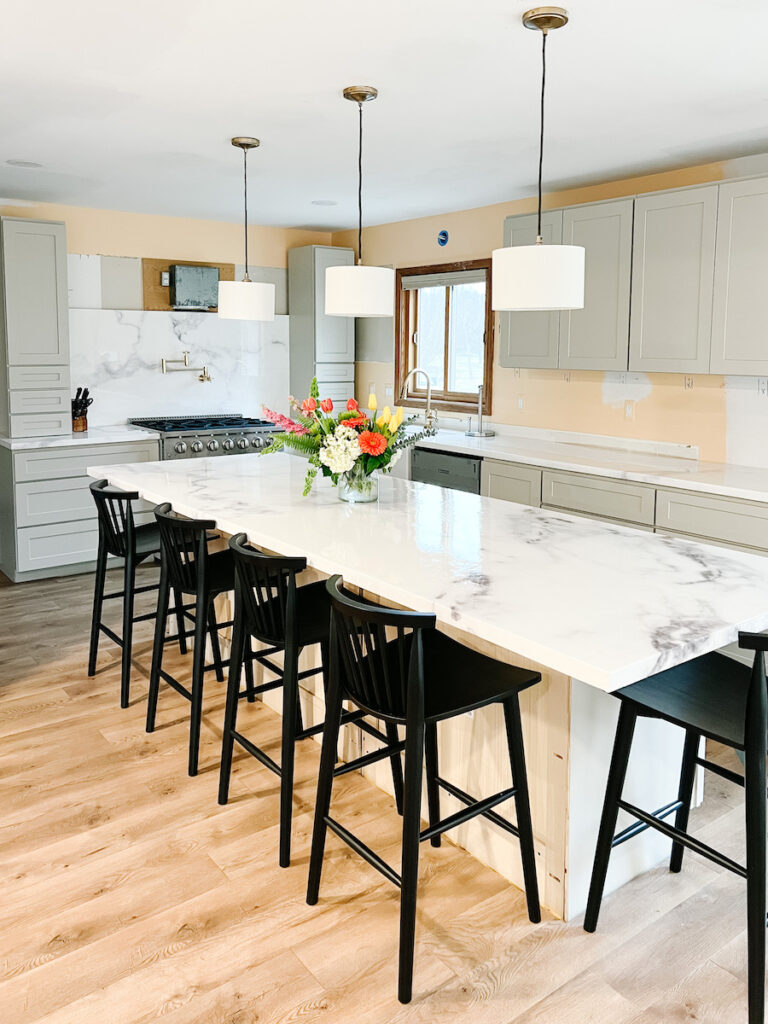
I do want to note that we are saving up for natural stone countertops in the future but I wanted something to replace our existing countertop for the time being.
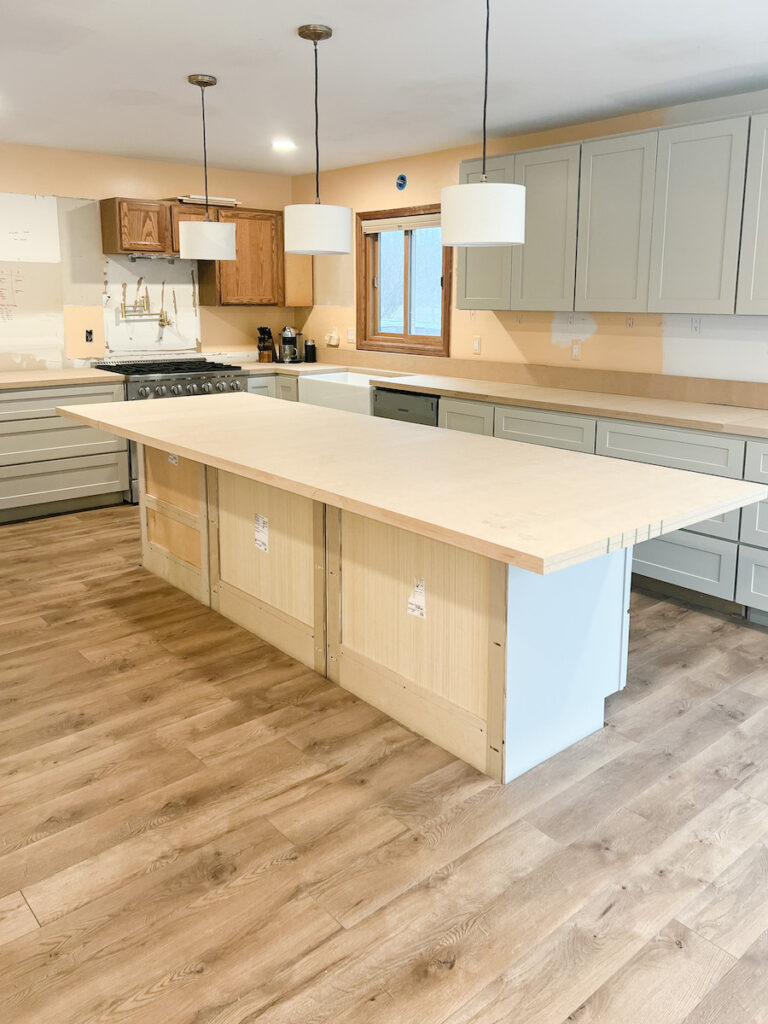
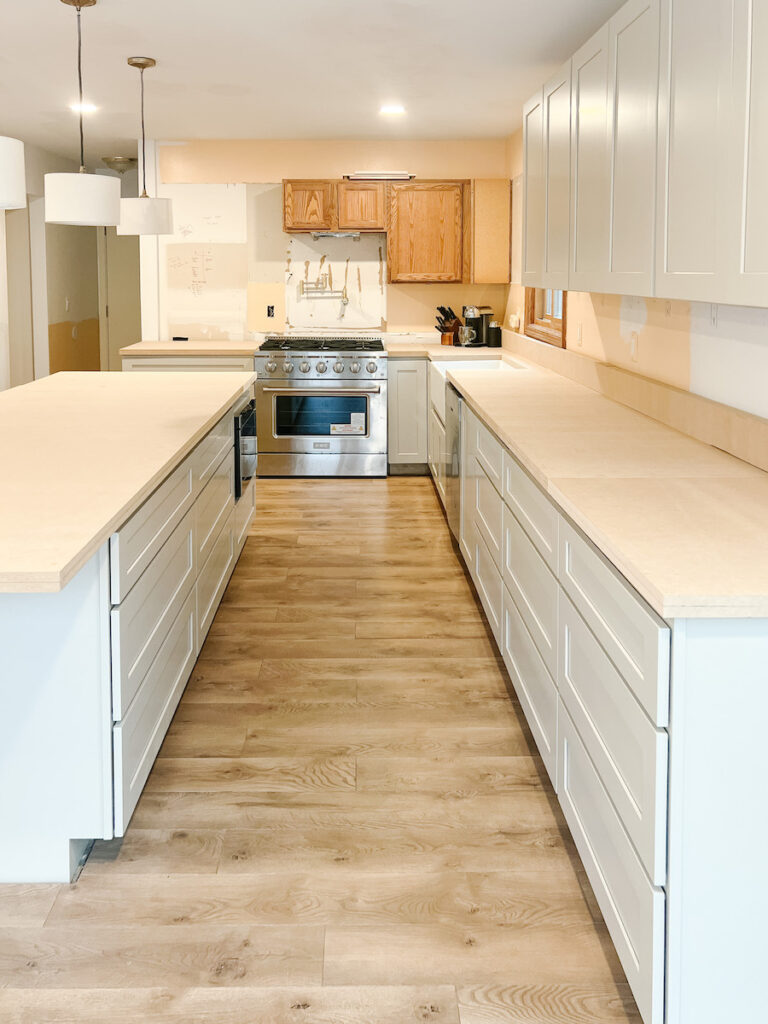
I thought that building these countertops out of MDF would be a good idea since we increased our square foot layout when removing our old countertops. This epoxy project turned out to be one of the most cost-effective ways to get the job done. Not to mention, it worked super well and they turned out just as I had hoped!
DIY Epoxy Countertops FAQ
- What type of epoxy did you use?
There are lots of different epoxy products to choose from, but I used TotalBoat tabletop epoxy. This is a great option because this type of epoxy is 100% waterproof, it’s scratch resistant, it’s food-safe, and it will give a nice glossy finish. You can find more information on the epoxy on their site totalboatepoxy.com
2. How do you clean it?
So far I’ve been using the same cleaning products I typically use on a countertop surface! If there’s a specific product you’re concerned about, I’d recommend looking into it or testing on a small, discrete area.
3. How much did you save rather than doing marble or quartz countertops?
The total cost of this project was under $900 for me. This includes all of the MDF used to build my countertops, the glue, and the paint used to prime the surface prior to wallpapering, etc.
The wallpaper and epoxy were gifted to me by Photowall and TotalBoat. Your cost will depend on the size of your countertops and space. While I didn’t have to account for the cost of the products gifted to me, most of you doing this DIY at home won’t have to account for the cost of building new countertops as you’ll likely be resurfacing the ones you already have but want to update to the look of marble for less!
Considering that I also did a massive faux-marble backsplash slab, the quotes I received to have real stone installed throughout instead ranged between $15-20k. It’s hard to know exactly what we saved, but we do plan to have real stone countertops installed in the future, and I’ll do a cost comparison when we do!
4. Can someone do this to Formica counters?
Yes! This can pretty much be done on any solid, non-porous surface. I used MDF as my countertop material. I wasn’t sure if the wallpaper would adhere to the MDF, so the best solution I could think of was to prime the entire surface first. This has seemed to work really well and I didn’t have any issues with the wallpaper adhering to the MDF.
5. How did you wallpaper the corners?
See THIS POST. It is exclusive content only. To get the link, all you need to do is sign up for my newsletter. You can do that HERE.
6. How did you epoxy the edges?
When working with epoxy it is important to trust the process and remember that it is self-leveling!
You’re going to need to fully prep the area you’re working in because you will be applying a liberal amount of epoxy that will essentially waterfall over the edges of your countertops. These are called flood coats!
Work in small areas and apply your epoxy onto sections of your countertop before using a foam roller to spread it out and push it over the edges.
You’ll then want to go back at least once per hour as it’s settling and run some sort of a straight edge along the underside of your counters to remove any drips that are settling in place and to ensure that the underside of your countertop cures flat!
7. Can you see the seams?
After I applied the wallpaper the seams were extremely minimal and difficult to find but, after I poured the epoxy, it seems as if some of the epoxy may have seeped into the seam and darkened it a little in some areas. It honestly blends in with the cloudiness of the natural marble patterns.
8. How much time did it take you?
The actual wallpapering and epoxying took 2-3 days while working on this here and there while also momming.
If you’re doing more than one coat of epoxy, you’ll want to wait 4-8 hours between coats. The bulk of this project for me was building new countertops out of MDF and prepping those for the faux marble process. If you don’t need to build new countertops and are only resurfacing and updating your existing layout, this can definitely be done in a few days!
It only takes about 24 hours for your epoxy to feel cured to the touch, but you’ll want to wait 3-5 days to allow it to fully cure before putting things on them. I didn’t factor this into my total working time, but it is something you should plan accordingly for!
9. How did you attach the MDF to the countertops?
Titebond wood glue and a nail gun
10. Why did you use wallpaper instead of contact paper?
A lot of people have asked me why I chose to use wallpaper instead of contact paper. This was just a personal preference. I wanted to find a mural with large pieces to cover my surface area without having the pattern repeat itself. This is what landed me on Photowall.
If you find a contact paper with a print that you like, I’m sure that would work great! This could work especially well for something like a faux butcher block countertop where the pattern is more seamless. If you’re doing a butcher block print, I would consider using a matte epoxy finish. Since butcher block is not typically glossy like marble!
11. Is it food safe?
Yes!
12. What did you find the best way to smooth out the air bubbles?
I originally planned to just breathe warm air on the bubbles, and they immediately subside, but this was not the best fit for how much epoxy I was working with.
You can also use a heat gun or even a hair drier on low heat setting, and I found that to be the easiest way without it taking me a lot of time! Many say that heat guns are a great way, too, but I was nervous about it getting too hot. Which leads me to…
13. Is it heat resistant?
Per the manufacturing process, the heat deflection temperature of TableTop Epoxy is around 124°F. It’s best practice to wait about one week at room temperature for an epoxy surface to fully cure. I recommend using coasters and placemats, or else hot pans, plates, or cups might leave an impression on the surface.
14. Is it sticky?
Once cured, epoxy surfaces do not have any sticky spots! Sticky or tacky spots are generally caused by inaccurate measuring, not mixing thoroughly, or by curing in cold temperatures. It can feel a little nerve wracking while still in liquid form, but trust the process and know that it will become a solid surface soon enough!
15. Are you worried about it yellowing?
Yes and no… Table top epoxy cures blush-free to a clear, glassy finish leaving a beautiful countertop! It has a 100% waterproof finish with excellent scratch, stain, and yellowing resistance. However, epoxy DOES tend to yellow over time depending on the environment, but these are not our forever-countertops!
For example, you wouldn’t ever want to use epoxy countertops/tabletops outside, as the direct uv light would advance this process! Like I said, we expanded our kitchen and needed to cover several more square feet. So this new epoxy countertop is the perfect placeholder for us as we save for real stone coat countertops!
Ultimately, I think that epoxy countertops aren’t the best choice or long-term solution for high traffic areas such as kitchens. I do think it’s a great alternative for achieving the look for less while on a budget and saving for permanent counters.
Note: As an Amazon Associate I may earn small commissions from qualifying purchases.
Related Articles:
Caulk vs Wood Filler – The Right Choice for Your Project
One Step DIY Stair Railing Makeover for Under $75

[…] of how she covered her kitchen counters with faux marble wallpaper and then epoxyed over it. On her lifestyle website, she explains that she used TotalBoat tabletop epoxy, which she says is “100% waterproof, […]
[…] of how she covered her kitchen counters with faux marble wallpaper and then epoxyed over it. On her lifestyle website, she explains that she used TotalBoat tabletop epoxy, which she says is “100% waterproof, […]