I'm a neat freak tackling messy projects to help you turn your honey-do list into honey-DONE! I'm an average mom, with an average home, and an average budget with a goal of making things that feel ABOVE average! I'm a self-taught DIYer learning as I go, and I share all of my projects in real time so that, when I make a mistake, we can grow together! Join me daily on Instagram stories where I share home DIY projects, life with my family, and a little bit of everything in between - I can't wait to meet you! :)
Categories
projects & tutorials
home decor
Tips & Tricks
lifestyle
I'm Kayla
Hi, there!
DIY Patio Project: Under $300
January 5, 2023
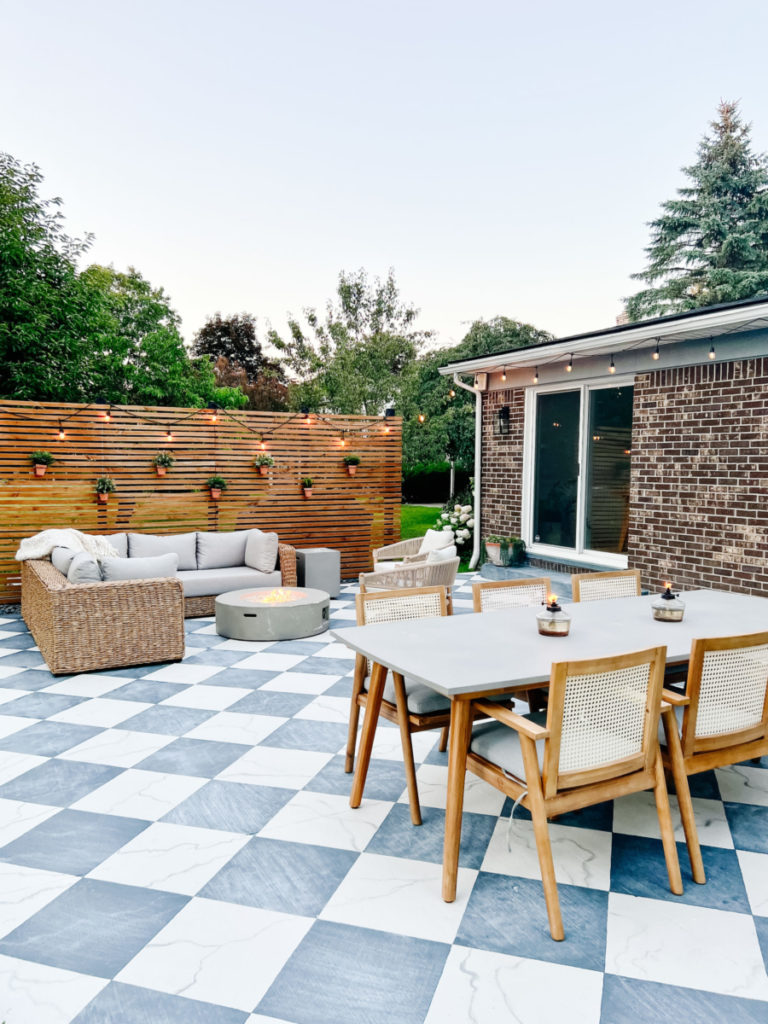
Have you ever seen marble tile floors? Better yet, have you ever seen FAUX marble tile concrete? If you haven’t, the name explains itself. It’s a painted concrete surface that replicates the look of marble tile.
If you have a concrete patio that needs some updating, or even a new patio that you want to add some visual interest to, then this is the perfect project for you! Whether it’s a large patio or a small patio, this is an easy way to beautify your outdoor space.
Below, is a step-by-step guide that will teach you everything you need to know to create your own budget-friendly faux marble DIY patio under $300. This DIY project is a fraction of the cost of what it would be with real marble tile, and is a great way to update any space affordably!
Prep Work for the Perfect Faux Marble DIY Patio
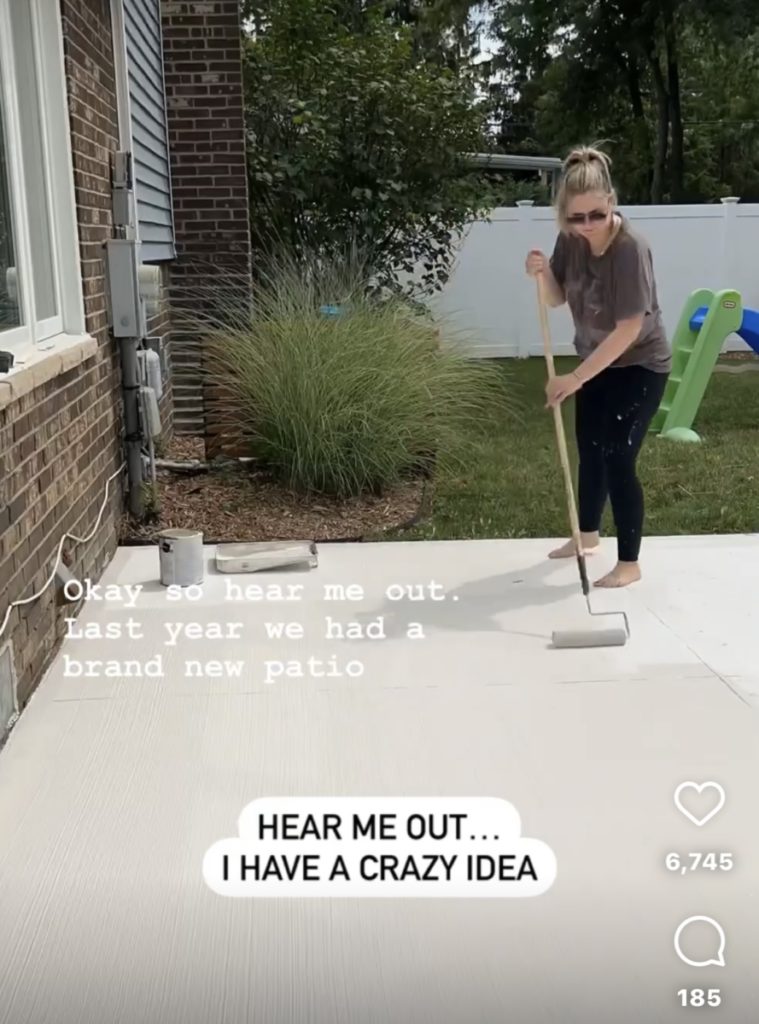
Before painting your patio area, you’ll need to do some prep work to ensure clean and crisp end results. To start, clear off the entire concrete floor. After clearing off the furniture and/or debris, you need to power wash the entire patio before you start painting the faux marble tile.
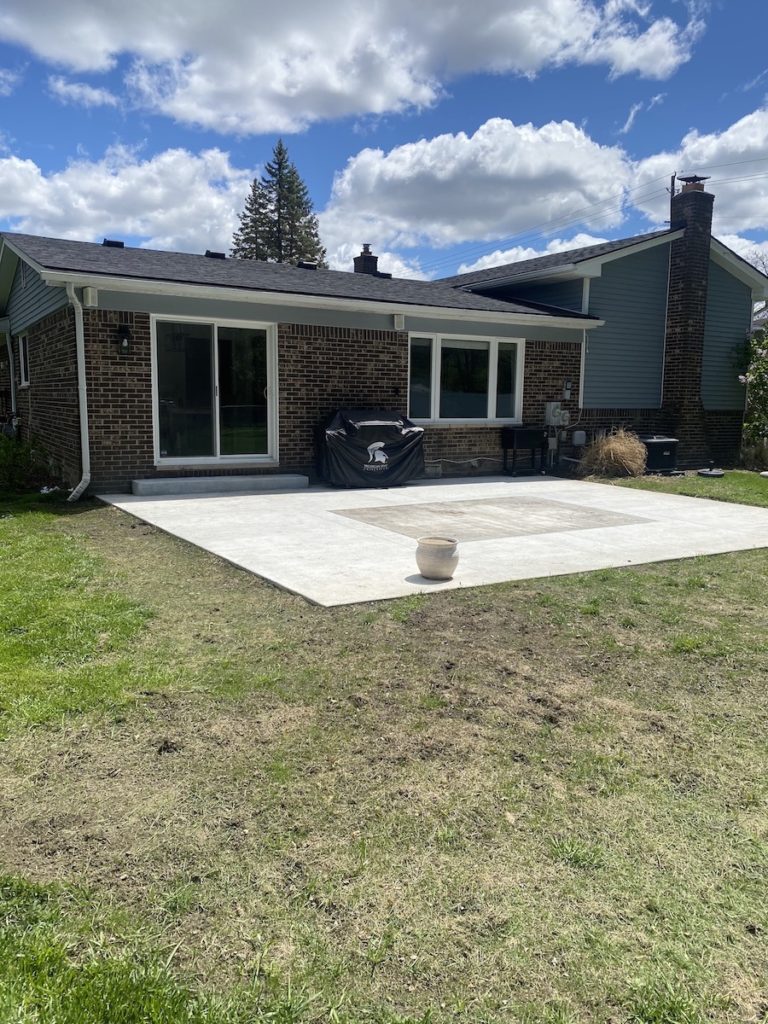
For the base color, a light beige or white would be the perfect color. I personally thought beige would achieve the same look while holding up to stains better. You may also want to consider priming the concrete surface for long lasting results, but I didn’t do that because of the products I was using.
Be sure to give yourself plenty of time for the prep work. The weather brings on an extra challenge, so the key is to be patient and flexible throughout the entire project.
Materials Needed for Your Faux Marble DIY Paxtio:
- Long flat edge
- 18” tile to trace (optional)
- Paint Brush
- Carpenter Pencil
- Liner Paint Brush
- Cup for Water
- Sea Sponge (optional)
- Paint: Valspar porch, floor, and patio paint in satin
- Light Tile Color: Aged Beige (@pennies_for_a_fortune recommendation)
- Dark Tile Color: Binary Star (@pennies_for_a_fortune recommendation)
- Sealant: Seal Krete clear seal concrete protective sealer in satin
How to Paint a Faux Marble DIY Patio:
Step One: Create Your Grid
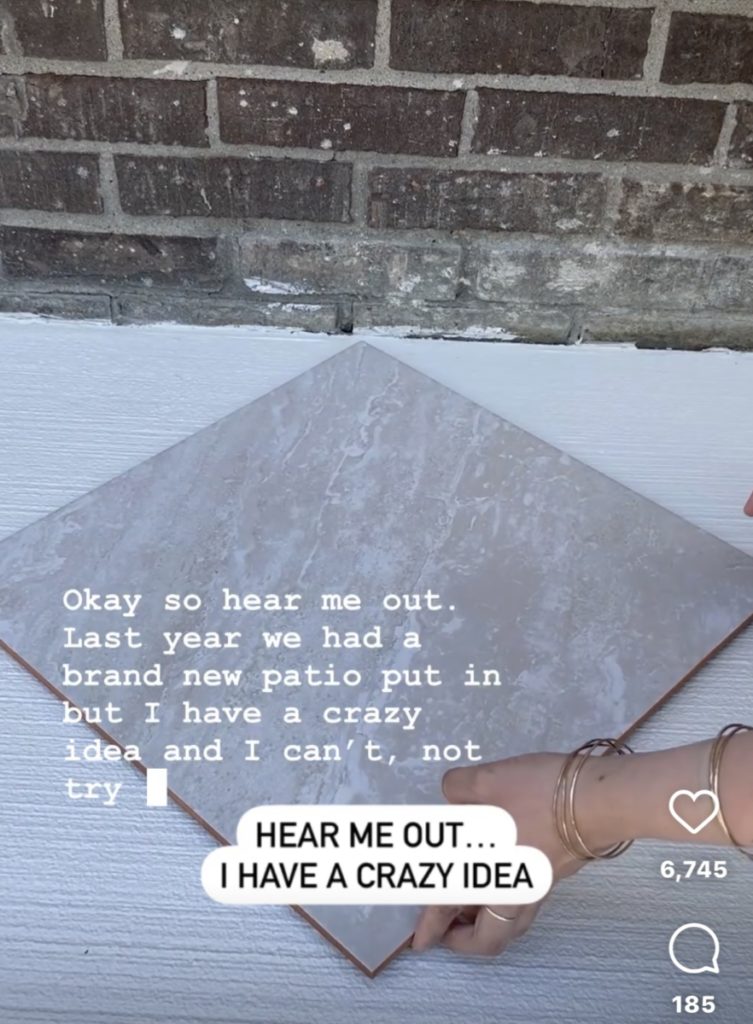
The first step is to trace or draw out your grid on the concrete slabs. You can either use an 18″ tile to trace or use a flat long edge and then measure out the tiles. For me, the best way to do this was by using a long flat edge. The long flat edge helped to speed up this process.
To get started, find the center of the concrete, line up your tile so that it’s at a 45 degree angle and work your way to the outer edges by tracing or drawing 18″ squares. This part can be tricky, so double check your measurement to ensure you’re starting in the right place. The reason I started in the center was to ensure that my pattern was symmetrical throughout the entire patio (if I had started at the left edge, for example, the pattern could get cut off by the time I got to the right edge).
Check your squares and grid often so you can see if everything is lining up the way you want it to. I recommend working in small sections in case you mess up. Then if you do end up making a mistake, you’ll have a smaller area to fix rather than the entire area.
Step Two: Paint the Grid
Once you’ve got the grid drawn out, the next step is to paint. It’s a good idea to go ahead and mark the tiles with the color you’ll be painting them. I started by using the dark paint against the brick on our house for visual weight and to create a high contrast pattern. From there, continue painting every other square dark.
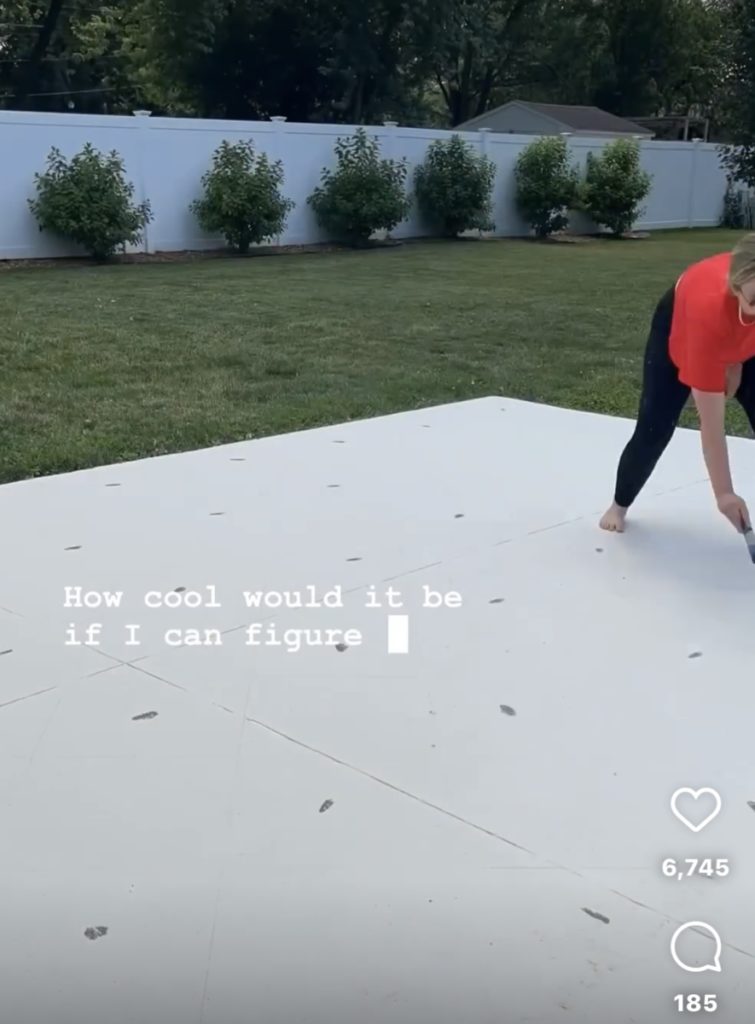
Painting a nice clean corner on each square is critical to make it look like an actual box. A great way to do this is to get a good amount of paint on your paintbrush and lay the brush flat against the corner of the square, then flip it around and do the same thing on the same corner of the square.
After painting the corners, you can cut in the rest of the square. To get a clean straight edge, start with your brush on the inner part of the square, then bring it against the edge and down. You can see how I do this by watching my highlight bubble “Patio” on Instagram @itshoneydone. Once the dark paint is dry, you can paint the rest of the squares with your light paint.

Step Three: Make the Faux Marble Veins
After the grid is painted and completely dry, it’s time to create the faux marble look. I ended up using a cup of water, a liner paint brush, and light gray paint for this part. Some other items you could use are a sea sponge, paper towel, and/or a dry paintbrush.
One additional item you might find helpful are photos of real marble. This will give you a better idea of how to paint the marble look.
When making the marble veins, it’s best to start with the veins on all of the white squares first. To do this, pat the entire white square wet. Then, take a liner paint brush and some watered down gray paint and create the veins from one end of the square to the opposite end.
As you’re painting the veins, get creative and paint some branches that come off of the big vein. To make it look even more realistic, twist the liner brush as you go and make the veins all go towards a similar direction. The lighter you are with your hand, the better this will turn out.
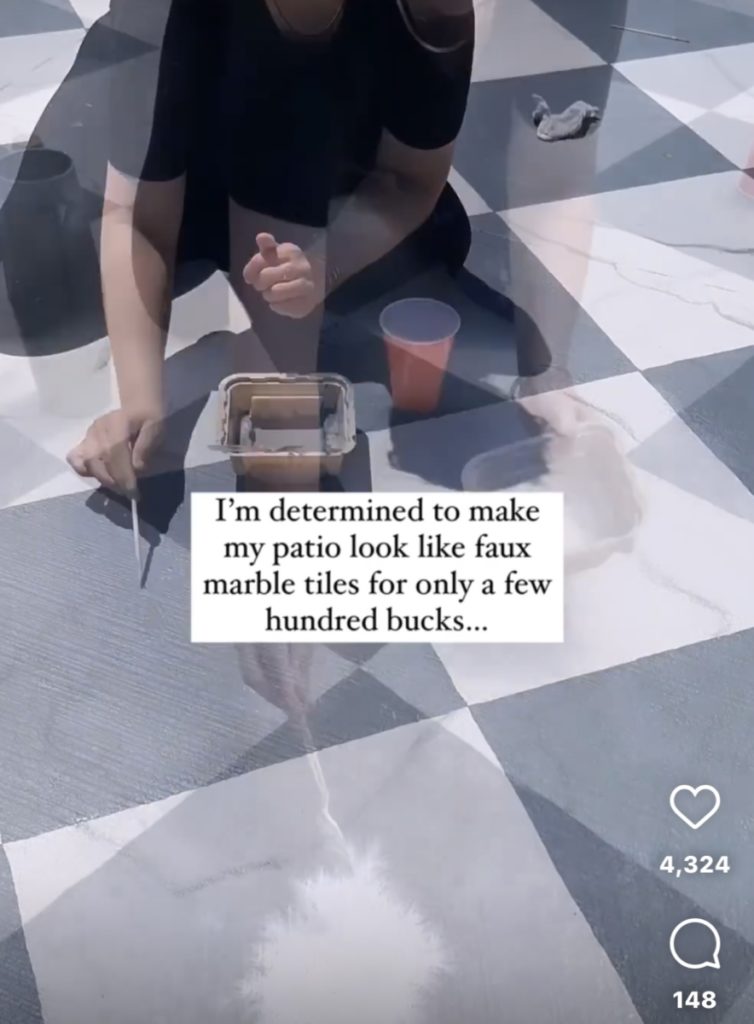
One important part to understand is that it’s not going to look perfect in the beginning. You’ll probably have to redo some of the squares along the way as you learn what technique(s) you like best. I recommend pausing and stepping back to assess the whole space every now and then.
After the white tile veining is complete and dry, it’s time to create the faux marble look on the dark squares. This part can be tricky, but the key here is to create thin layers by using water. To do this, poor small amounts of water over a little bit of white paint in patches on the square. Pat the patches of water and smudge it with either your hand, a sea sponge, a paper towel, or a damp rag. Again, I recommend watching my highlight bubble “Patio” on Instagram @itshoneydone.
Next, continue “water coloring” thin layers onto the squares to create the faux marble look.
The more practice you have with it, the better it’s going to look. So be patient, and trust the process.
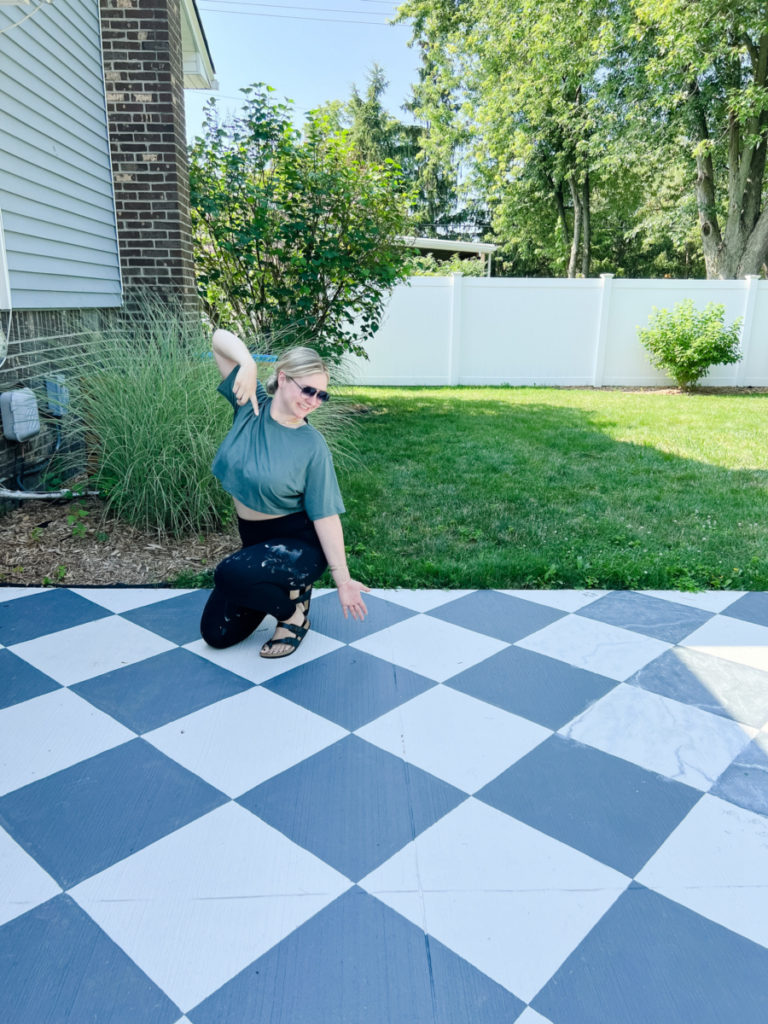
Step Four: Seal the Paint for a Long Lasting Faux Marble DIY Patio
The marbling is dry and you’ve made it through the toughest, yet most rewarding, part.
Now, for the final touch – sealant. The seal is used to protect the faux marble patio to ensure a long-lasting patio. Make sure the painted surface is completely clean and dry before you add the sealant on top.
I used Seal Krete clear seal concrete protective sealer in satin and my patio is still holding up well. I didn’t want to do a glossier sheen because I thought it would be too reflective in the sun. This sealant can most likely be found at Home Depot or a local hardware store.
Final Product
Once the sealant is dry, you are DONE! Now, it’s time to decorate, enjoy your new DIY patio and share this outdoor space with all your friends and family!
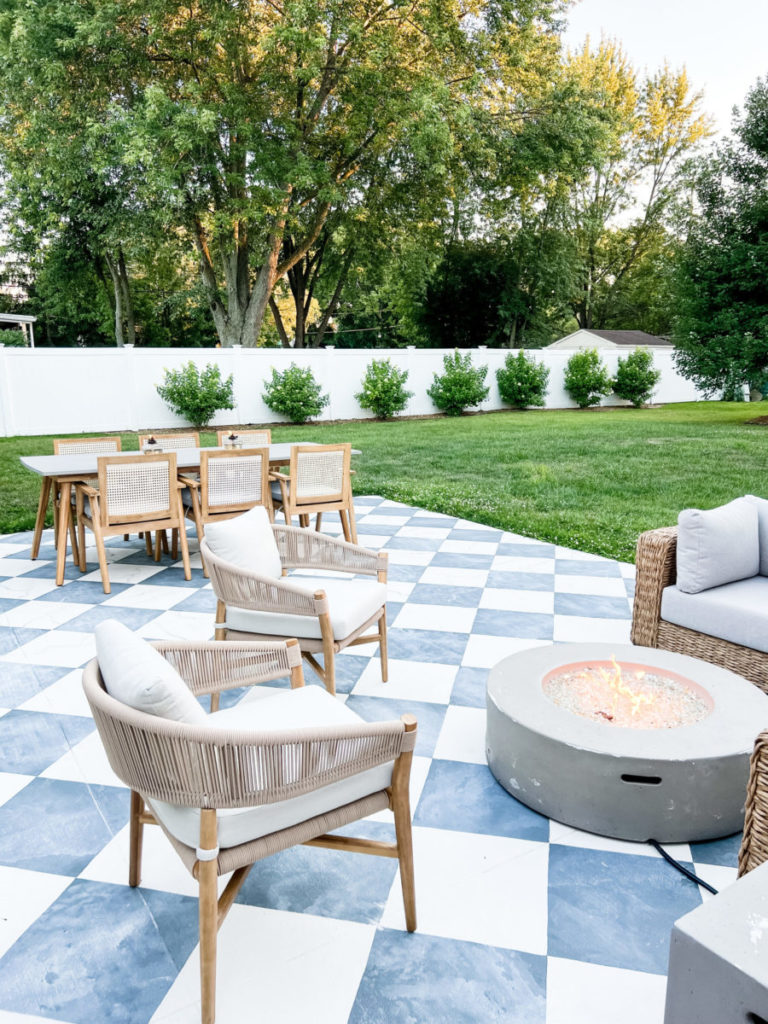
There are so many additions that can be made from here. Some ideas are an outdoor kitchen, an outdoor bar, add in a hot tub… you could even do some DIY patio furniture – the sky is the limit!
We decided to add a fire pit, a sitting area, a patio table, and string lights to our patio area and are so happy with how it all turned out! Prior to having this concrete patio installed we demoed an old deck with surrounding concrete pavers, so it is so crazy to see this space so updated! We love this beautiful addition!

If you decide to DIY your own patio, tag me on social media! I would love to see your DIY patio designs or other DIY patio ideas!
If you enjoyed this project and would like to see more budget-friendly DIY projects, follow along @itshoneydone on social media.
Note: As an Amazon Associate I may earn small commissions from qualifying purchases.
Related Articles
DIY Privacy Wall [ Step-by-Step Tutorial ]
DIY Air Conditioner Fence Cover


[…] This amazing DIY project […]
[…] Dit geweldig doe-het-zelf-project […]