I'm a neat freak tackling messy projects to help you turn your honey-do list into honey-DONE! I'm an average mom, with an average home, and an average budget with a goal of making things that feel ABOVE average! I'm a self-taught DIYer learning as I go, and I share all of my projects in real time so that, when I make a mistake, we can grow together! Join me daily on Instagram stories where I share home DIY projects, life with my family, and a little bit of everything in between - I can't wait to meet you! :)
Categories
projects & tutorials
home decor
Tips & Tricks
lifestyle
I'm Kayla
Hi, there!
DIY Backsplash Tile Install for Beginners
June 24, 2023
If you’re a beginner looking to add a touch of personality to your kitchen, this step-by-step DIY backsplash tile tutorial will help you achieve professional-looking results. With the right tools, including a wet saw, and a little bit of patience, you can transform your kitchen into a space that reflects your style and creativity.
Step 1: Plan & Prepare Your DIY Backsplash Tile
The first step in your DIY backsplash tile project is to plan and prepare. Measure the area where you want to install the backsplash and determine the quantity of tiles you’ll need. Be sure to order some extra tile in case any break during transportation or if you happen to cut some too short.
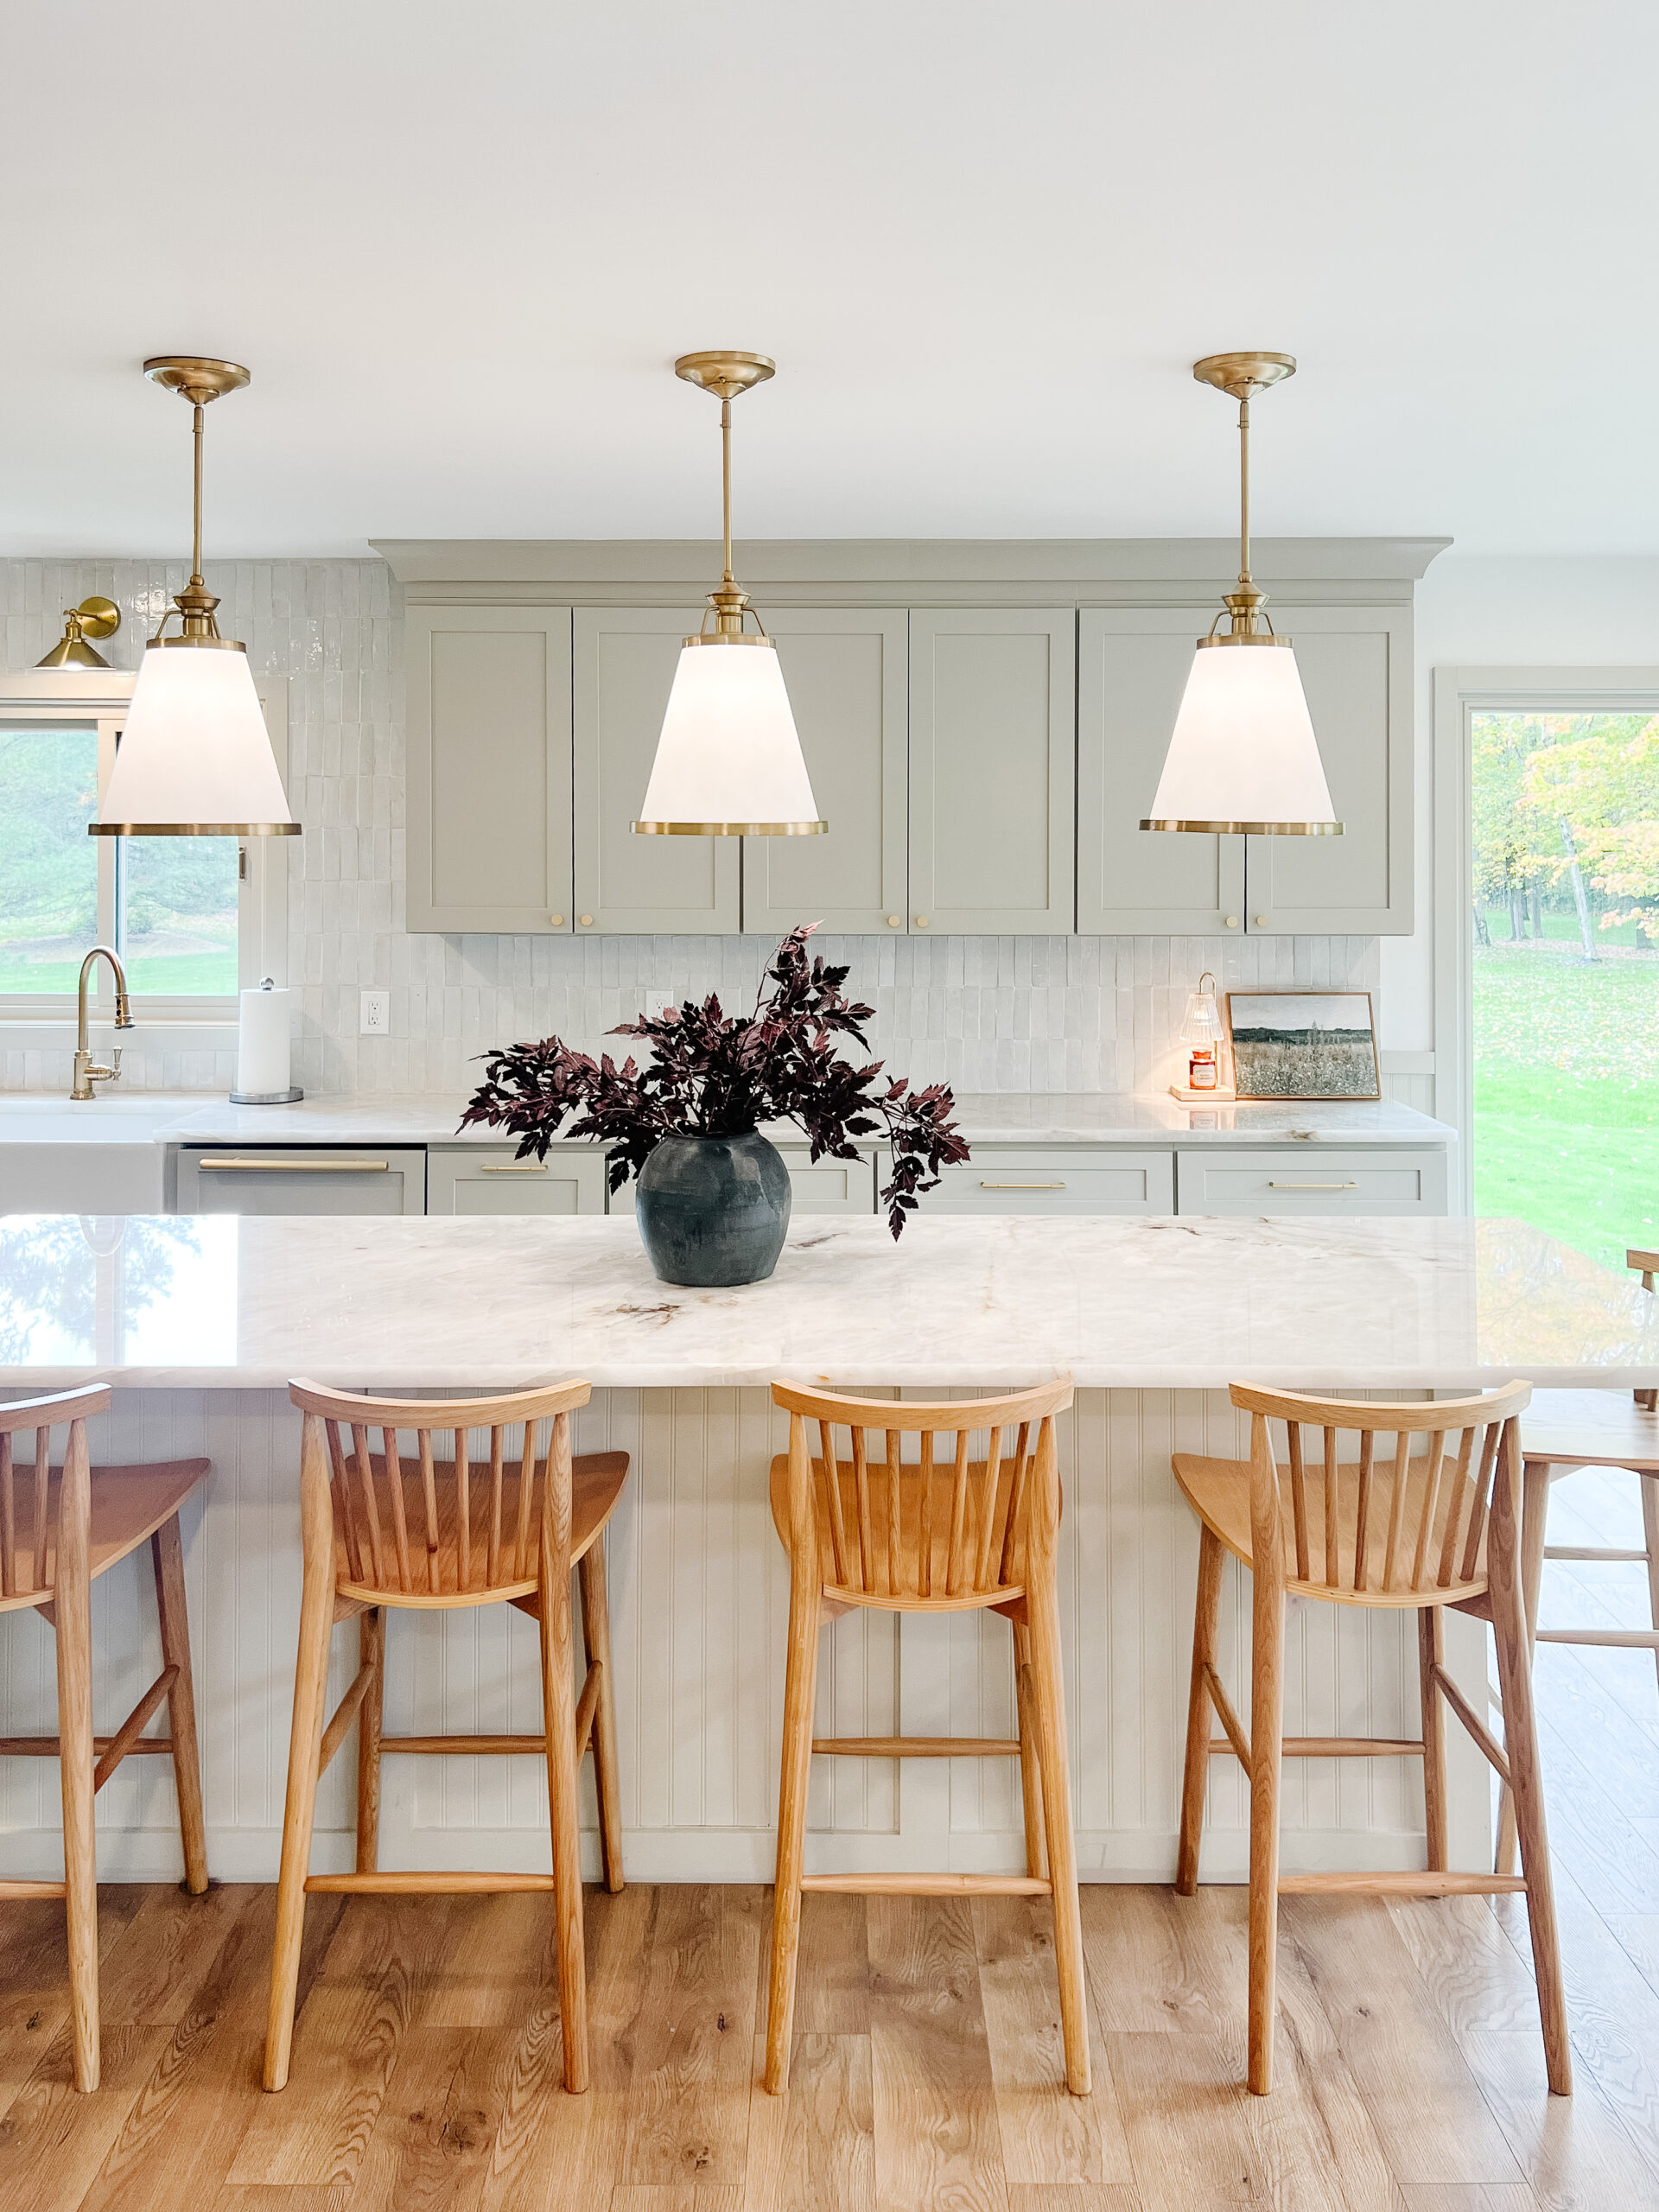
Consider the style and color scheme of your kitchen, and choose ceramic tile or mosaic tile that complement your cabinets and countertops. I chose handmade zellige tiles from Riadtile – they’re meant to be imperfect, which I love!
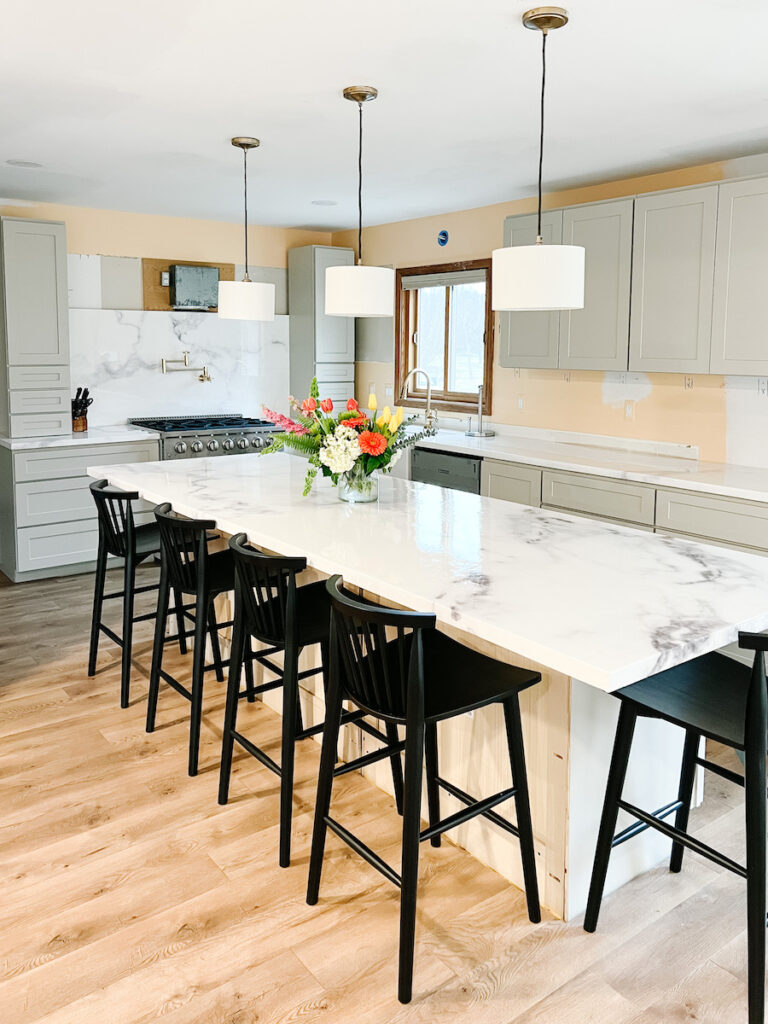
Most of you know that I just finished my faux marble kitchen countertops, so I was excited to see how these tiles looked against the counters.
Although it wasn’t the most fun project, and it took so much patience, I’m so glad I chose these tiles and think it was well worth the effort.
Step 2: Prep the Surface & Plan Your New Backsplash Layout
To ensure proper adhesion, clean the surface of your kitchen walls thoroughly. Remove any grease, dirt, or residue, and give the walls a gentle sanding if needed. This step will create a smooth and clean surface for your kitchen backsplash tile installation.
Decide where you want your tiles to end. Sometimes this can be tricky when the kitchen leads into another room in the house. Take a look at some pictures on Pinterest to help guide you. Then, lay your tiles on the counter tops to get a good visualization of the pattern and arrangement.
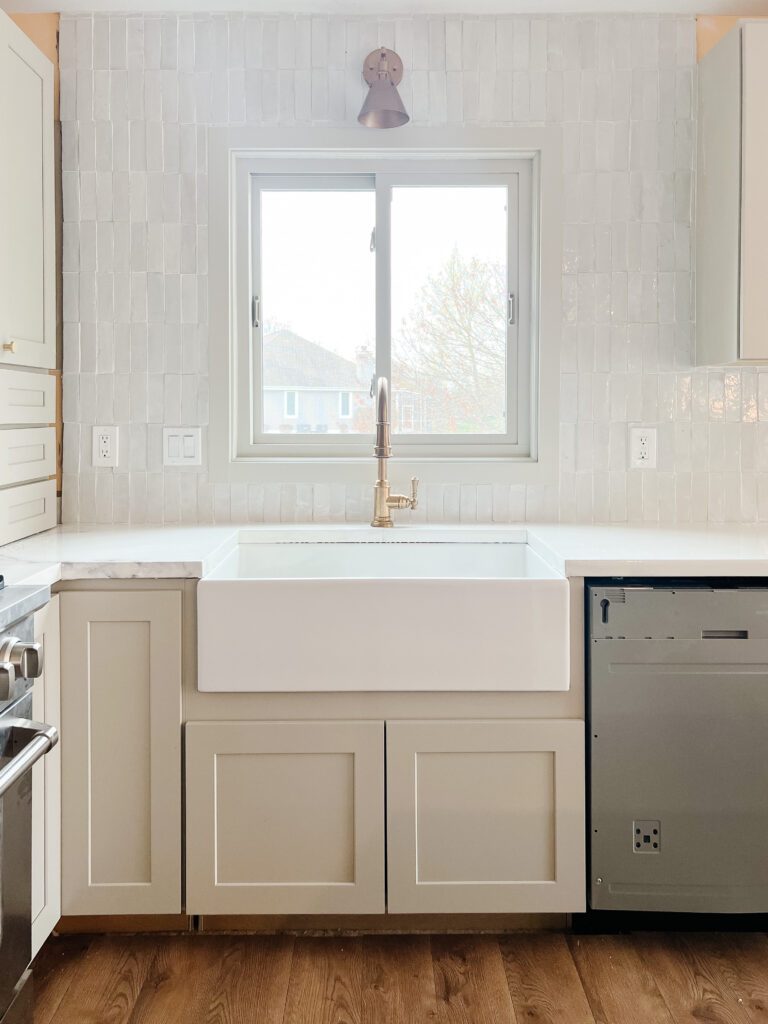
If you were following along in my Instagram stories, you might remember that I got a lot of heat for installing my tiles vertically rather than the traditional horizontal way. I wanted the tile to be vertical so it would draw your eye up. I’m also doing vertical beadboard along some of the drywall in the kitchen and think it’ll be more cohesive this way.
And the truth its, there’s no right or wrong way to do this. It’s your kitchen, you’ll be the one cooking in it, so do it exactly how you think it looks good! BTW I’m soooo glad I installed them vertically. I think it totally fits the vibe of our home and I couldn’t be happier with how they turned out.
Step 3: Cut Tiles
Zellige tiles are handmade of clay and extremely porous. So before any tile work, it’s a good idea to soak every tile in room temperature water for about 1-2 minutes before applying to mortar so they don’t absorb all the moisture from the mortar and not stick. This will also remove any dirt and residue from the transportation so that the tiles will adhere to the wall properly.
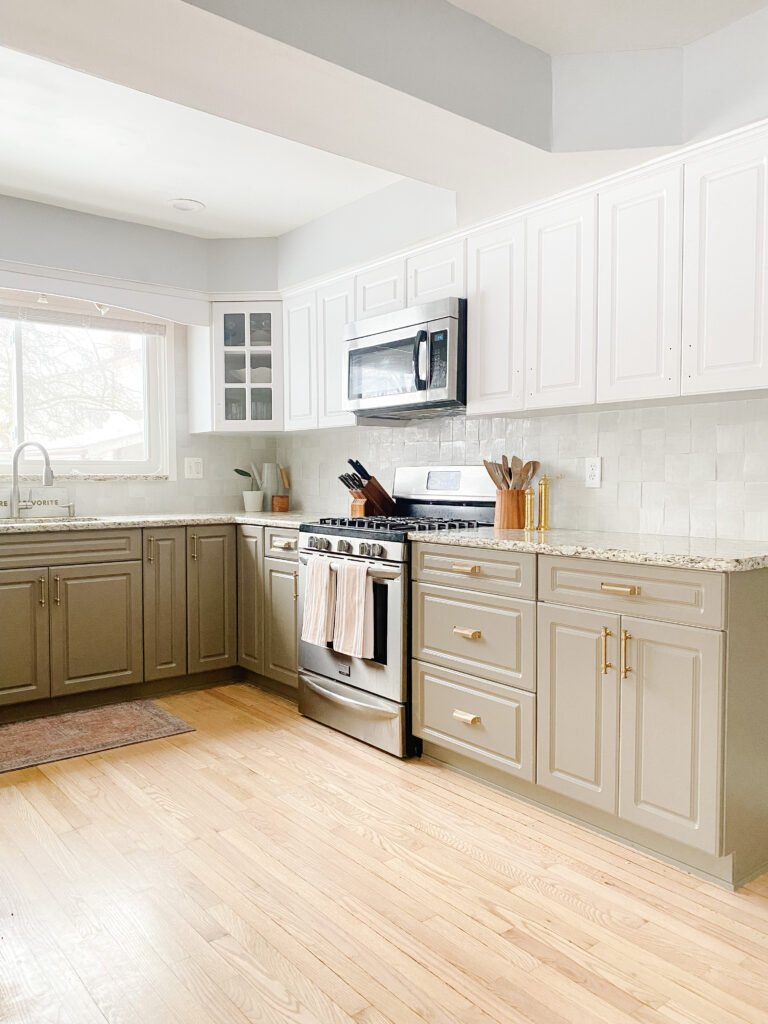
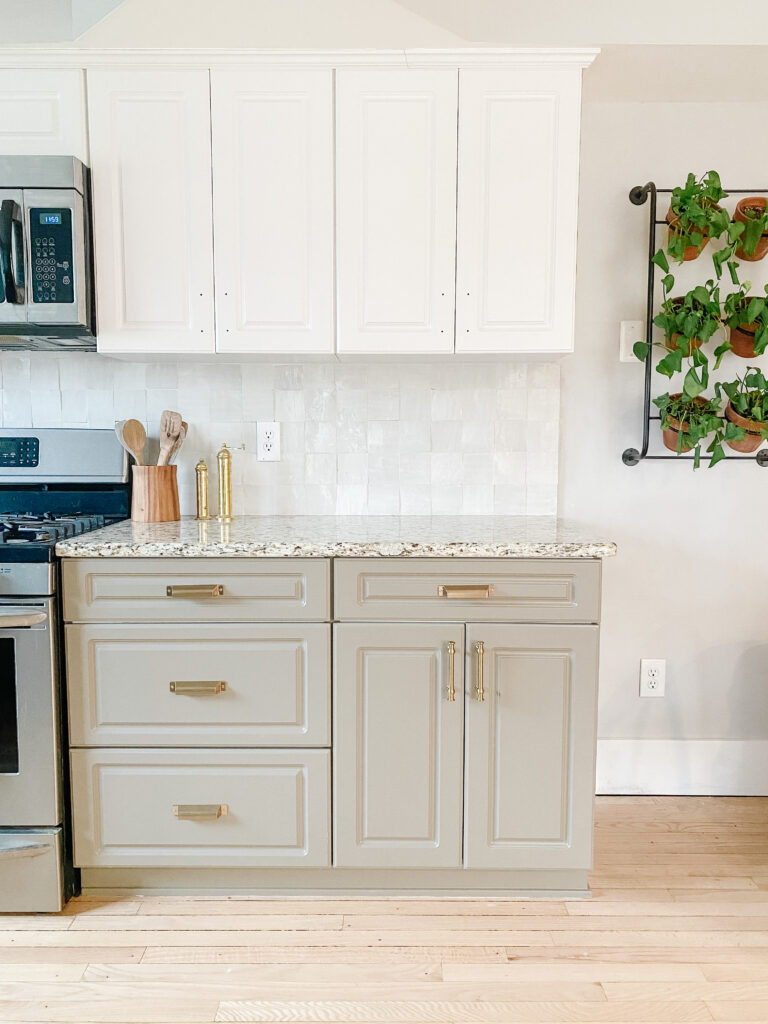
Once you’ve figured out your layout and have soaked the tiles, it’s time to cut them. Since I used Zellige tile, I used a wet saw to cut the tiles. If you’re using a different brand, you might be able to use MusselBound tile adhesive and a tile cutter instead of a wet saw and mortar. The Zellige tile is too heavy for the tile adhesive which is why I couldn’t go that route.
I’ll be honest, this whole project was not much fun at all for me…the entire time, I was so ready for it to be over so I could move on to the next DIY project. The cold rain outside while cutting my tiles probably didn’t help the situation. But just want to be transparent that it’s not always glitz and glam with projects and a lot of the time you have to just push through it.
Side note: If you need to cut any tiles to fit around electrical outlets or cabinets, be sure to measure and mark them carefully.
Step 4: Apply Thin-Set or Tile Adhesive On Your DIY Backsplash Tile
First, make sure to turn off the power to any electrical outlets you’ll be working around for safety.
Depending on the type of tile you’re using, apply either tile adhesive or a layer of thin-set mortar to small sections of the wall. Start with the bottom row and work your way up.
Apply mortar to the back of each of the individual tiles and place them firmly into the mortar or adhesive. The best way to do this is to slightly press and twist the tiles to set them in place.
If needed, use tile spacers to create even gaps between the tiles. I chose not to use spacers because the zellige tiles are intentionally imperfect to create a mosaic look. They’re all slightly different sizes, so even with spacers they’d never line up perfectly
Install the tiles all the way up to the edge of your kitchen cabinets and your ceiling. This is optional, but if you don’t do it this way, you may want to consider adding trim.
Once I got to the edge of my kitchen cabinets, there was a very small space left to tile so I had to cut much smaller tiles than I had been doing. This was tedious but it got the job done. At first, it looks like a beautiful mess. But I promise, once you get the grout on there, the finished look will be incredible!
Step 5: Grouting and Finishing Touches
Once the mortar has dried, the last step is to grout. Mix the grout and apply it to the tiled surface using a grout float. Spread the grout diagonally, pressing it into the gaps between the tiles. Remove any excess grout with a wet sponge, rinsing it frequently in clean water. Allow the grout to cure for the recommended time.
Once it has cured, use a wet sponge and clean water to clean the tiles. Then, reinstall your electrical outlet covers and enjoy your beautiful new backsplash!
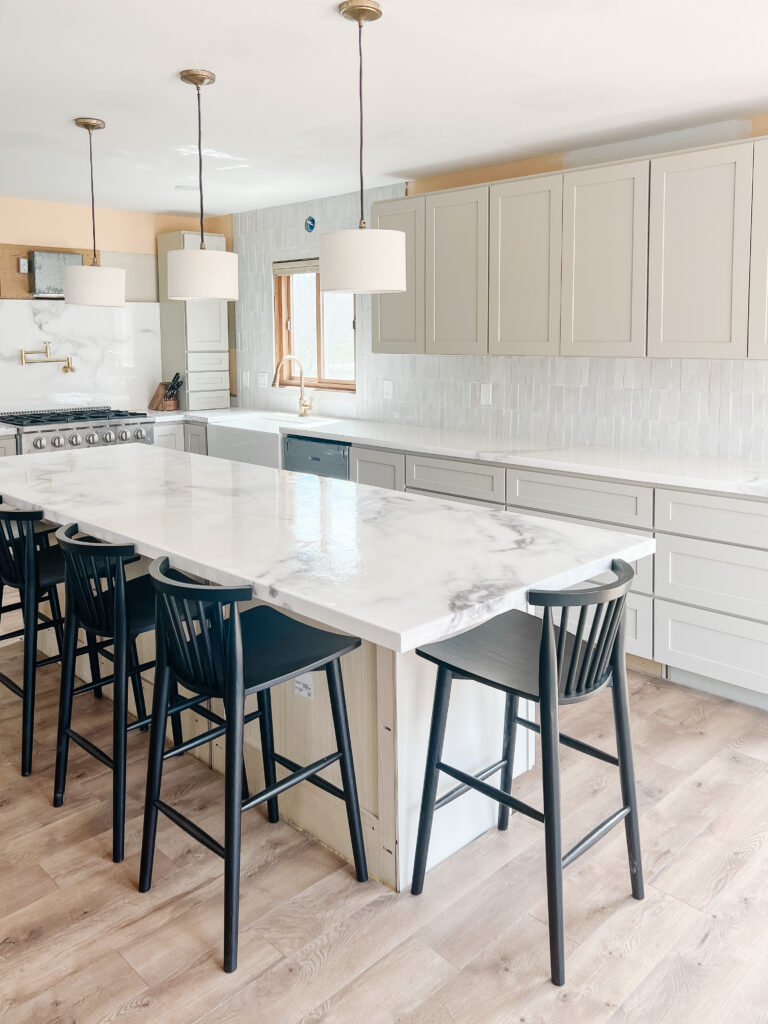
Thoughts After the DIY Backsplash Tile
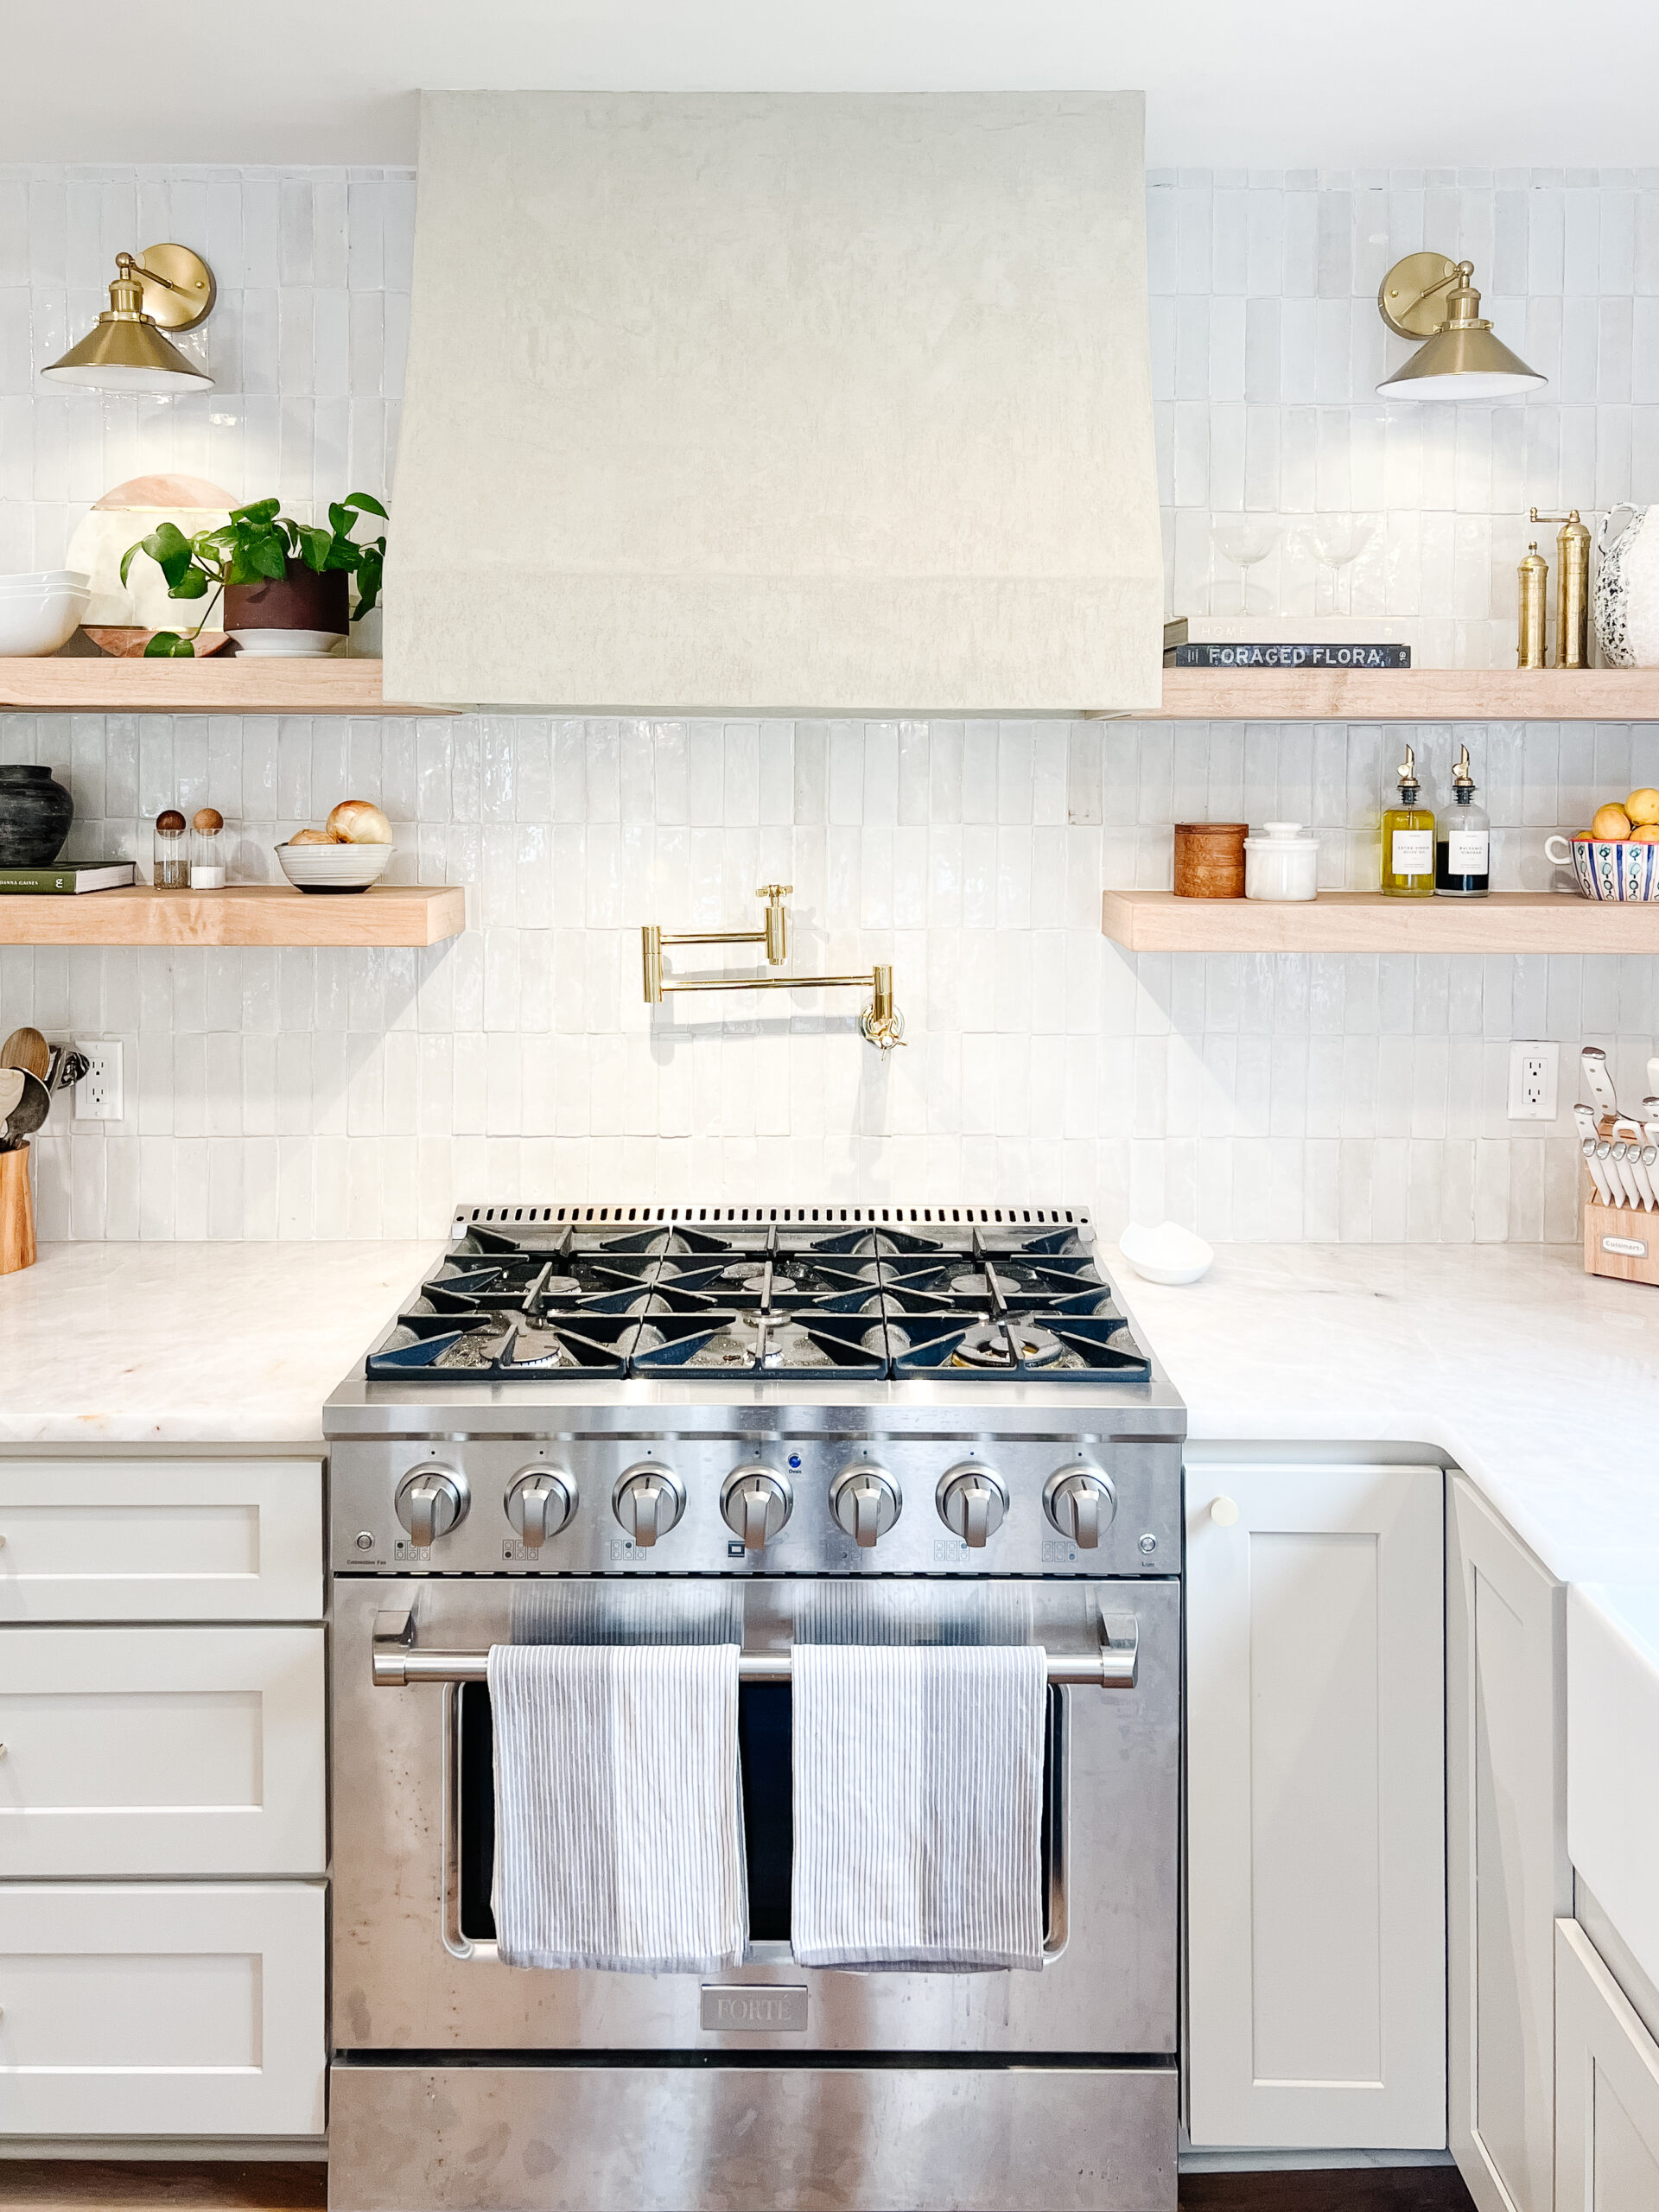
Since wrapping up the DIY backsplash tile and after making our marble backsplash slab that was intended to go above our range, I’ve decided to change things up. I ended up falling in love with the new look of the kitchen tile backsplash. So I’ve decided to replace the marble backsplash slab with the zellige tiles. I think think this will give the kitchen a more cohesive look and just all in all look beautiful over our range and with our range hood.
This full kitchen renovation has been so much work, but I love seeing it all finally come together. So be sure to follow along on Instagram @itshoneydone for more zellige tiling tips!
Note: As an Amazon Associate I may earn small commissions from qualifying purchases.
Related Posts:
DIY Faux Marble Epoxy Countertops FAQ
The Best Advice for Beginner DIYers: 7 Tips for Success

“DIY Backsplash Tile Install for Beginners” is an incredibly informative and user-friendly blog. It provides invaluable insights and step-by-step guidance for novice DIY enthusiasts. With clear instructions and practical tips, it empowers beginners to embark on their tile installation journey with confidence. A must-read for anyone looking to spruce up their space!