I'm a neat freak tackling messy projects to help you turn your honey-do list into honey-DONE! I'm an average mom, with an average home, and an average budget with a goal of making things that feel ABOVE average! I'm a self-taught DIYer learning as I go, and I share all of my projects in real time so that, when I make a mistake, we can grow together! Join me daily on Instagram stories where I share home DIY projects, life with my family, and a little bit of everything in between - I can't wait to meet you! :)
Categories
projects & tutorials
home decor
Tips & Tricks
lifestyle
I'm Kayla
Hi, there!
One Step DIY Stair Railing Makeover for Under $75
April 13, 2023
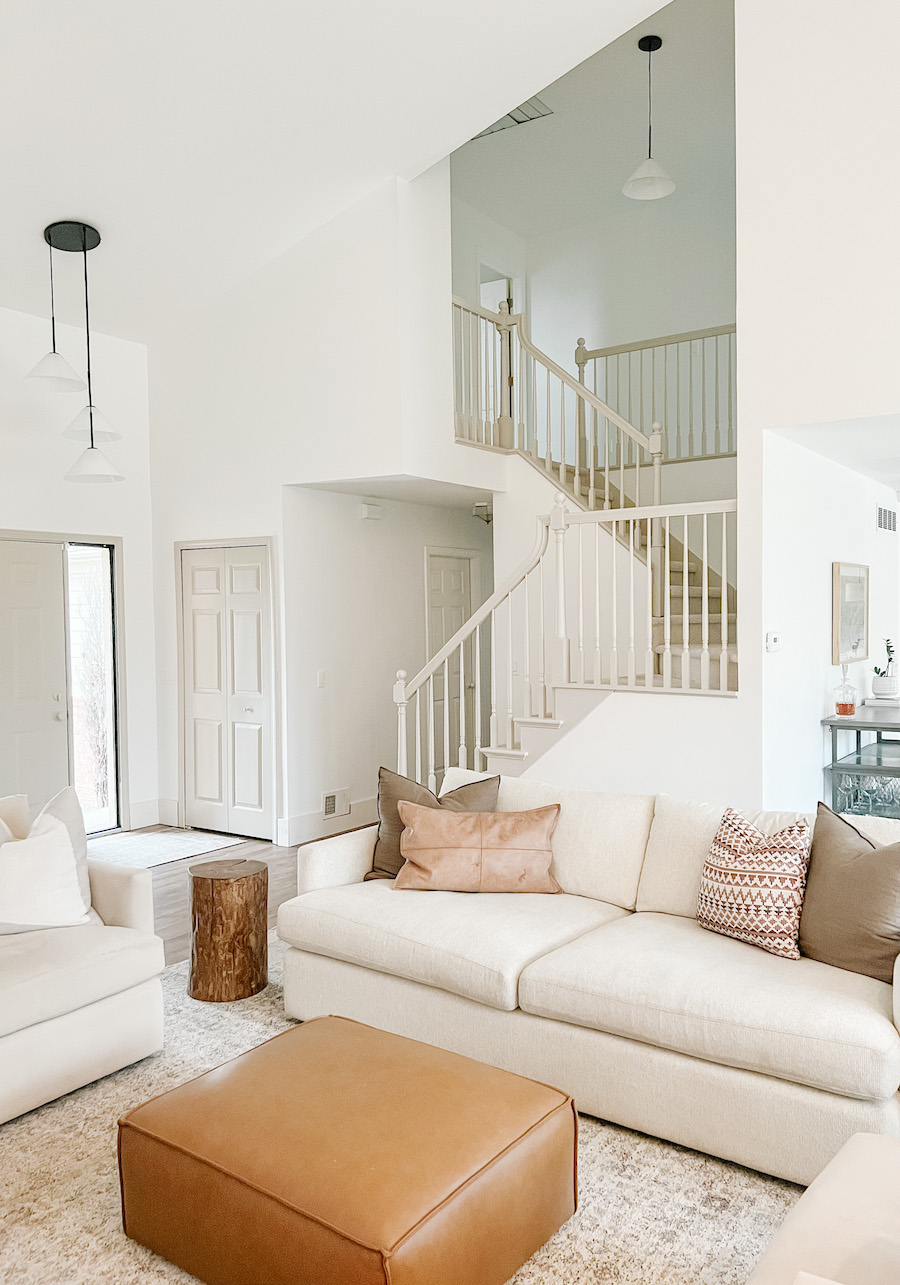
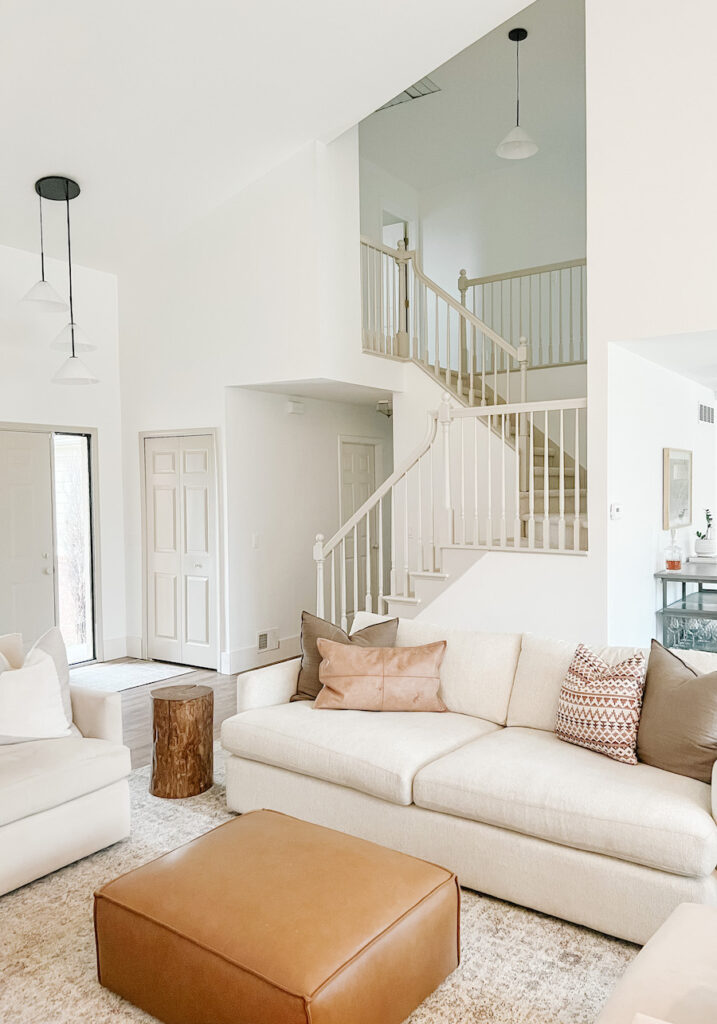
When we moved into our house I hated the outdated oak bannister and I knew I wanted to makeover the staircase railings. The stairs are a focal point and the first thing you see when you walk into our home, and they’re right next to our living room. The original staircase from the previous owners was pretty outdated and I felt that doing a DIY stair railing makeover was necessary but didn’t have to be expensive!
I did a similar project with the staircase in our previous home, so it’s nice that I already know the exact materials needed to get the job done. That project was a lot more involved with demo and updating it with iron spindles and new stair treads, but this DIY stair railing makeover project is very beginner-friendly and an easy project. However, I should warn you – it’s also very tedious and takes so much time!
If you have outdated stairs, this is the perfect DIY project to make them over for under $75!
Paint Details
The key product is the Sherwin Williams emerald urethane trim enamel paint. This is the only paint I use on interior wood projects like doors, trim, cabinets, etc. because it cures extremely durable and is a self-leveling paint.
I used the paint color Accessible Beige, Semi-Gloss. This is the same color I have on my trim and front door and I love how it’s brightened up our entire home. Additionally, our walls are Benjamin Moore Chantilly Lace, which pairs so well with the Accessible Beige. You’ll find both these colors in the rest of the house!
Materials Needed:
Sherwin Williams Emerald Urethane Trim Enamel Paint
Top coat: MinWaxUSA Water-based Polycrylic Sealant (optional)
Prep Work for the Stair Rails
To prep the stair railing for paint, the first step is to tape off the edges with blue tape so no paint gets on your floors. After you tape off the edges, you can sand and prime the rails. I actually decided not to sand or prime because the paint I’m using it so durable. I know most people will say that the paint is going to chip and scratch over time since it’s a high traffic area, but I know this particular paint will hold up for years.
I actually used this same paint on the stairs at our last house and they never chipped or scratched. So I feel confident enough to not have to sand or prime the staircase this time around. I also have small children that are really rough on stuff and our previous staircase still held up for years. If you want even more protection you could seal the handrail with a water-based polycrylic seal, but I don’t think it’s necessary.
DIY Stair Railing Makeover
After prep work is complete, put on the first coat of paint with a high-density foam roller. You won’t be able to get all of the corners and edges with this, so once you’re done with the roller, use your foam brush. The foam brush is a great way to push into the grooves and intricate spaces that are hard to get to.
Try and paint the whole staircase with foam brushes and rollers. That’s what I used for this project so that I didn’t end up with brush strokes from bristles. This can make a big difference in the end for the finished look!
After one coat of paint, you’ll probably notice the original wood tone still peeping through. Go ahead and put a second coat on and assess your coverage. If you feel like you need another coat on the handrail, you may even want a final coat after that. I ended up having to do three coats of paint on the handrails and newel posts and two on the spindles.
I really wanted to keep the stair spindles with white paint, but it was way too tricky to paint. Instead, I painted the whole thing Accessible Beige and I still feel like it’s the perfect modern look and was overall a great job!
General Finishes
Before your paint dries, remove the blue tape at an angle. This will prevent it from chipping or peeling when pulling it up.
If you’re concerned about the paint chipping, use the MinWasUSA sealant mentioned above. This sealant will protect the paint and the water base is to help it not yellow over time.
This one step process cost me under $75 and is such an affordable way to update your stairs. It’s also a great way to create a huge impact by brightening up your home!
This project is very time consuming and tedious, but it has made such a huge difference in our home! I highly recommend trying it out as a beginner-friendly and budget-friendly project. You’ve got this, and good luck!!!
Want to see my next project? Head over to @itshoneydone on Instagram where I help you turn your honey-do list into honey-DONE!
Note: As an Amazon Associate I may earn small commissions from qualifying purchases.
Related Articles:
Caulk vs Wood Filler – the Right Choice for your Project
DIY Privacy Wall [ Step – by -Step Tutorial ]
DIY Nursery Closet (Under $80)
