I'm a neat freak tackling messy projects to help you turn your honey-do list into honey-DONE! I'm an average mom, with an average home, and an average budget with a goal of making things that feel ABOVE average! I'm a self-taught DIYer learning as I go, and I share all of my projects in real time so that, when I make a mistake, we can grow together! Join me daily on Instagram stories where I share home DIY projects, life with my family, and a little bit of everything in between - I can't wait to meet you! :)
Categories
projects & tutorials
home decor
Tips & Tricks
lifestyle
I'm Kayla
Hi, there!
Installing Floors: 5 Things You Don’t Want to Forget
February 3, 2023
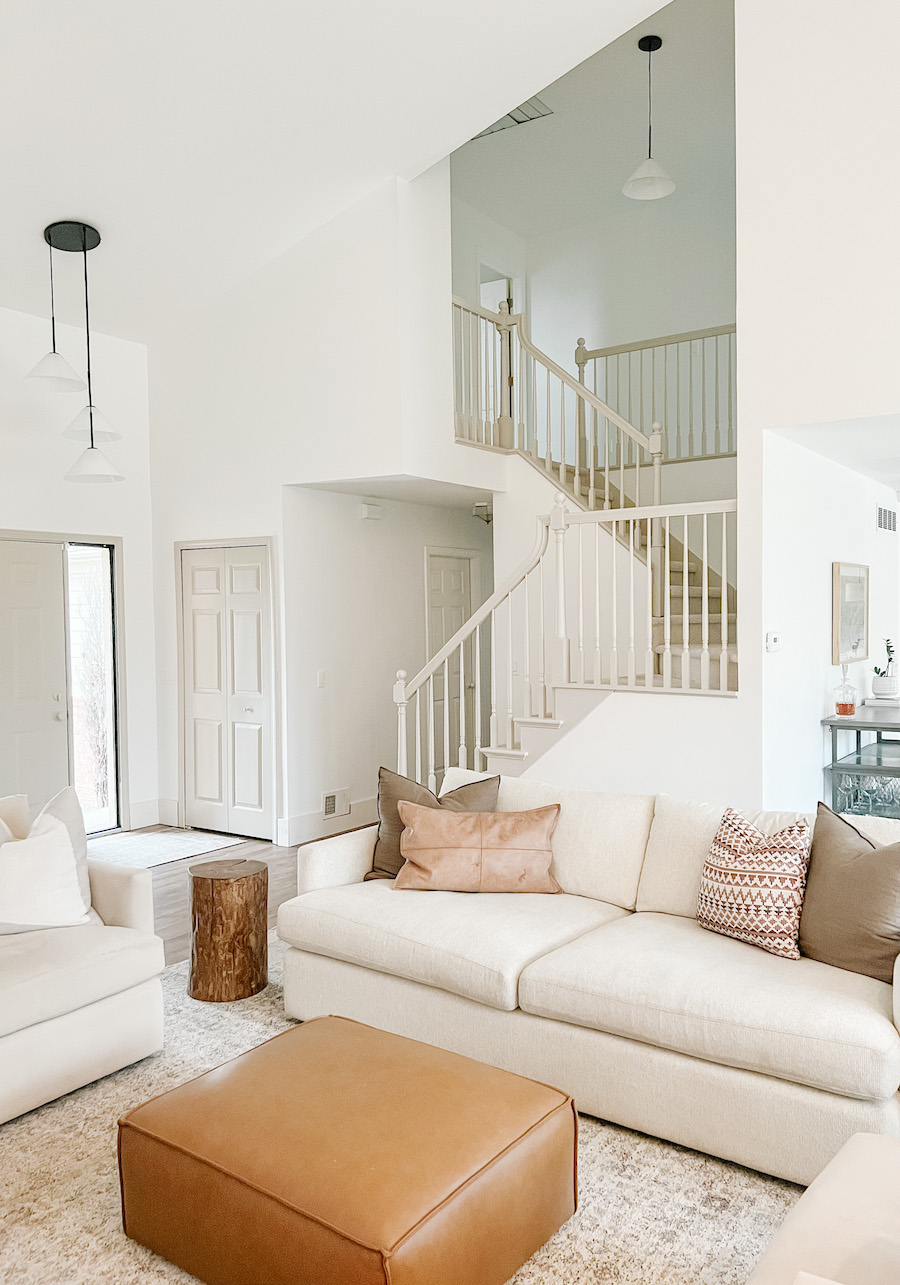
After buying our new house, I knew that one of the first projects I wanted to do was installing our laminate floors. Our old house had hardwood floors and so this was going to be my first time installing new floors, and I knew I wanted to cut costs by doing it myself and not hiring professional installers. Check out these five things that I think are a good idea to do prior to consider before starting this yourself!
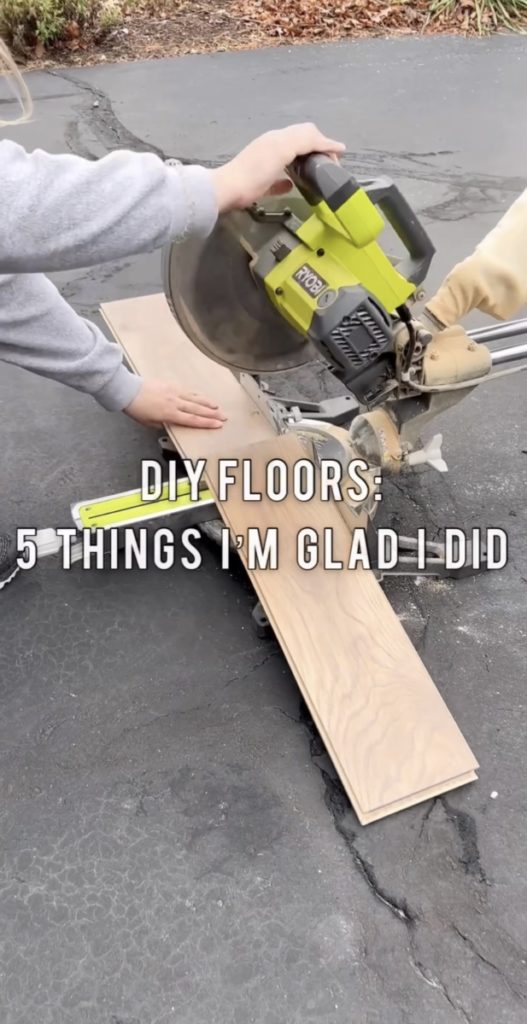
I’m so happy I thought these things through before laying our laminate floors. Now looking back, I’ve realized how important each of these five things were.
If you’re interested in learning how to install laminate floors, read my post “How to DIY Laminate Floors.“
5 Things You Don’t Want to Forget Before Installing Floors
1. Install Floor Outlets
If your furniture won’t be up against a wall, consider installing floor outlets in the middle of the room. This will allow you to use lamps, phone chargers, etc. without running visible cords across the entire floor. This also allows you to easily rearrange your furniture in the long run without having to worry about things like table lamps being close to an outlet.
2. Sample Full-Size Planks
Before installing floors, you’ll need to sample some planks first. When sampling floor materials and colors, order full size-planks to get a good idea of color variations. Ideally, you’ll want to order three of each kind from your flooring manufacturer to place together.
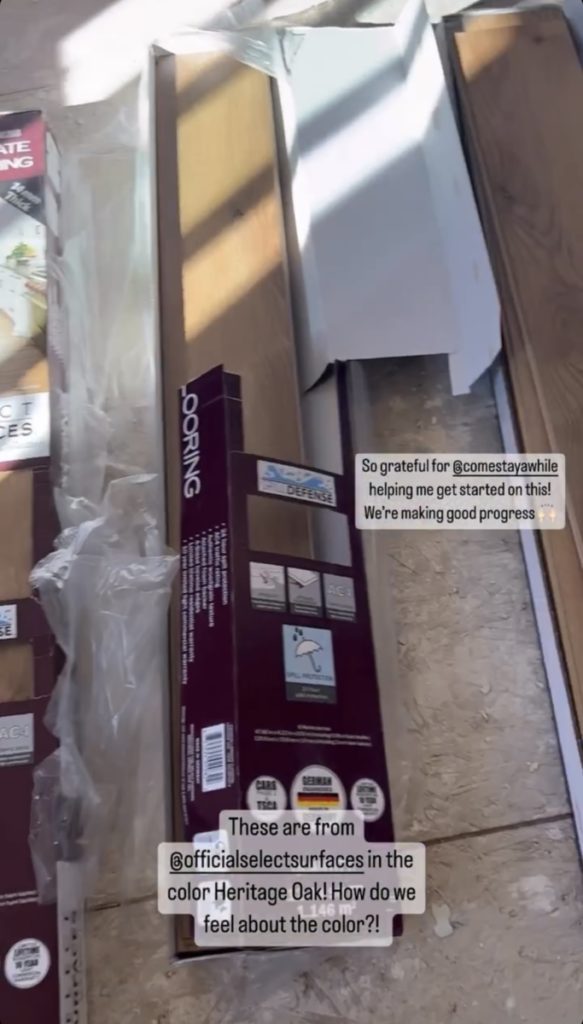
I originally chose a different color when looking at standard samples. Then I changed my mind when seeing the full size laminate planks.
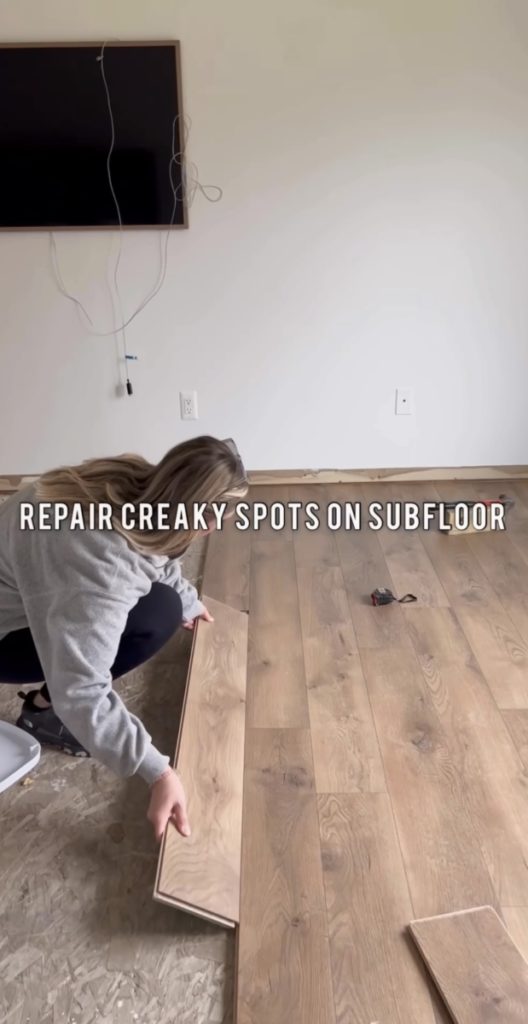
3. Repair Creaky Spots On the Subfloor
For best results, it’s important to repair any creaks you have in the wood subfloor. Check for these creaks by walking around your subfloor after ripping up the existing flooring.
When you come across a creak, drill down into the joists. You could also place shims between the joists and subfloor from underneath as the creaks are due to these separating over time. Good news – neither of these take too long to do!
4. Remove Walls That Will Change
Before moving into our new house, we knew we wanted to remove the wall between our kitchen and dining room. We had it removed before laying down our wood planks.
Removing your walls before laying down new floors is important because the removal process can get pretty messy. This will also allow your planks to run seamlessly throughout the final layout instead of installing them into a layout you know will be changing. Of note, we didn’t DIY the wall removal and had that done by professional installers.
5. Level the Entire Subfloor
Before installing floors, the entire subfloor needs to be level before laying the first row of flooring.
Make sure there aren’t any soft spots or high spots in transitions throughout your subfloor. If so, you can add OSB plywood or various flooring products such as self-levelers to make them all one level. Alternatively, you can use transition pieces in your new flooring.
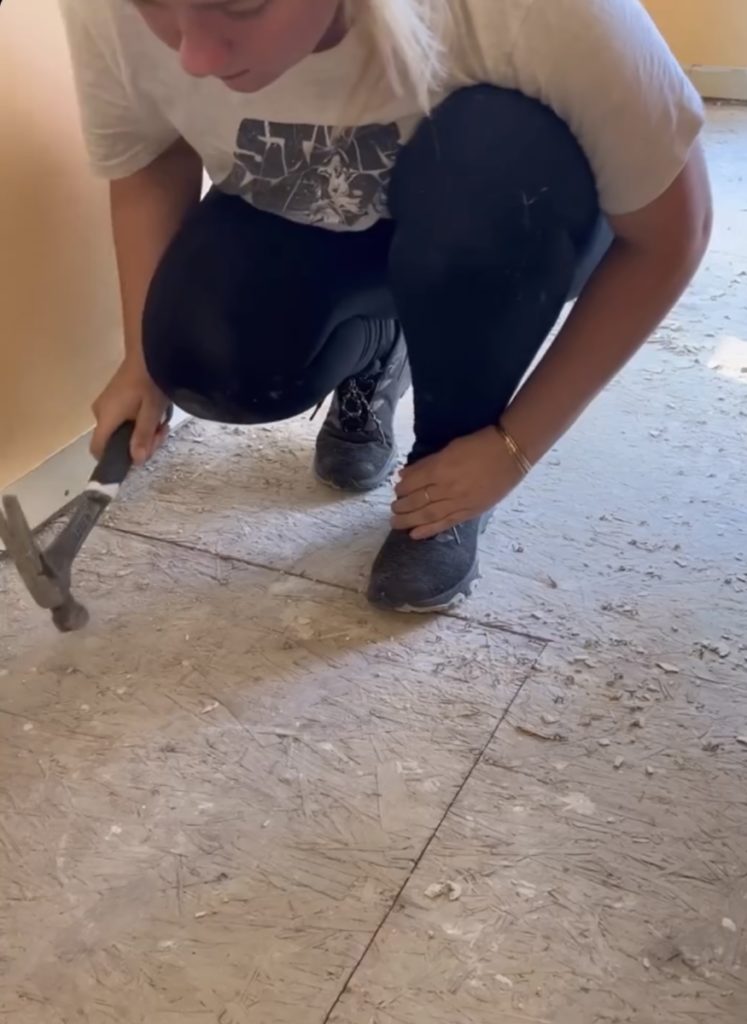
After you’ve done your research and thought through this list of 5 things, you’re ready to install your first plank!
For more DIY projects, tips, and tricks, follow along on Instagram @itshoneydone where I can show you how to turn your honey-do list into honey-DONE!
Note: As an Amazon Associate I may earn small commissions from qualifying purchases.
Related Posts:
The Best Moving Equipment and Moving Tips
