I'm a neat freak tackling messy projects to help you turn your honey-do list into honey-DONE! I'm an average mom, with an average home, and an average budget with a goal of making things that feel ABOVE average! I'm a self-taught DIYer learning as I go, and I share all of my projects in real time so that, when I make a mistake, we can grow together! Join me daily on Instagram stories where I share home DIY projects, life with my family, and a little bit of everything in between - I can't wait to meet you! :)
Categories
projects & tutorials
home decor
Tips & Tricks
lifestyle
I'm Kayla
Hi, there!
Caulk vs Wood Filler – The Right Choice for Your Project
January 28, 2023
It really is the little details that can take any home DIY project to the next level! Caulk and wood filler are both commonly used products in DIY projects and are similar in what they do. But they do have different purposes when you work on your projects! This is one of those things you don’t know until someone teaches you, but then makes a lot of sense. I hope you find this helpful!
Before finishing up your project with caulk or wood filler, the first thing you need to do is understand which to use and where to use it. Understanding when to use caulk vs wood filler can help your projects look more clean and professional, and in the end, it will give your project a better result. It’ll also make your life easier by simplifying the process!
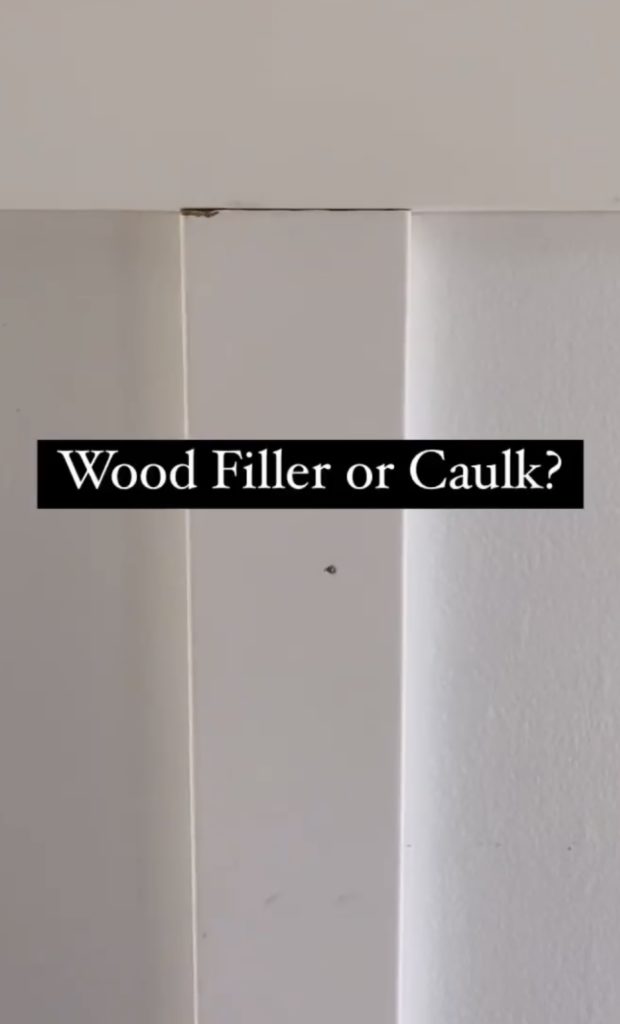
What is Caulk and When to Use It
Caulk is typically used when two surfaces meet together in a corner. It’s used as a sealant for small spaces, gaps and cracks, inside corners, around windows, door frames, and many other areas.
When choosing your caulk, it’s important to pick one that’s appropriate for the surface you’re working on. Some caulk products are specifically designed for use on wood, while others are intended for use on metal or ceramic surfaces. The biggest thing that I look for what buying caulk is whether or not it is paintable and how elastic it is. Non-paintable caulk will repel paint like oil and water – I always ensure my caulk tube say “paint projects” just to be safe and feel like this is always a safe, good choice and tends to be the best product for the projects I’m doing! And the more elastic the caulk is, the more durable it will be. Changes in weather can lead to materials expanding and contracting with temperature changes, so especially with sealants around window trim, for example, you’ll benefit from using something more elastic!
There are also different shades of caulk. To get the best results, you’ll want to choose the right color caulk to match your surface as best as possible so that the caulk line isn’t visible.
What is Wood Filer and When to Use It
Wood filler (AKA wood putty) is thicker and designed to fill small gaps and large holes and gaps in wood surfaces. It’s main use is to repair woodworking projects, such as furniture, flooring, and trim. It can also help make your miter joint look more perfect! Unlike caulk, wood filler can be sanded and (sometimes) stained different colors, which makes it a great option for repairs.
There are a few different types of wood fillers available for different uses. Each one has its pros and cons, so it’s important to choose the type of filler that best fits your project.
Water-based filler is easy to clean up and dries quickly, but it may not be as durable as oil-based or epoxy-based fillers. Oil-based wood filler takes longer to dry and can be messy to clean up, but it’s more durable and you can sand and paint over it. Epoxy-based wood filler is the most durable but also the most difficult to clean up. I truly think this is one of those areas where you can start dabbling with DIY projects and will then find the products you do or don’t love. There are so many options out there, so don’t get too caught up in feeling overwhelmed by them all!
My Recent Project: Choosing Caulk vs Wood Filler
I recently installed a board and batten wall in my daughter’s nursery room. After nailing the pieces of wood into the wall, it needed to be finished with caulk, paint, and wood filler.
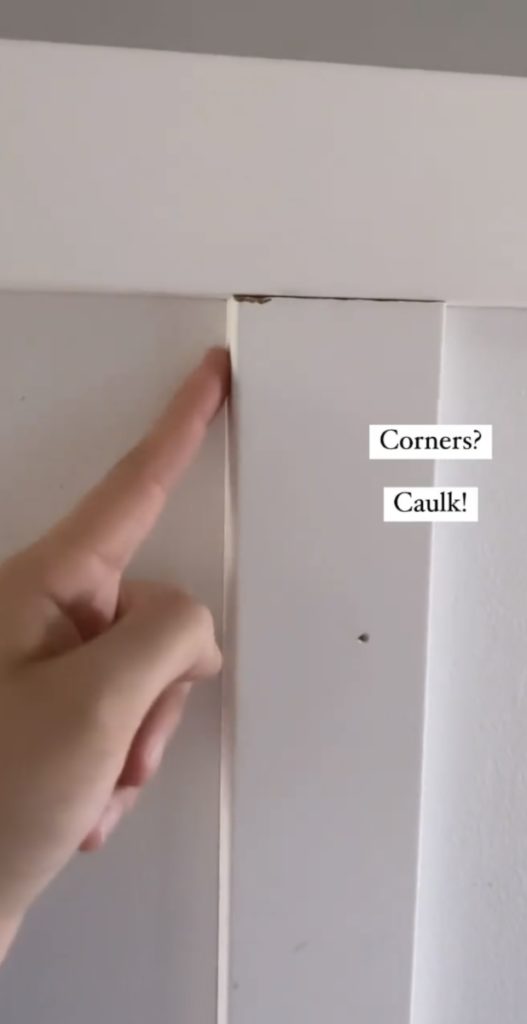
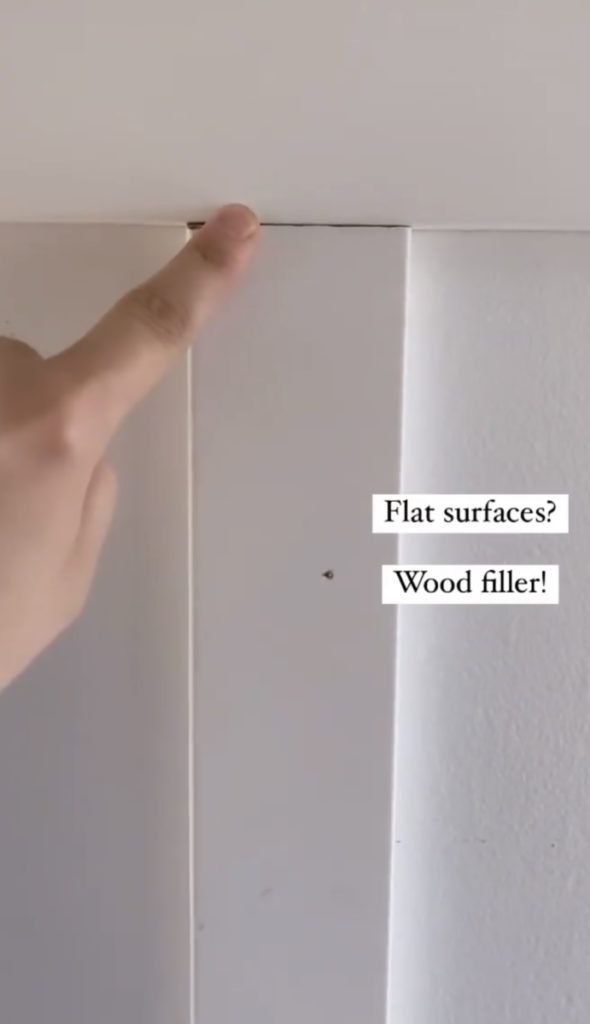
It’s important to know where to use the caulk vs wood filler so you’re able to create a smooth finish. The best way to remember where to use each one is to think: if it’s a corner- use caulk, if it’s a flat surface- use wood filler.

Using Wood Filler on Board and Batten
For this project, I used wood filler to fill in small nail holes on flat surfaces of the wood trim. Filling nail holes, screw holes and filling gaps with wood filler is a good option to hide any imperfections. It also helps hide any small cracks that the nails tend to create in the wood. You can do this with a putty knife or even just your finger and a damp cloth.
After the wood filler dries, you’ll be able to sand it down to create a smooth surface. Pro tip: if there isn’t a ton of wood filler build up and minimal repair is needed, you may be able to wipe it away with a baby wipe! This is much cleaner than sanding and can sometimes look smoother. But once sanded, you can paint it the same color as the surrounding area!

Using Caulk on Board and Batten
After filling holes with wood filler, I used caulk on the inside corners, outside corners, and anywhere else where the surfaces met.
Using a caulking gun can be pretty messy, especially if you’re your doing it for your first time. There’s definitely a learning curve figuring out how to clean up the excess caulk.
If you’re unfamiliar with how to use a caulk gun, read THIS POST for my favorite caulking tips. You can also check out THIS POST for more details on my board and batten project.
Caulk vs Wood Filler for Long-Long Lasting Results
Caulking and wood filler will give your projects a more seamless look. After filling in the nail holes and other imperfections, it will make it look as good as new. Knowing when to use caulk vs wood filler is important to ensure your repairs/projects are long-lasting and professional-looking. I do recommend always using a thin bead of caulk to start (it’s better to add more if needed than for it to get messy by adding too much) and to wipe it smooth with a baby wipe as you go.
Find this helpful? Follow along with me on Instagram @itshoneydone so I can help you turn your honey-do list into honey-DONE!
Note: As an Amazon Associate I may earn small commissions from qualifying purchases.
Related Posts:
My Two Favorite Caulking Tricks
Board and Batten Nursery Wall – Full Tutorial
