I'm a neat freak tackling messy projects to help you turn your honey-do list into honey-DONE! I'm an average mom, with an average home, and an average budget with a goal of making things that feel ABOVE average! I'm a self-taught DIYer learning as I go, and I share all of my projects in real time so that, when I make a mistake, we can grow together! Join me daily on Instagram stories where I share home DIY projects, life with my family, and a little bit of everything in between - I can't wait to meet you! :)
Categories
projects & tutorials
home decor
Tips & Tricks
lifestyle
I'm Kayla
Hi, there!
My Favorite Caulking Tricks
January 24, 2023
Caulking is an essential part of almost every home DIY project that is necessary for taking your skills to the next level! It truly is an essential item for most home improvement projects, but it’s important that you know the basics!
Caulk can be used to close up any gaps and cracks where your corners come together. It can be tricky and messy to apply to your surface, but, don’t worry, I’ve got your back with these key tips and tricks! I learned the hard way so you don’t have to!
Tip #1: The Baby Wipe Trick
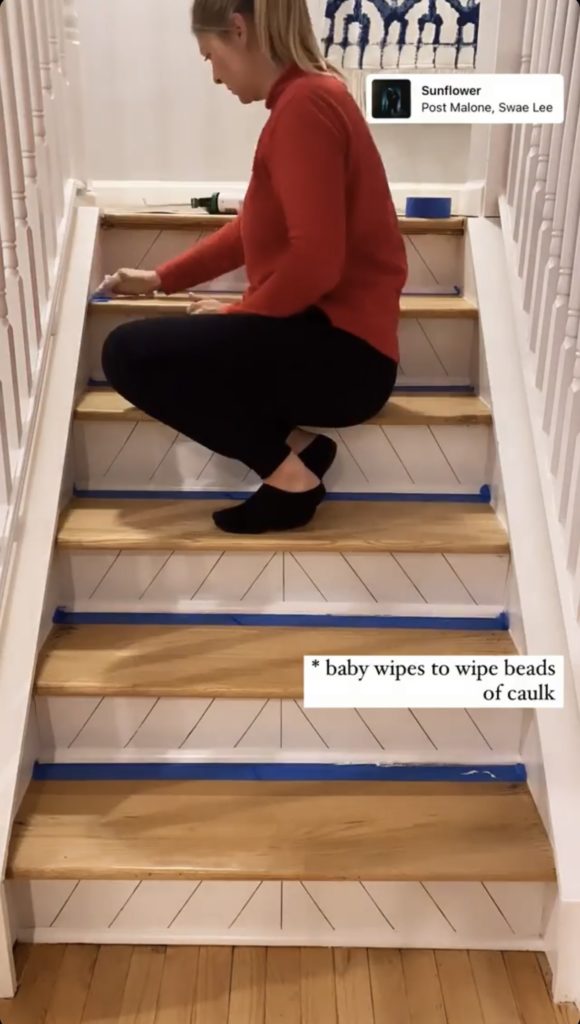
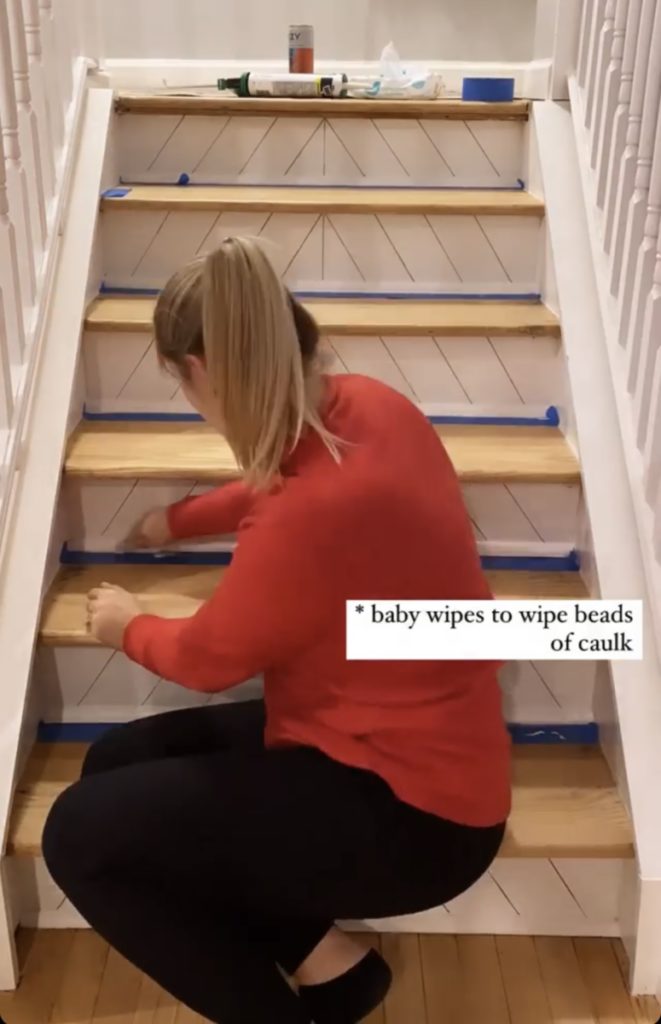
My favorite tip for applying caulk is the baby wipe trick. Who knew a baby wipe would come in such handy for a DIY project?! When I became a new mom I knew that baby wipes would become an essential staple, but I totally underestimated all the ways we’d end up using them from that time on!
This trick is simple: just use a baby wipe to wipe away the excess caulk! I know this doesn’t seem mind-blowing, but I promise it works so much better than an old rag, a wet finger, etc.
When applying caulk, it’s important to have a precise bead line (a thin bead works best) because if you apply too much of the product it can get super messy. This can be challenging to gauge with only your caulk gun, so I recommend starting small and adding more only if needed!
Instead of using wet rags or paper towels, I’ve found that the baby wipe trick is the best way to clean up any excess caulk and creates a nice and clean bead line. After you run your caulk gun across the surface, wrap the baby wipe around your index finger and wipe the caulk line.
Tip #2: The Blue Tape Trick
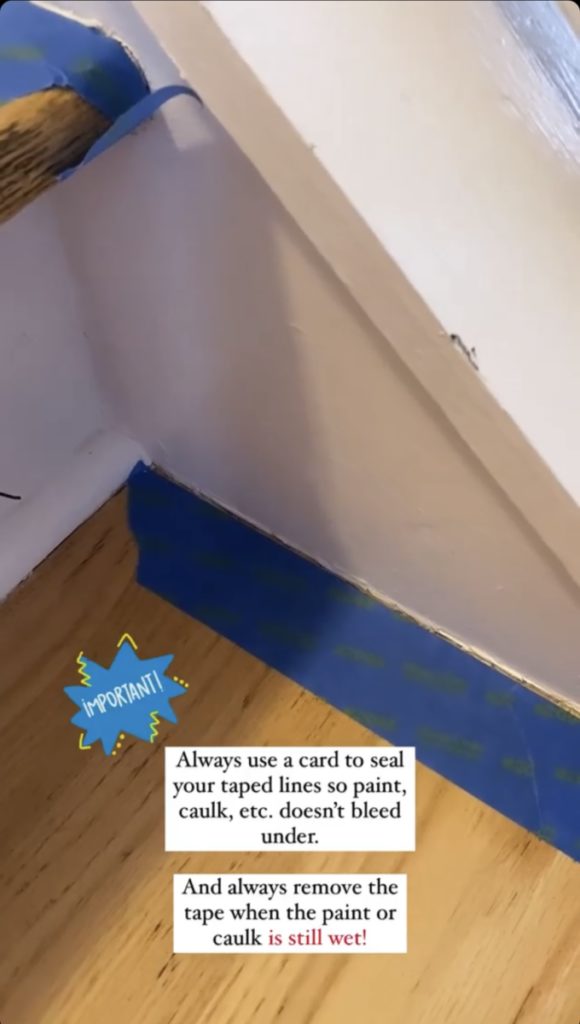
You can also use caulk to help achieve crisp paint lines! If you’re ever using painters tape to achieve a crisp line in your project, one idea is to seal the edge of your tape line with caulk after adhering the tape! Sometimes, even with painters tape, paint can seep underneath is and smudge the line. This will ensure a proper seal!
After caulking the edge of the tape, remove the tape while the caulk is still wet! If you wait for it to dry it could rip the tape and peel the finish.
Tip #3: Caulk Gun 101
You might be tempted to buy the first cheap caulk gun that you see when going to Home Depot or any hardware store, but not all caulk guns are created equal!
A quality caulk gun, which can still be super affordable, will have an attached needle and spout cutter. The needle can be used to unclog the spout as needed. The spout cutter will assist you with trimming the nozzle whenever needed, and help you to cut the smallest hole possible. This is essential for squeezing only a thin bead of caulk at a time which, as I mentioned, is a critical tip!
Tip #4: Paintable Caulk!
I always recommend buying paintable caulk or tubes of caulk that say “paint projects”. Some caulk materials will repel paint, which can cause a huge headache down the road.
Tip #5: Elasticity!
It is also worth looking at the noted elasticity, as things tend to expand and contract with weather changes. A more elastic caulk used around window trim, for example, would withhold weather changes more than another caulk that may crack throughout the year!
Tip #6: Wood Filler vs. Caulk
For more advice on when to use wood filler or caulk for your home improvement projects, check out this post!
Any other questions? Drop them below!
Note: As an Amazon Associate I may earn small commissions from qualifying purchases.
Related Posts:
Caulk vs Wood Filler – The Right Choice for your Project
The Best Moving Equipment and Moving Tips
